Lab 1: Drawing with Turtles
Exploring turtle
For this part of the lab, work through as many steps as you have time for. We don't expect you to get all the way to the end!
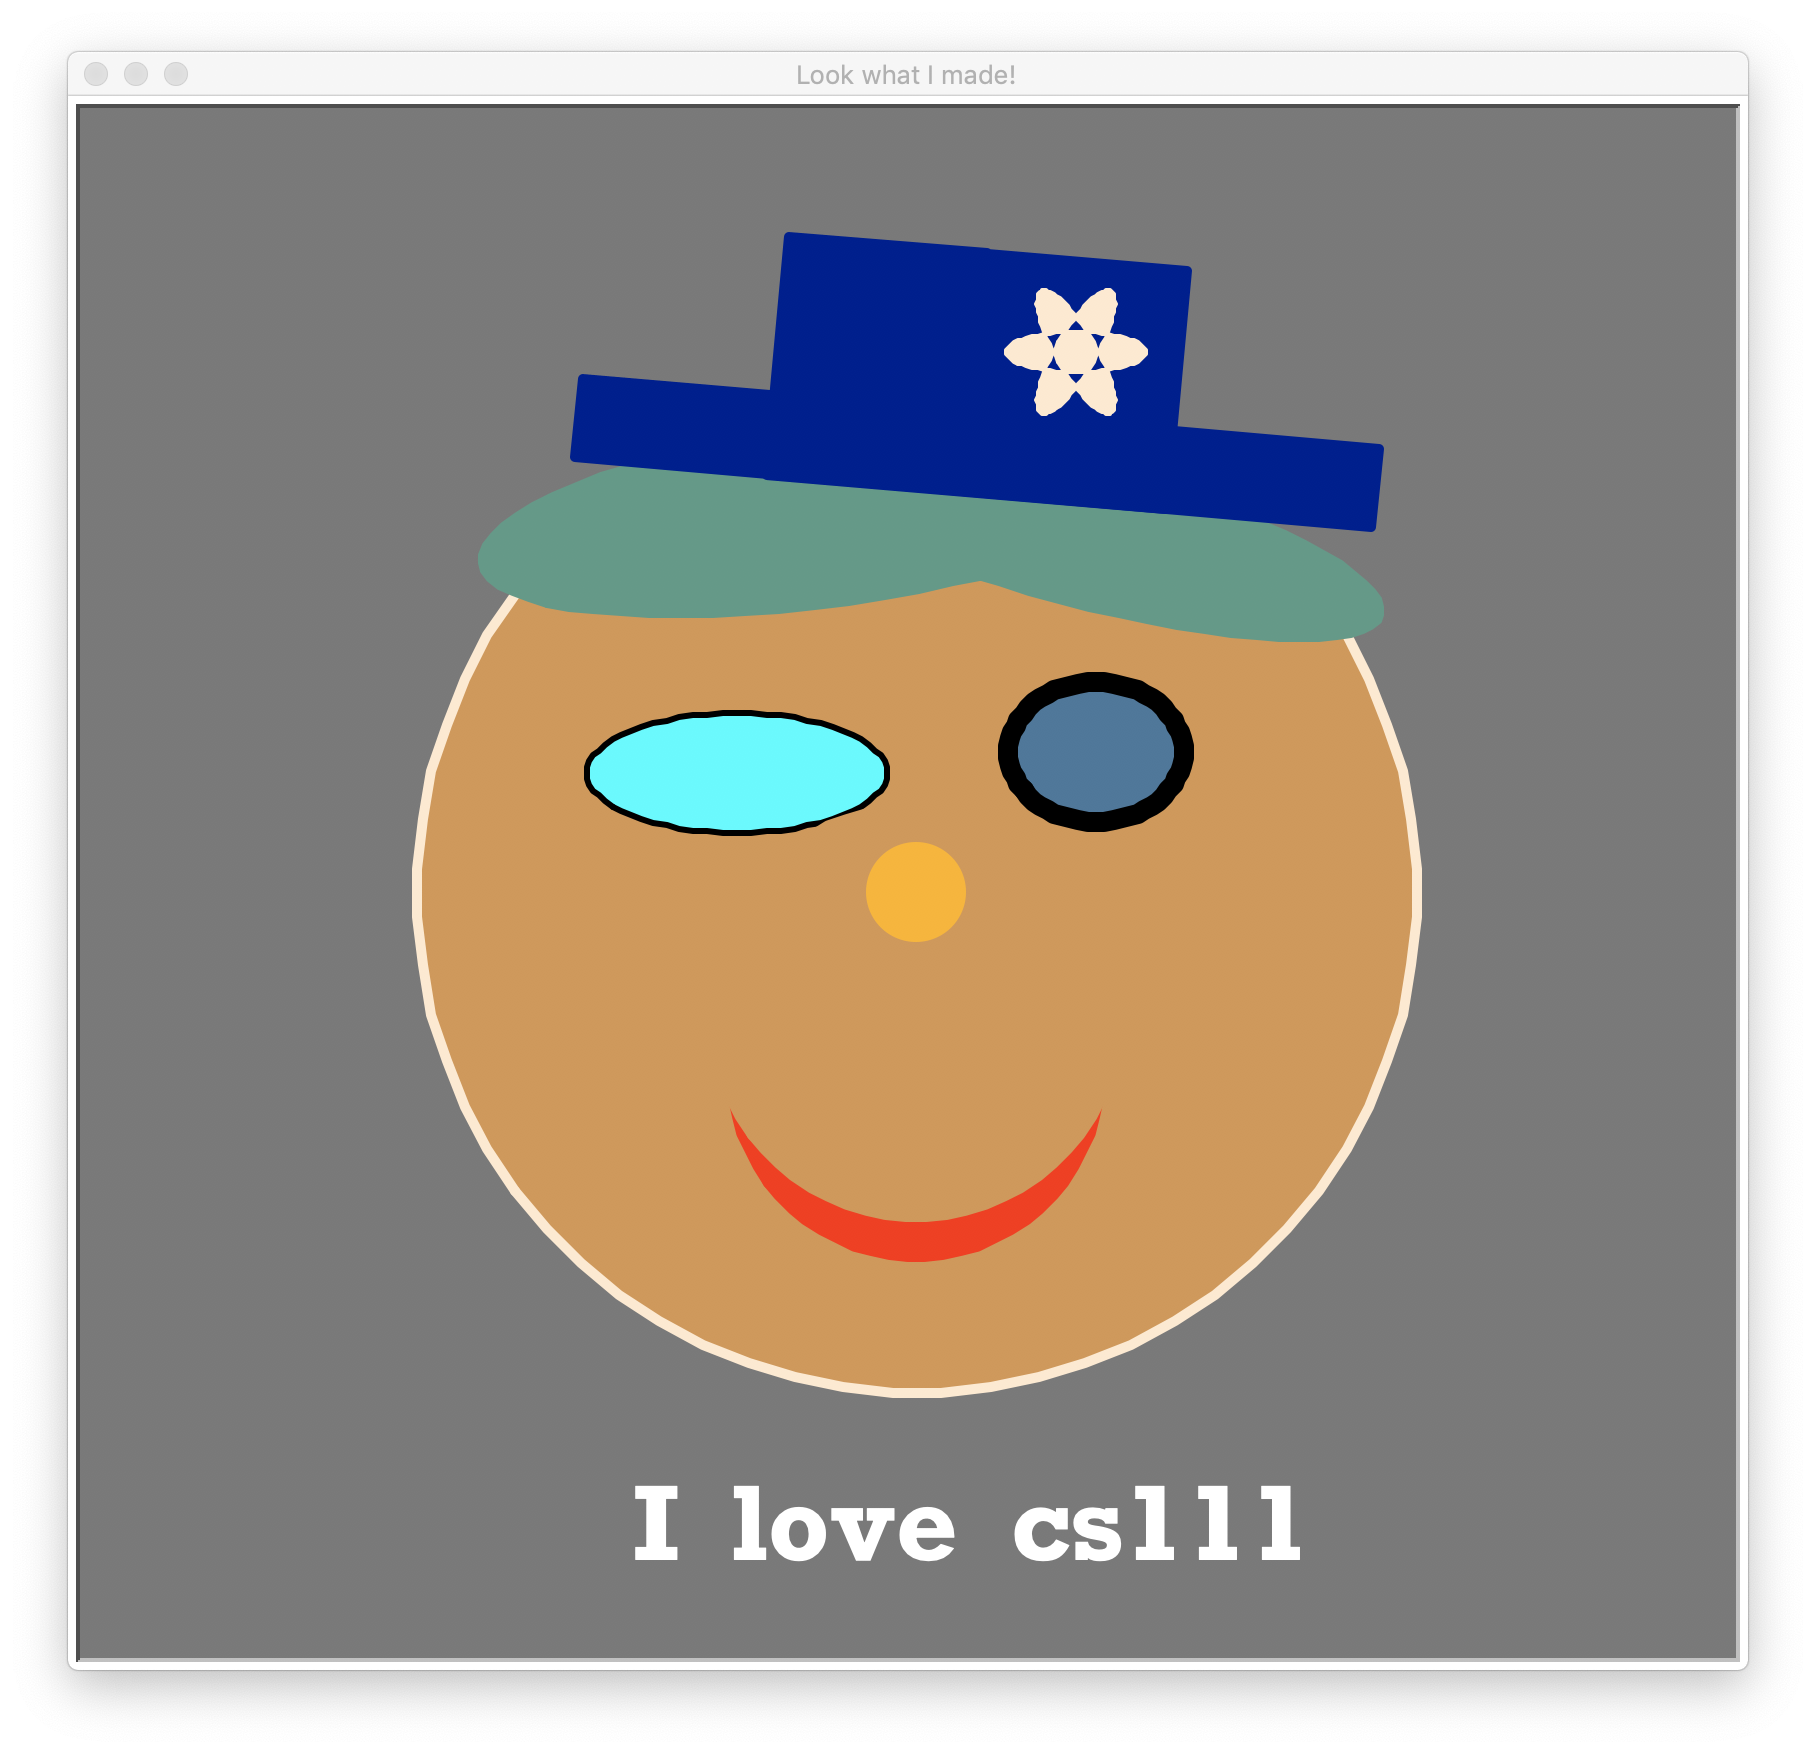
To explore more of the possibilities of the turtle and turtleBeads
libraries, we'll work on drawing a face. Below is one possibility. You
and your partner have creative freedom in this task. The goal is to learn
how to make shapes appear; their precise color/location/dimensions are up
to you.
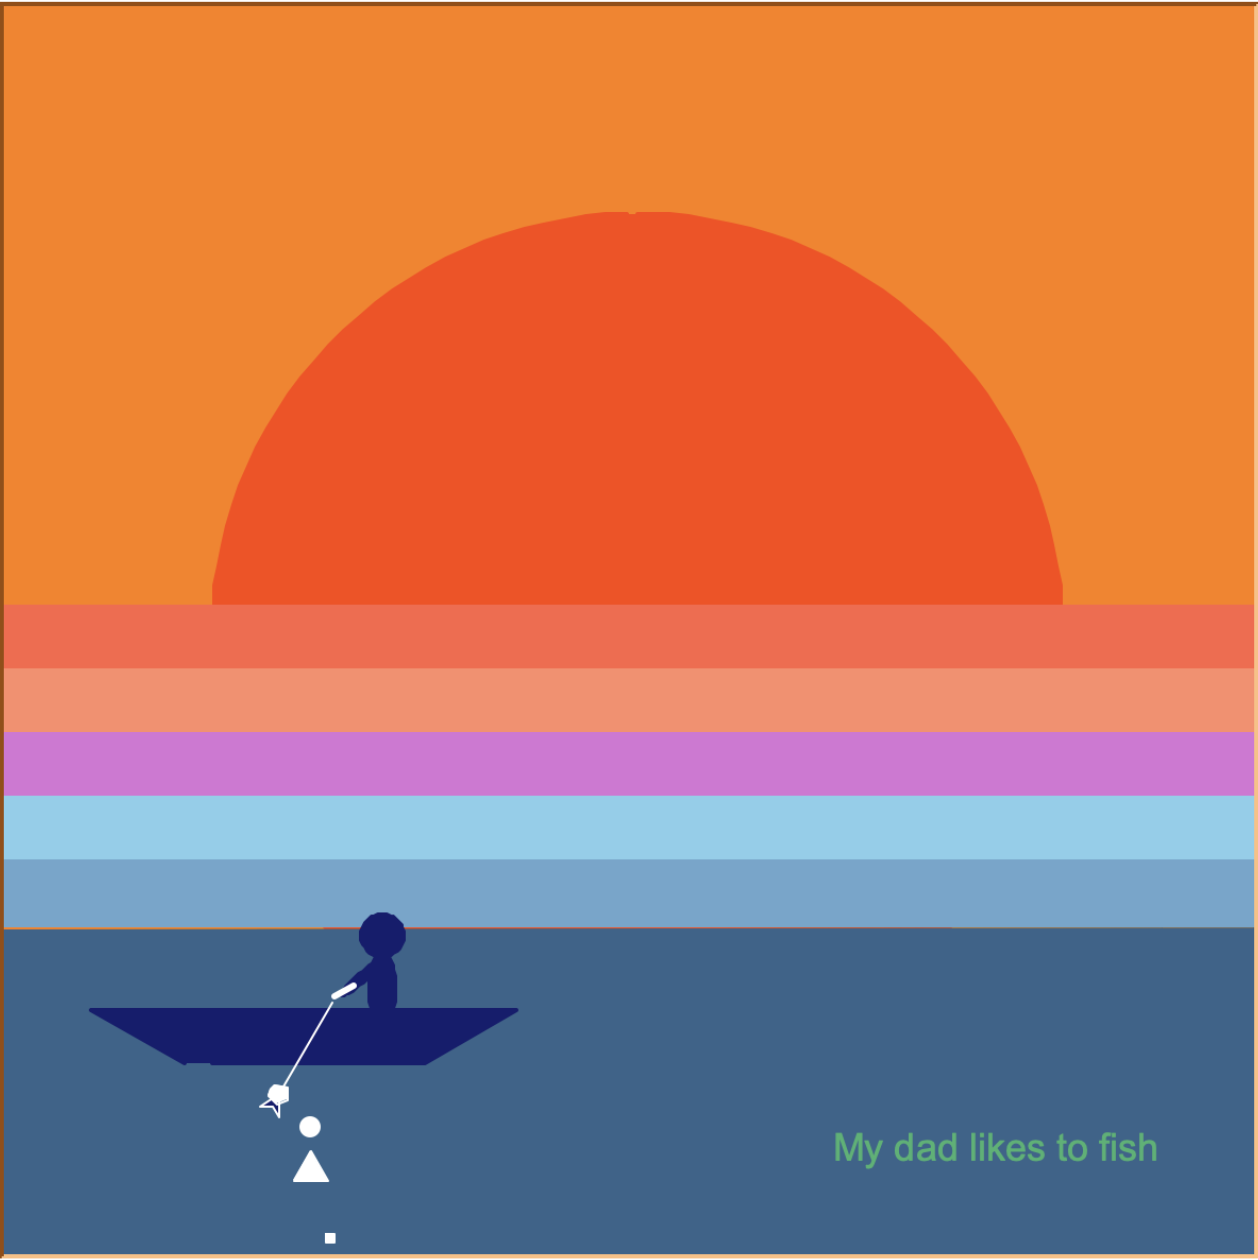
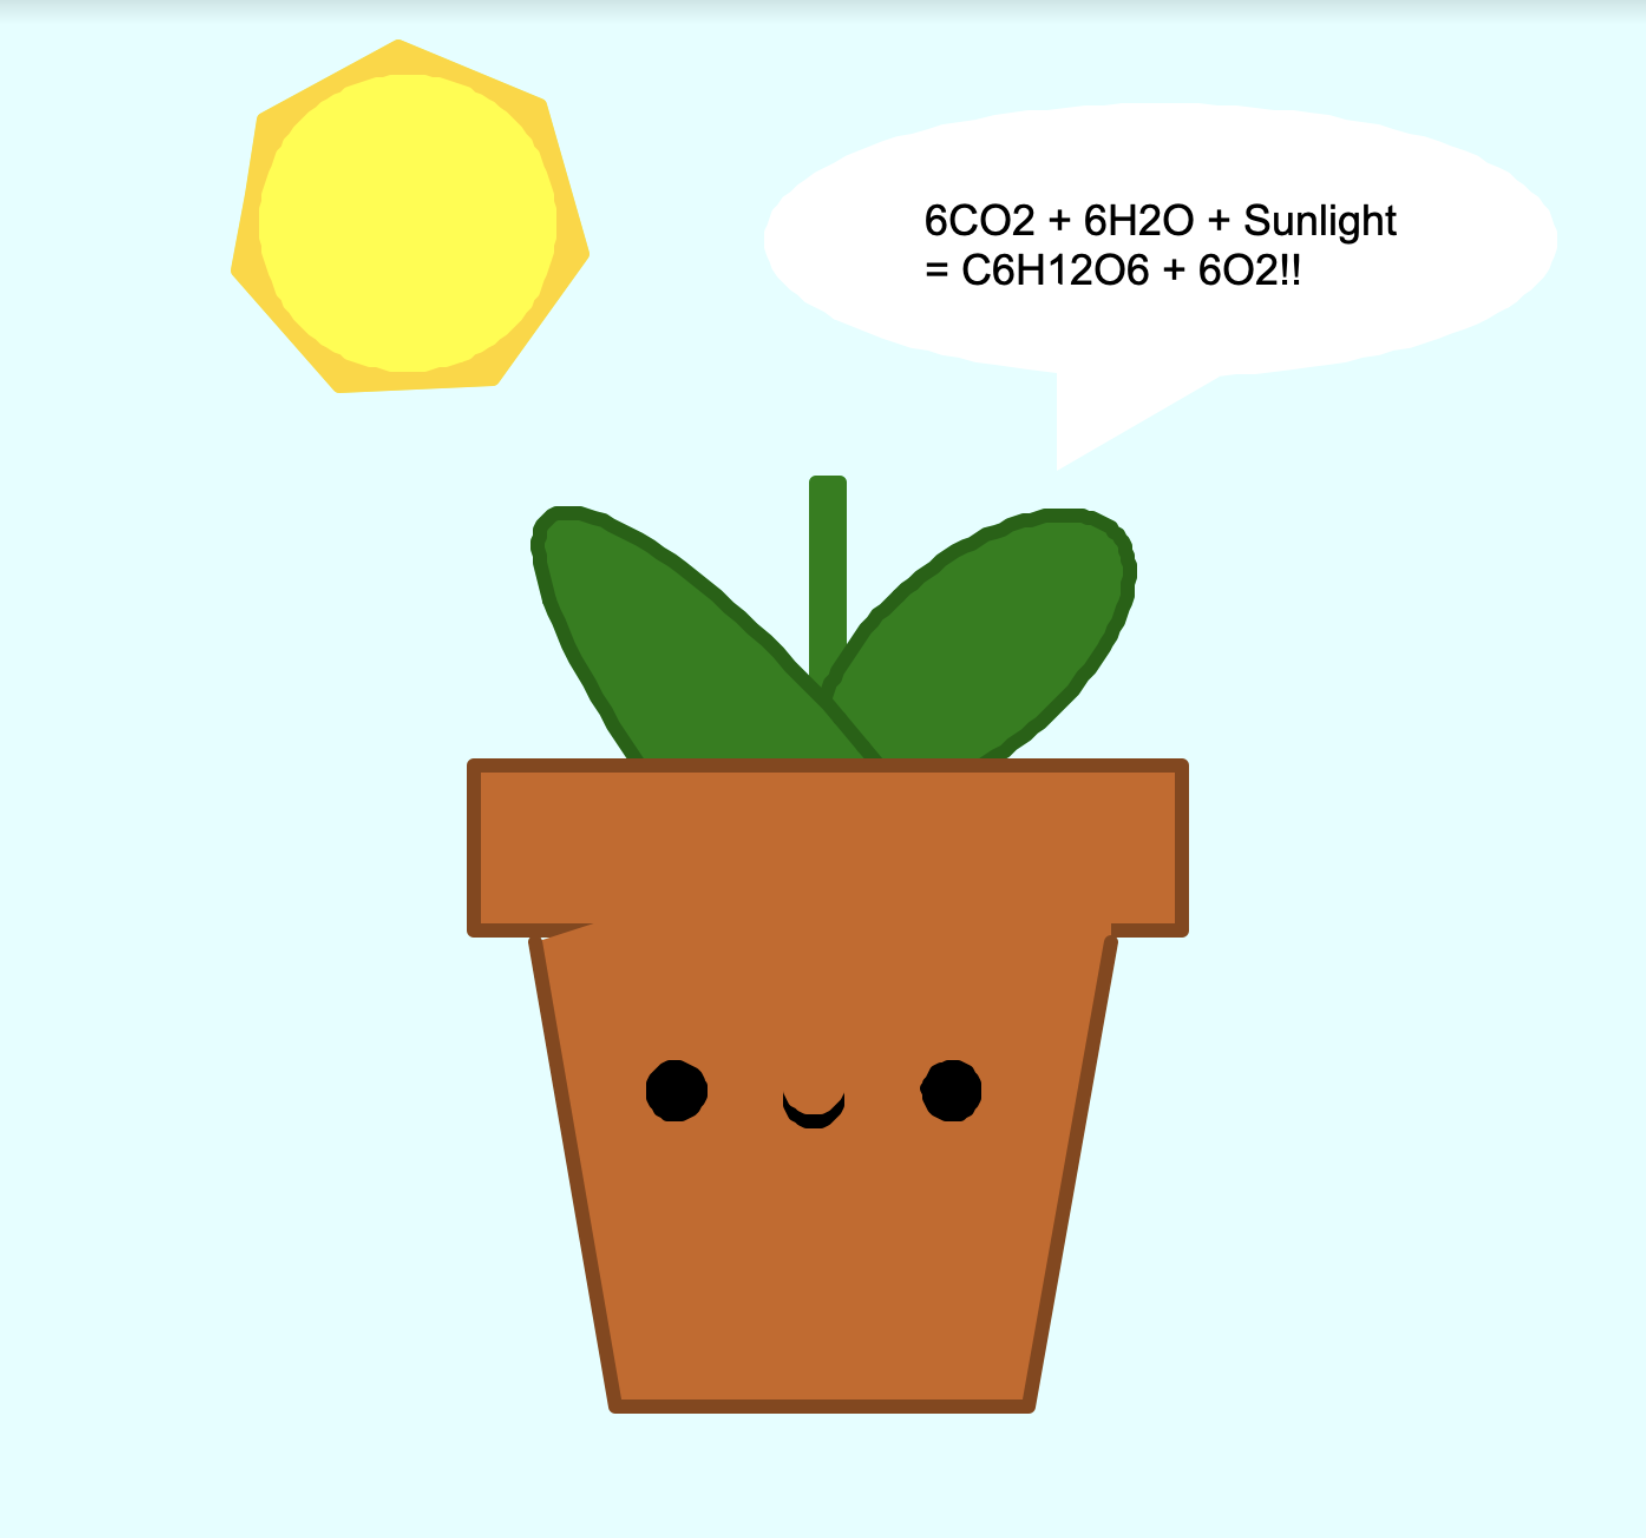
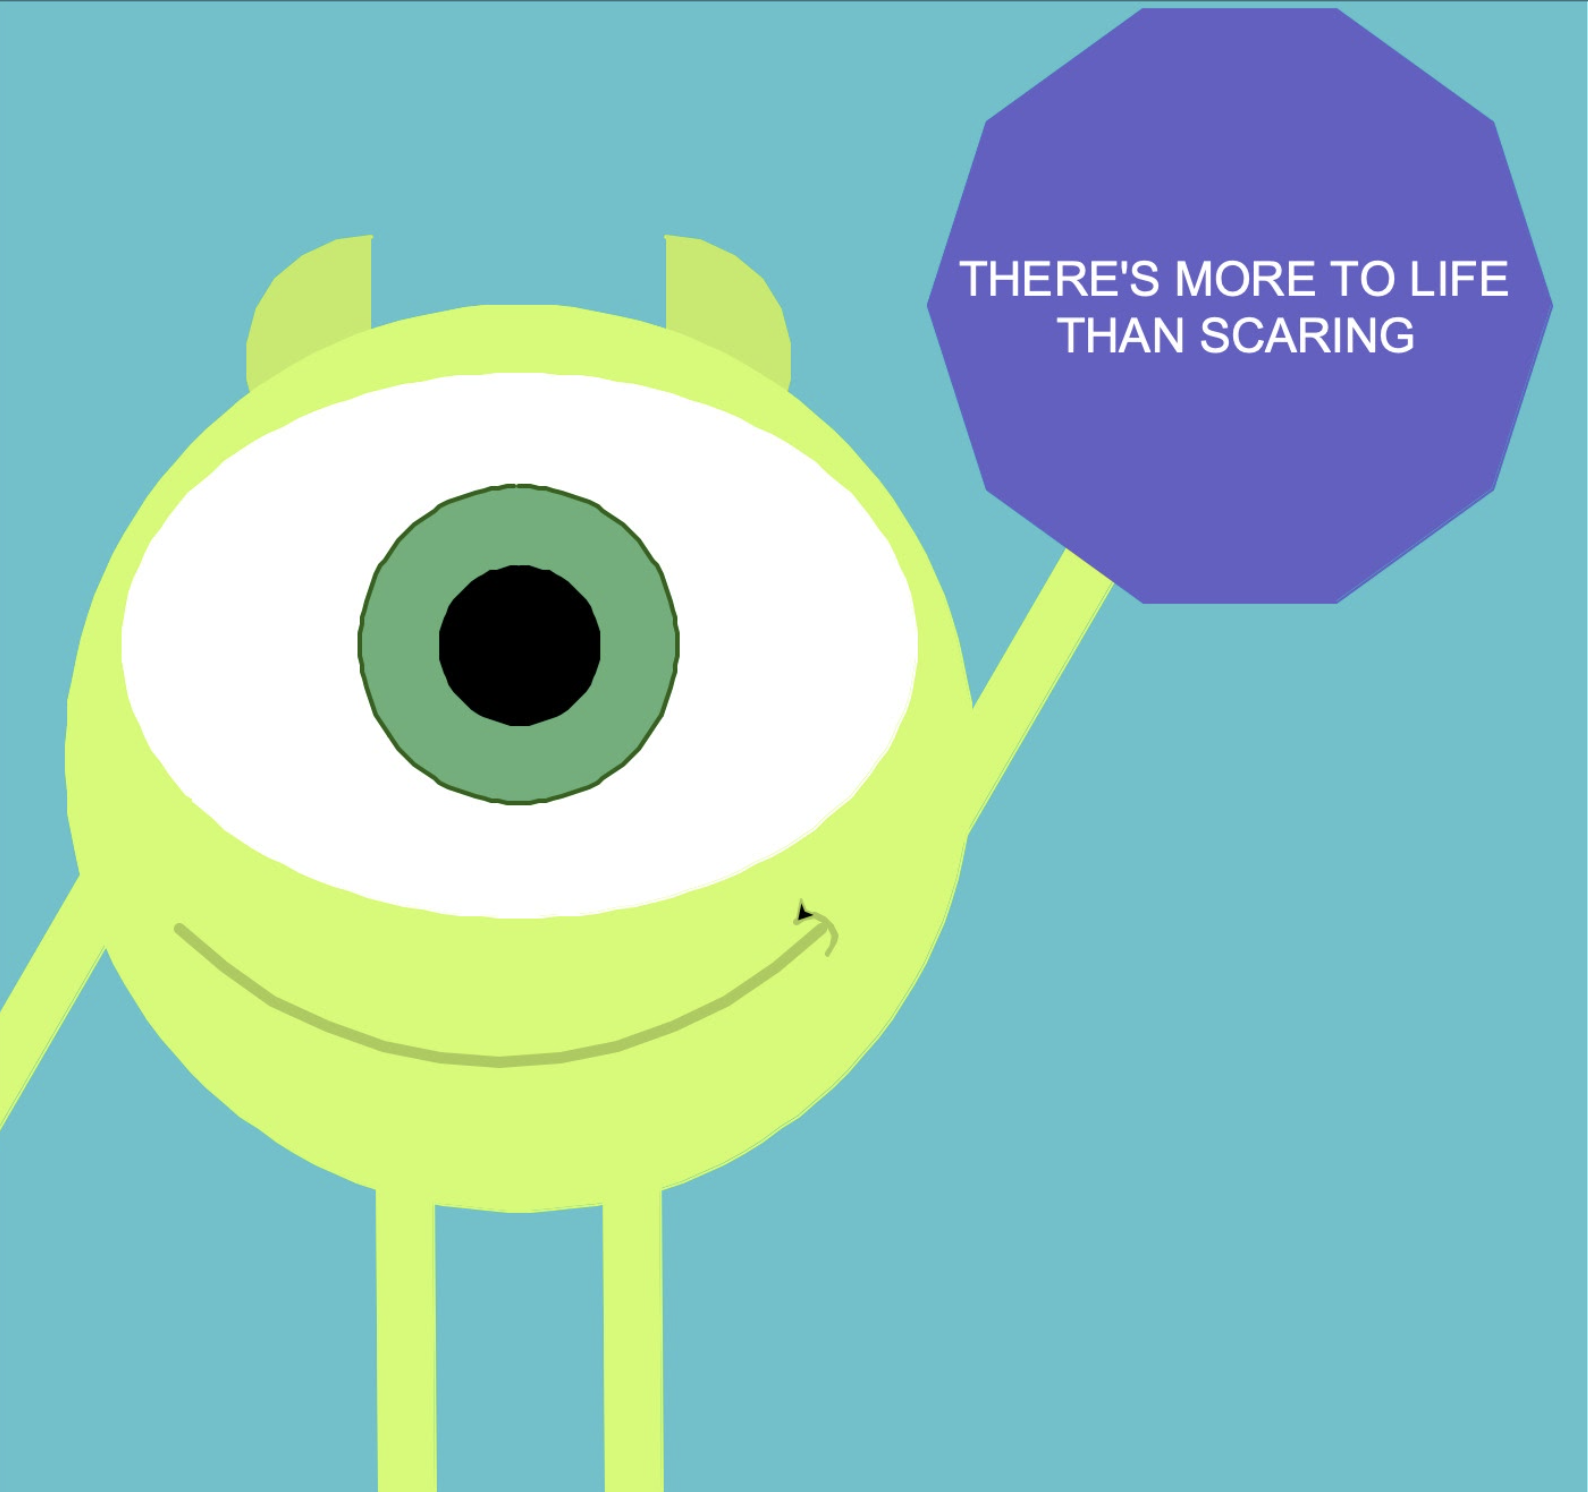
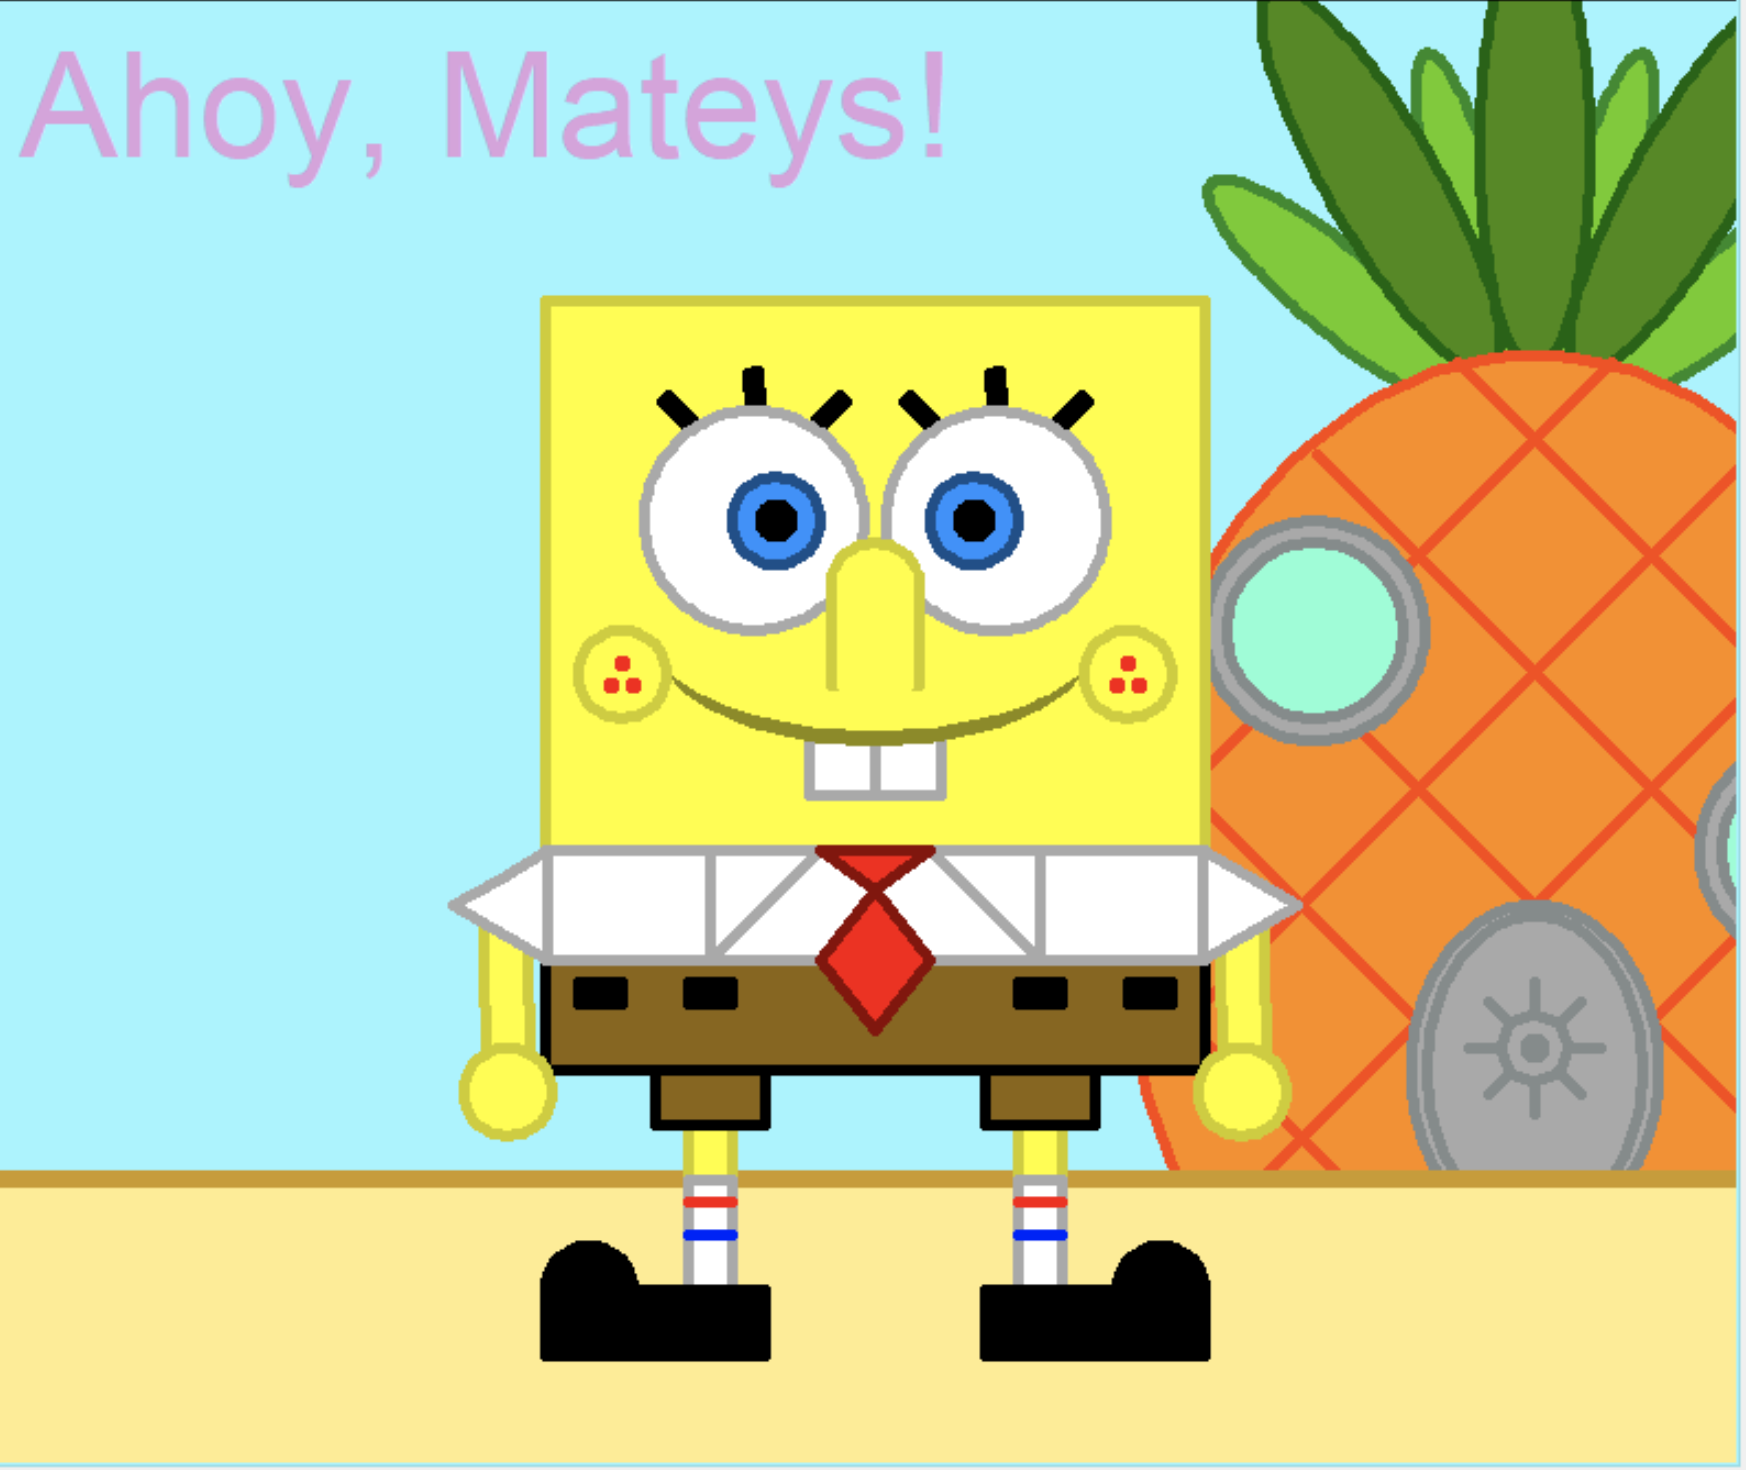
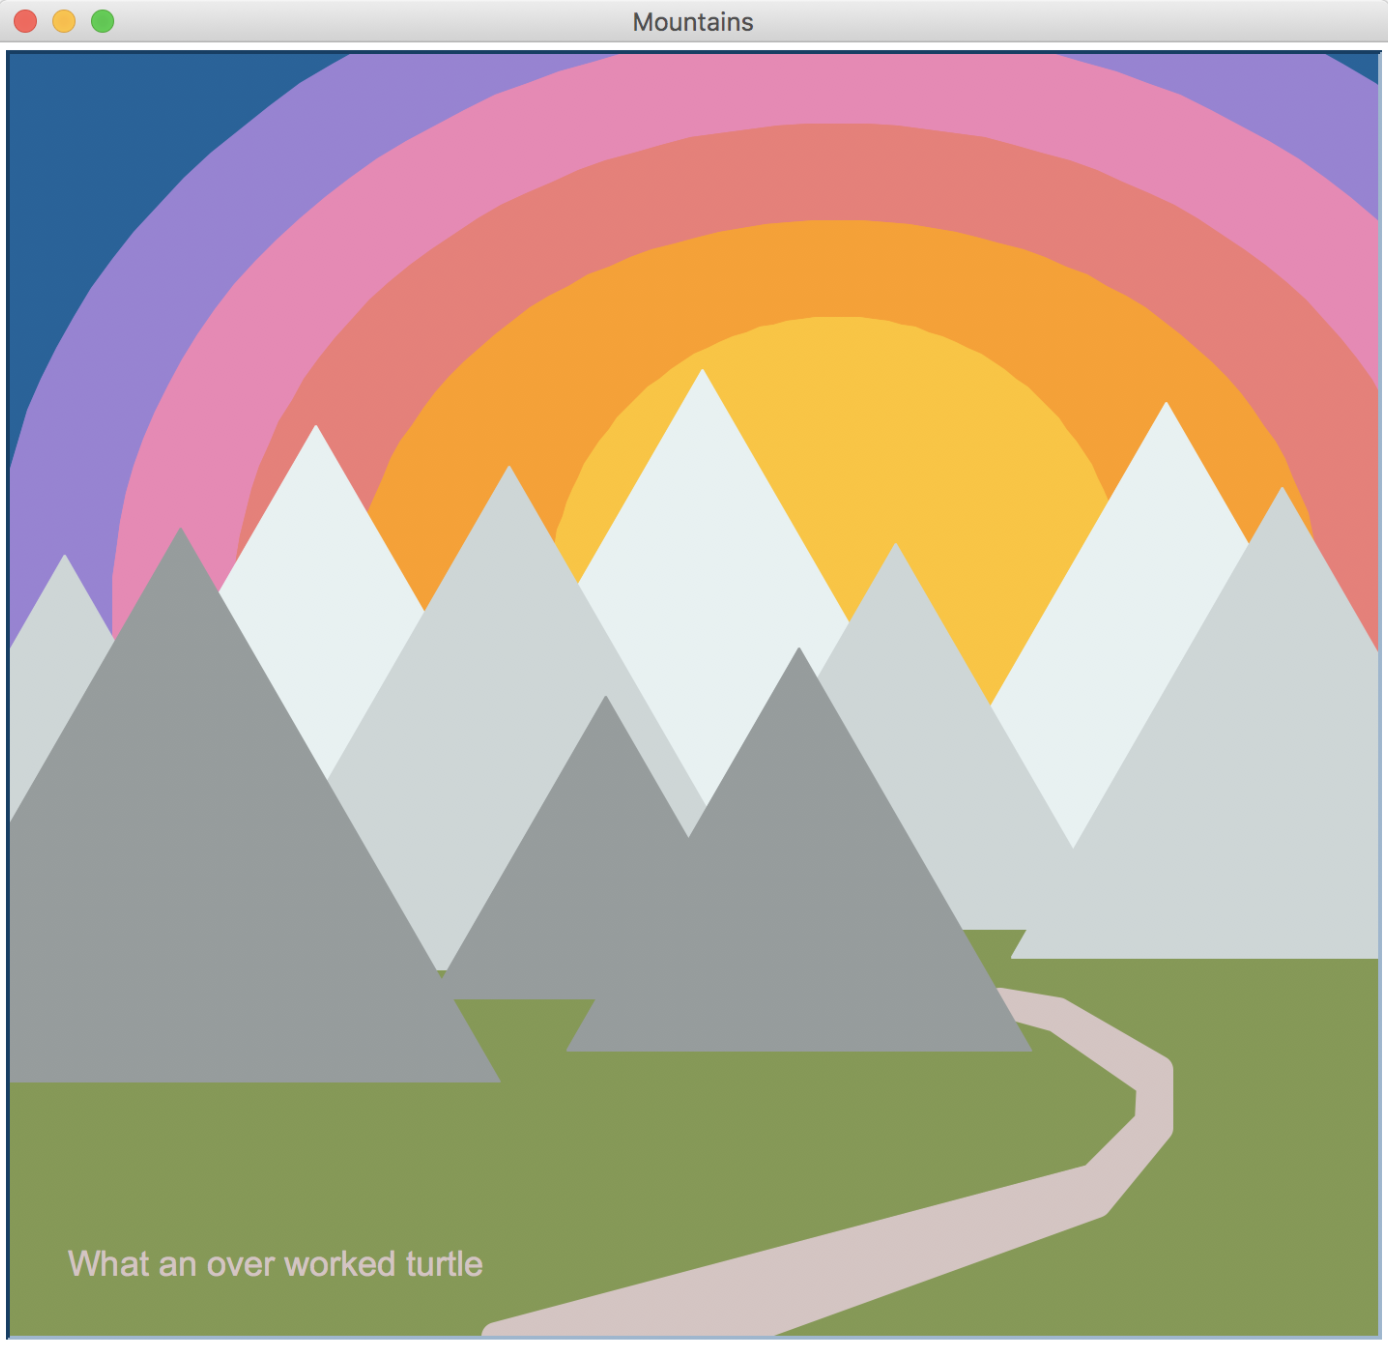
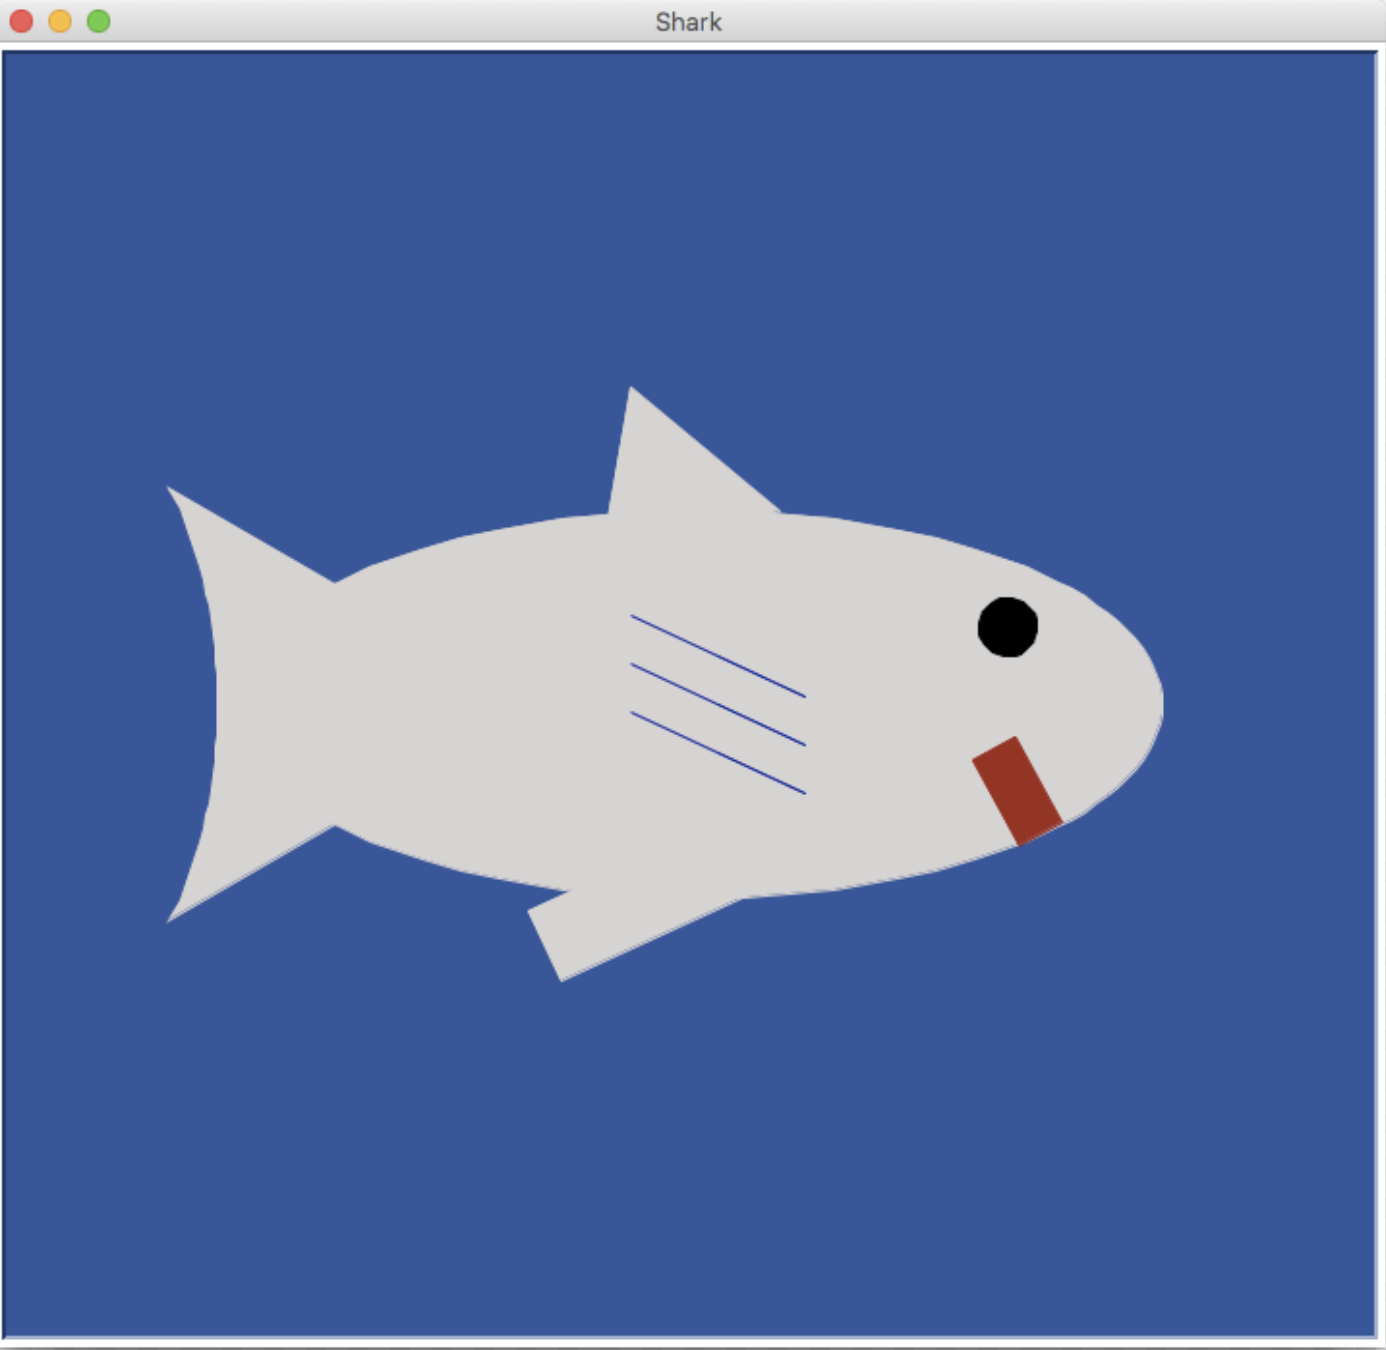
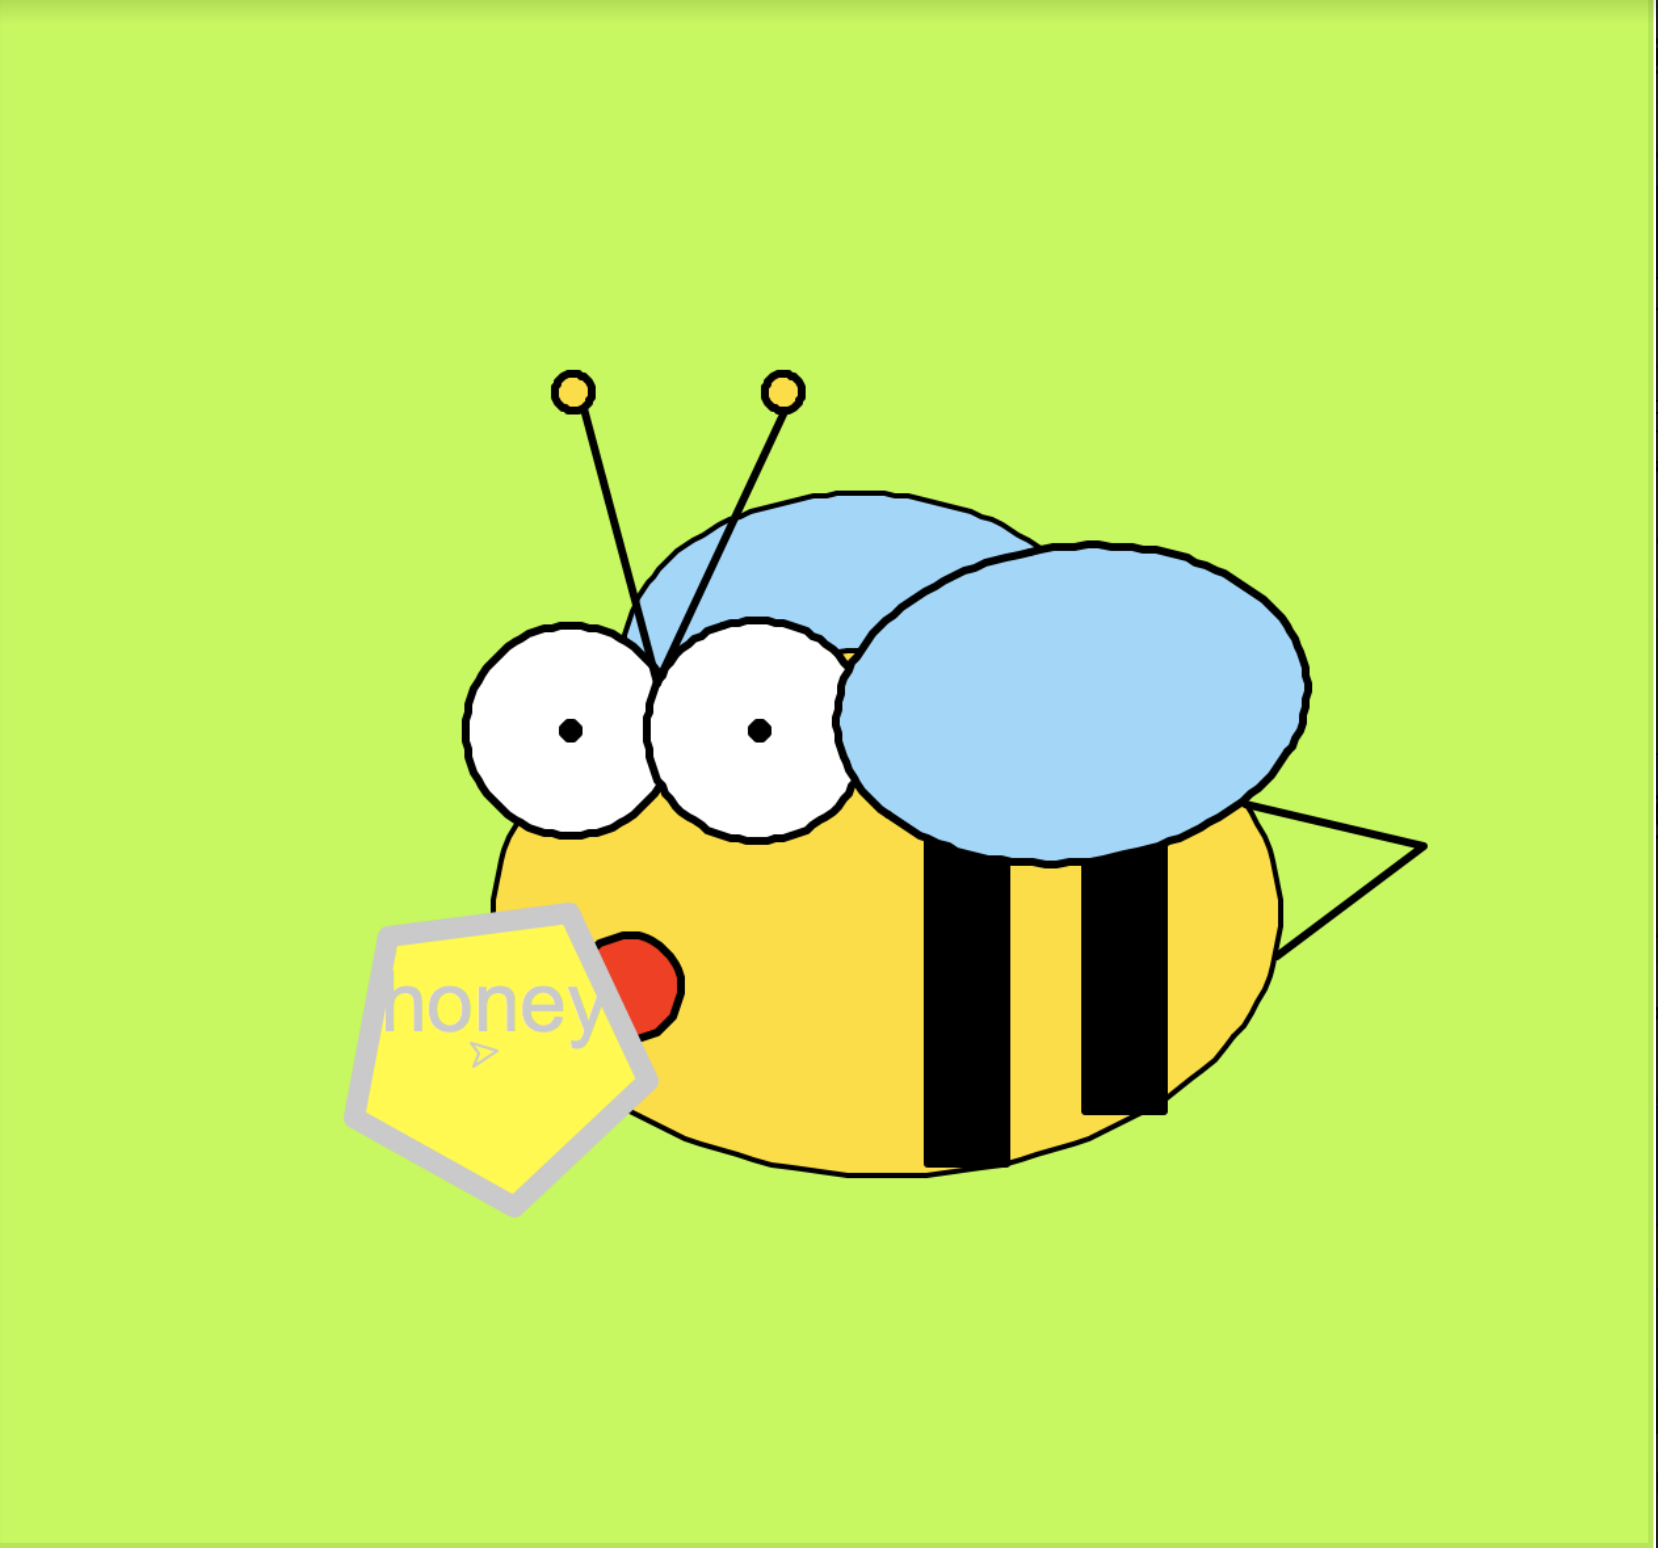
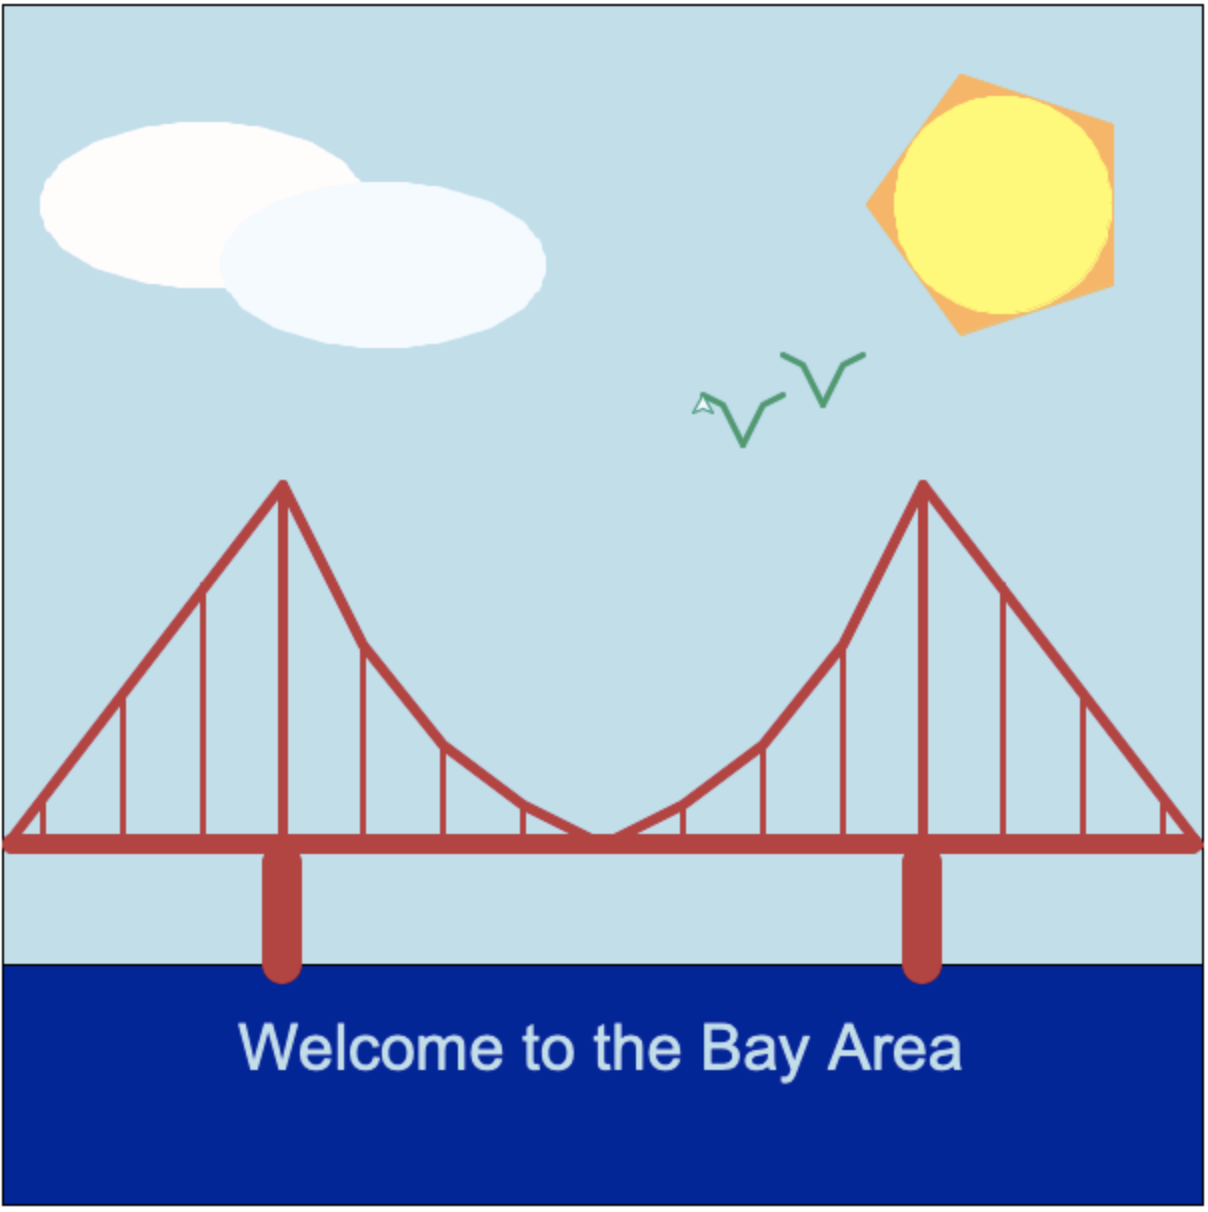
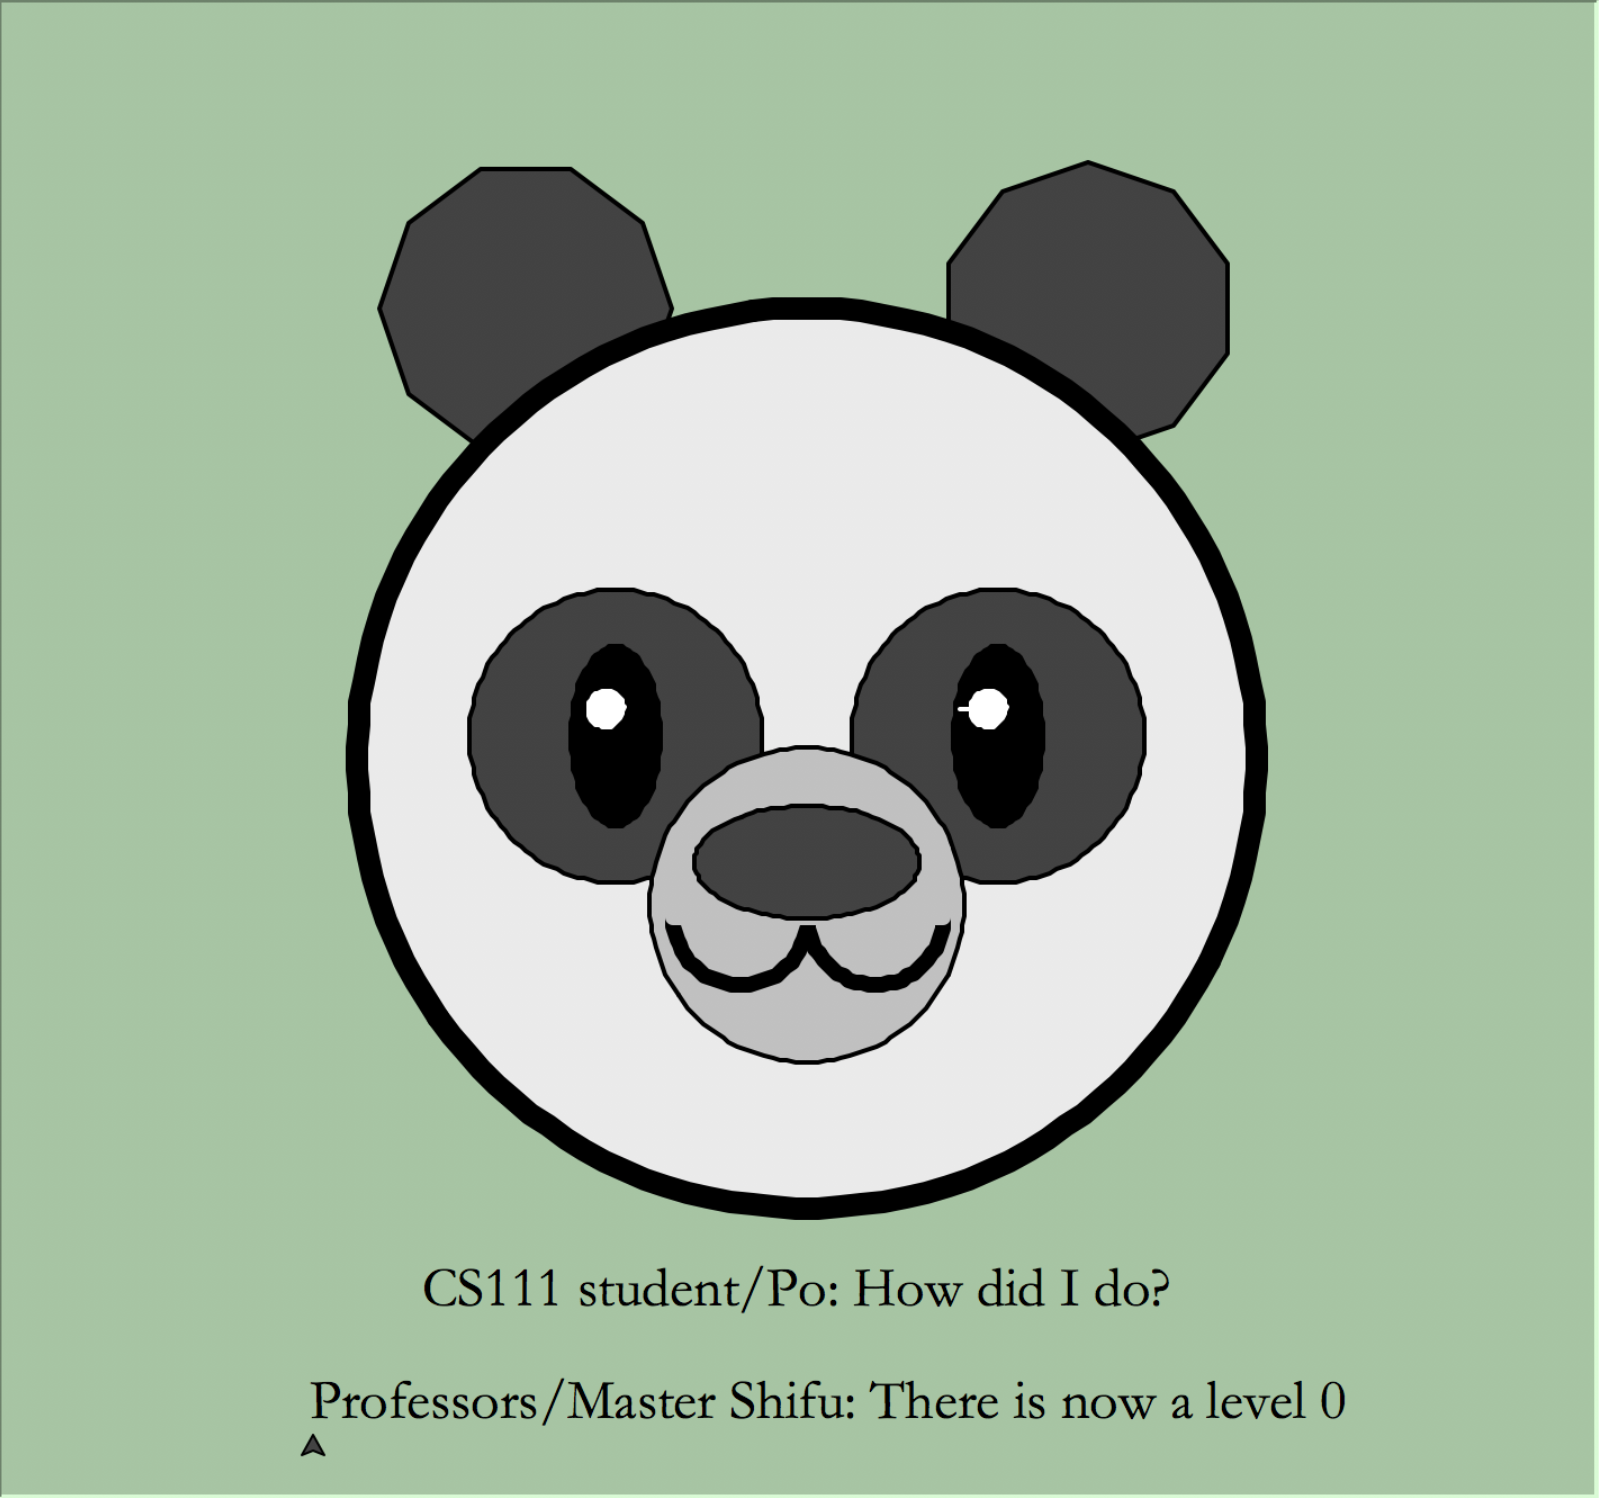
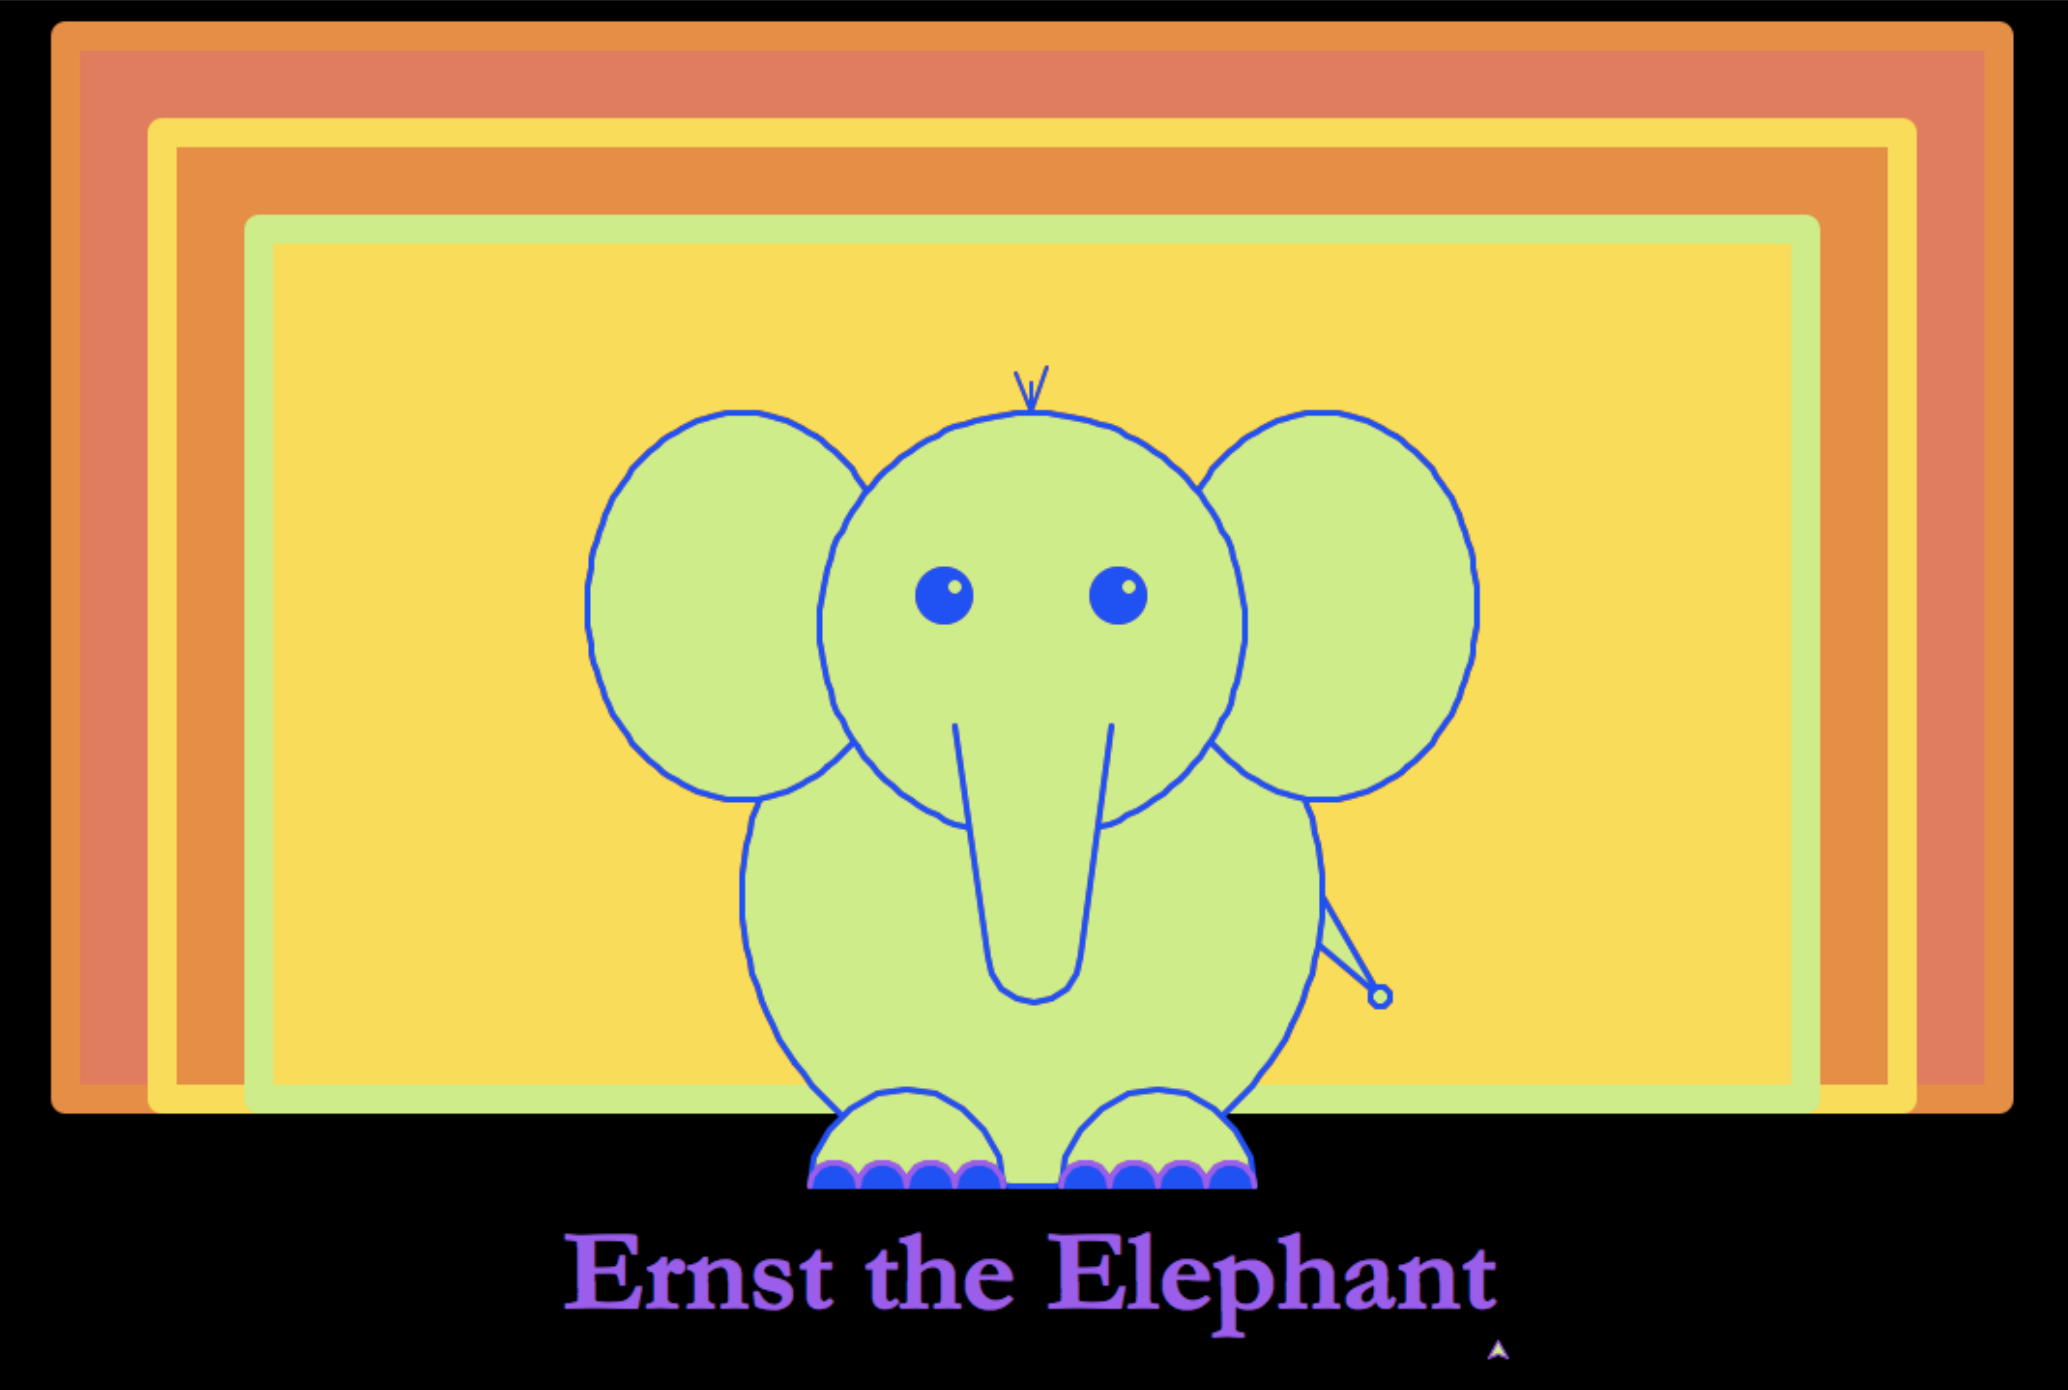
...but to get you inspired with what else you'll be able to create, here are some scenes created by past CS111 students for this week's problem set:
(Hover a thumbnail to see a larger view)

References
These resources will be useful whenever you're working with turtles:
Step 0: Start a new file and imports
For this task, create a new file named smiley.py (make sure to save
it in your lab01 folder where turtleBeads.py is, or else importing
turtleBeads will not work).
As we did in the previous part, we'll need to import turtle to use
drawing commands. We might as well import turtleBeads as well for the
extra functions it provides. At the top of your new file, start with a
comment indicating your names and the purpose of the file, and then add
code to import those libraries, like this:
# Authors: Peter and Sohie
# Purpose: CS 111 lab 1 smiley face

from turtle import *
from turtleBeads import *
Step 1: Where did that turtle canvas come from?
Note that when you execute turtle commands, the canvas automatically
pops up. The canvas has a default size (700x650), default color (white)
and default title ('Python Turtle Graphics'). We can change these canvas
properties.
-
title('Smiling') # changes canvas title in title bar -
bgcolor('PeachPuff2') # changes canvas background color (see color list below) -
setup(400, 300)   # changes canvas size to 400 wide and 300 high.
              # Must be done before any drawings occur.
              # In general, we will stick with the default turtle canvas size.
Step 2: Basic shapes: Circle face
Turtle graphics can create common shapes like circles, squares, rectangles, polygons and lines. You can also add text as well.
Let's start simple with a circle— draw a new circle like this:
drawCircle(250)The radius is 250. Where is the circle centered?
Fill in the circle
You can add begin_fill() before you draw the circle
and end_fill() after you draw the circle, and that will fill the circle
with color.
Don't like the default fill color? Choose your own fill color
Note that you'll need to specify your color before any drawing or filling happens. To specify the fill color, you can use these commands:
-
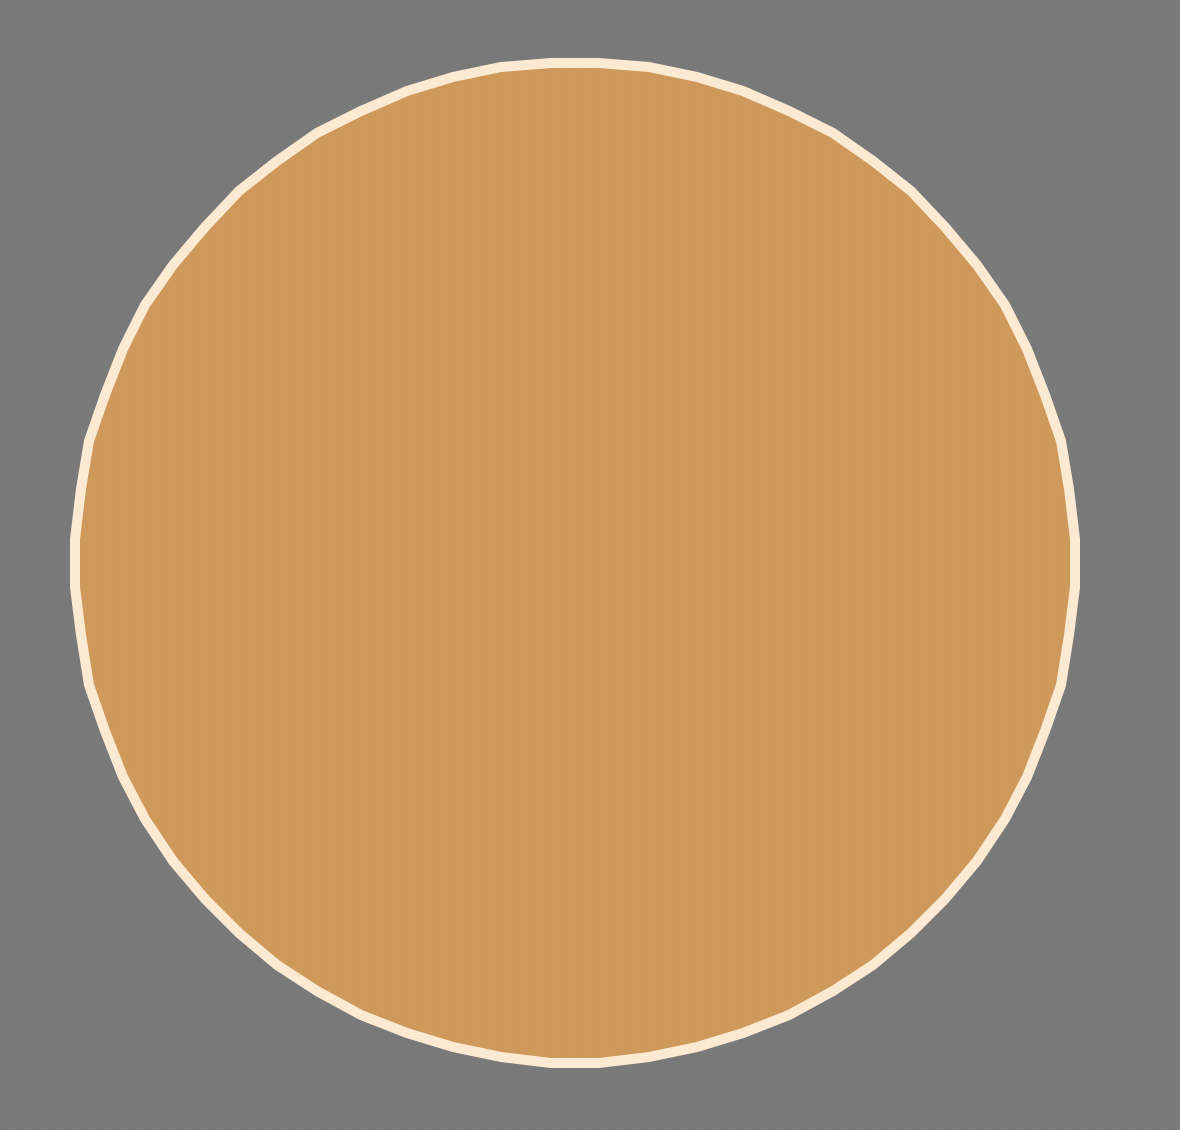
fillcolor('tan3') # sets the fill color -
pencolor('bisque') # sets the pen color (outlines of shapes drawn)
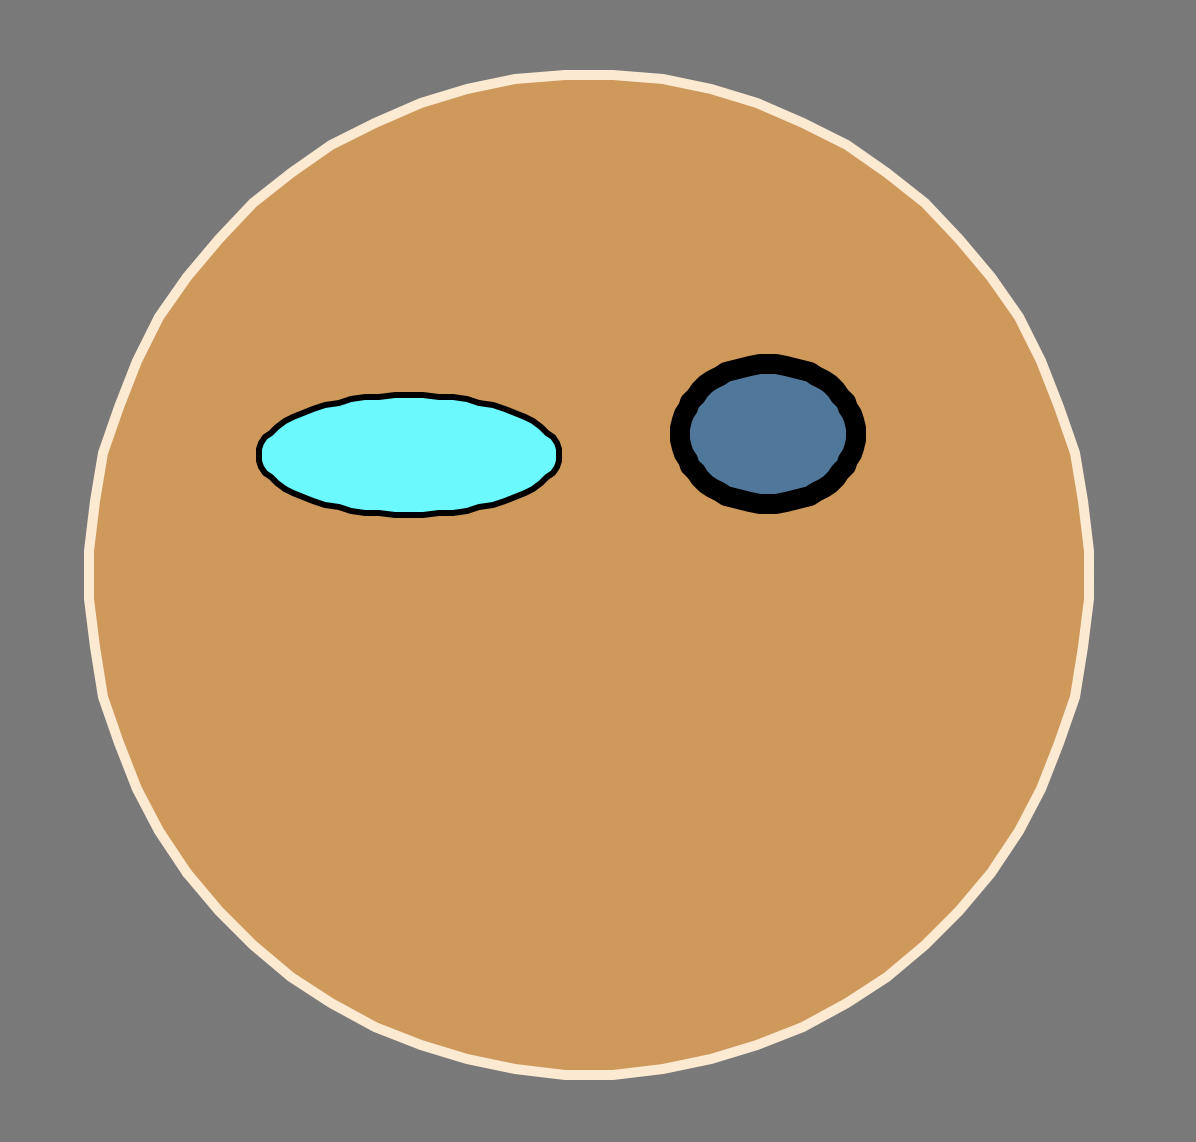
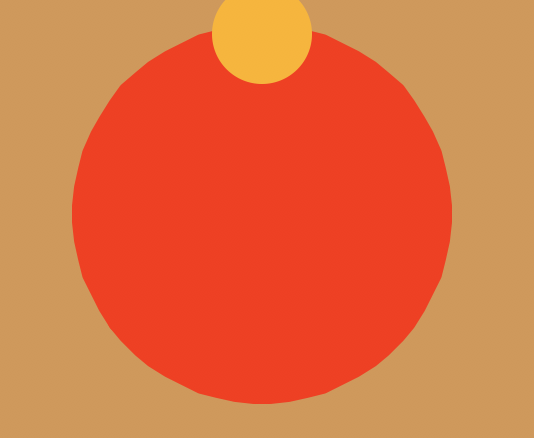
At this point, your face should look something like this:
Step 3: Add eyes (you decide how many and what shape/color)
Using what you learned above, add eyes on the face. You may want to use
the turtleBeads teleport function to
position the turtle for drawing each eye so that you don't have to worry
so much about what direction to use to get the turtle where you want it
to be. Experiment a bit to figure out what coordinates work best.
You can find the available turtleBeads
shapes here.
You can refer to the available turtle colors page to pick your eye color(s) of choice.
Note: Drawing faster
As you add more pieces to your face, it becomes harder and harder to work
with since you have to wait a while to see what gets drawn. You can use
the speed function to control how fast the
turtle moves, but this has limits. To draw things instantly, you can use
the noTrace from turtleBeads before
you start drawing, but if you do that, you must use
showPicture at the end of your code
or Python may randomly decide to skip some of your commands.
If you still want to watch the turtle move for part of your picture, put
showPicture before the part you want to watch being drawn, and also add
a call to doTrace to resume normal
drawing.
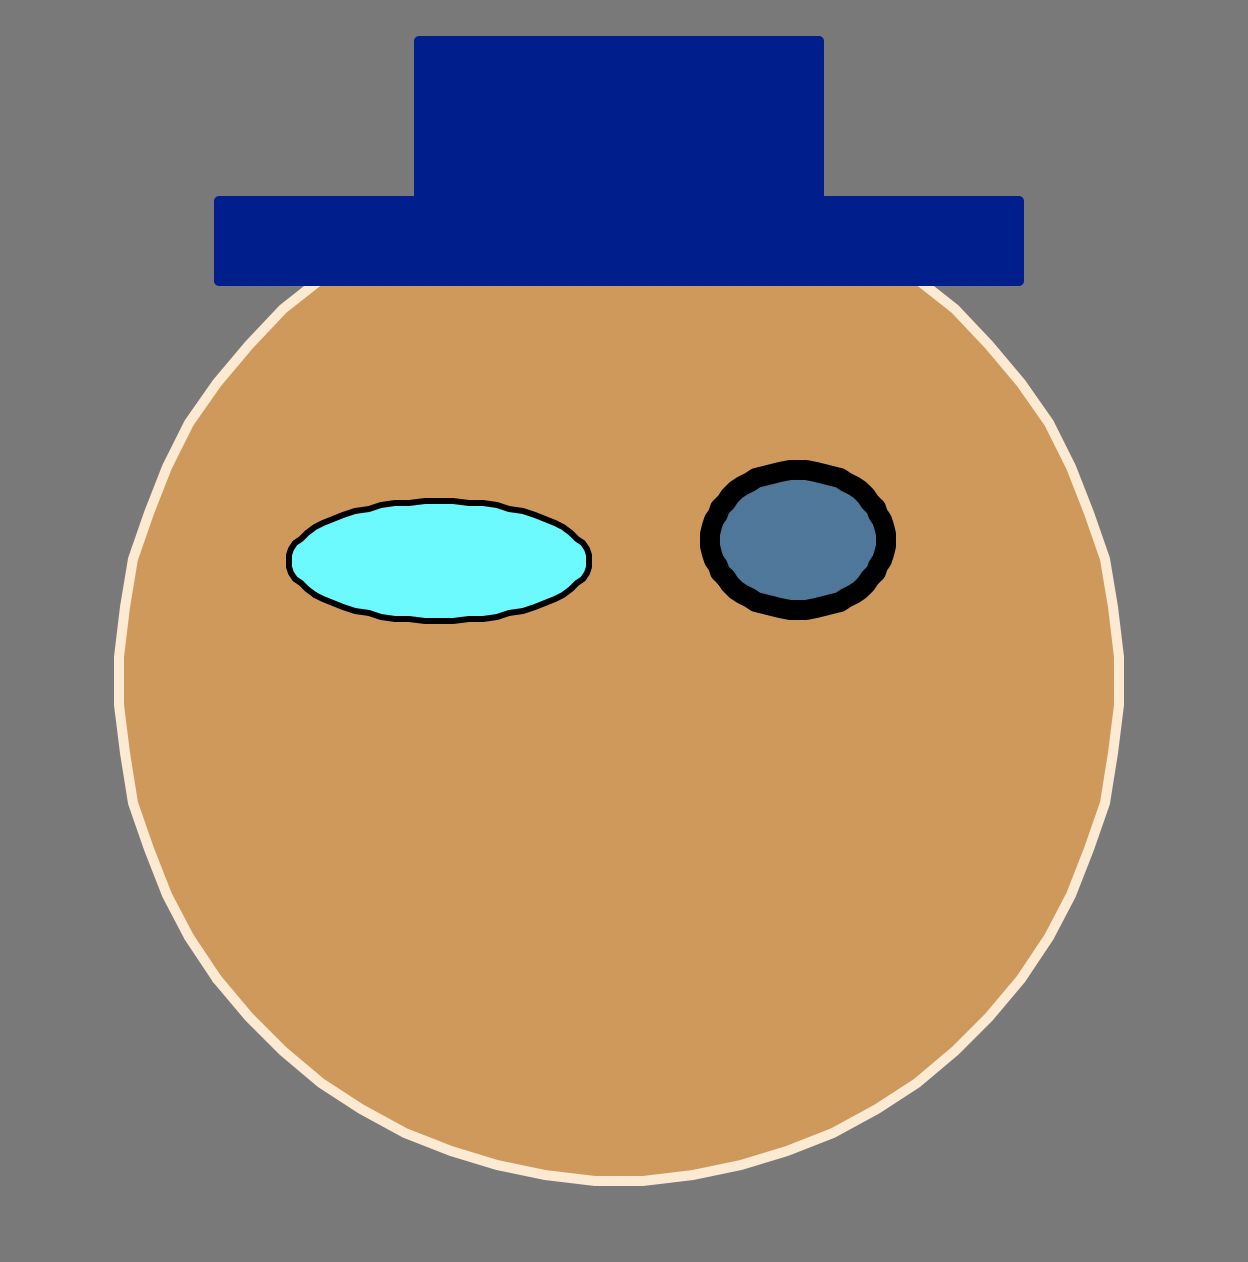
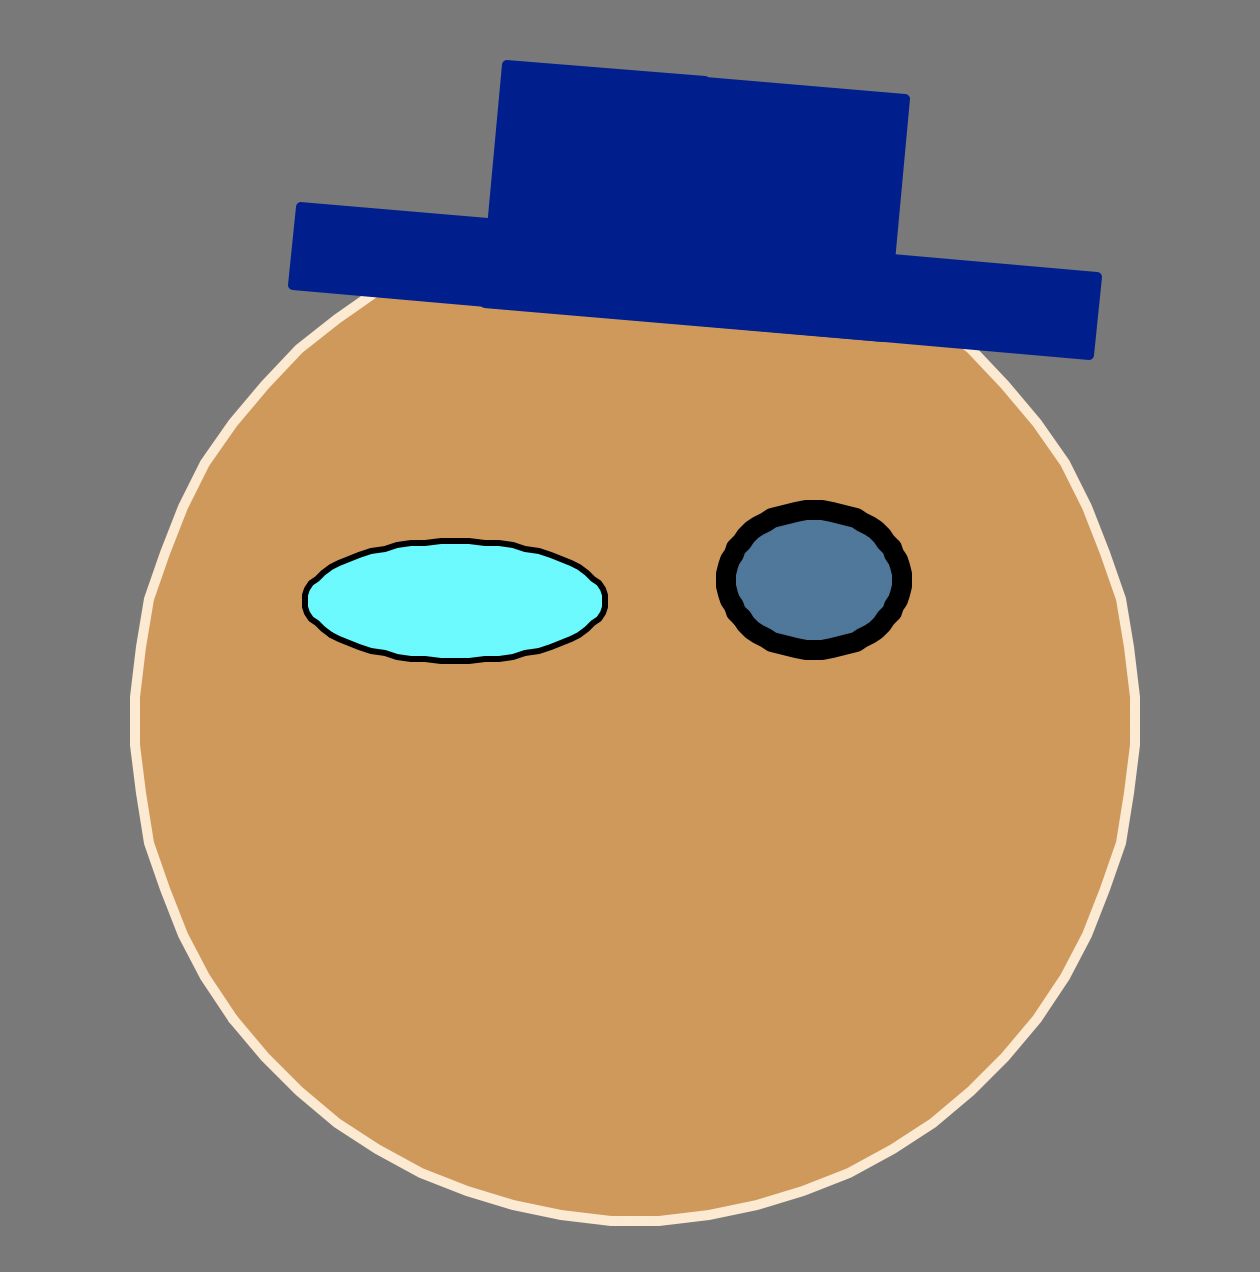
Step 4: Make a hat (use rectangles or lines)
Using the turtle shapes documentation, and what you learned about circles above, create a hat made of one or more rectangles.
Rectangular hat examples:
Simple line hat:
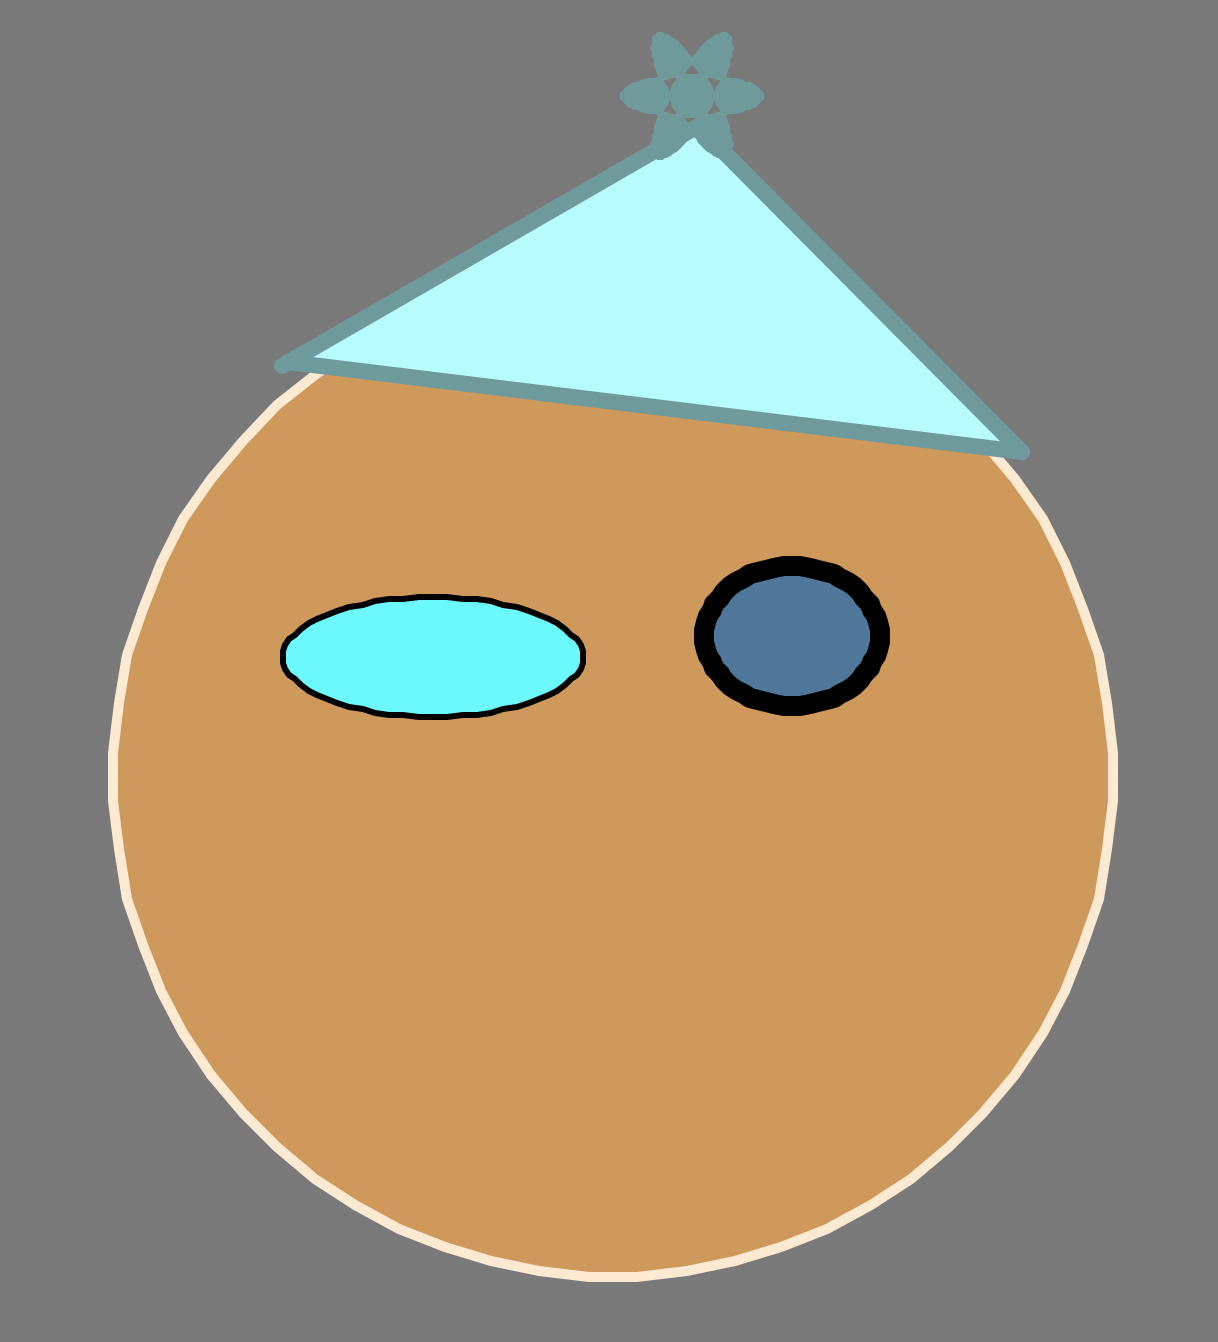
This hat uses simple lines (forward, backward and left and right turns) with a three-ellipse pom pom on top.
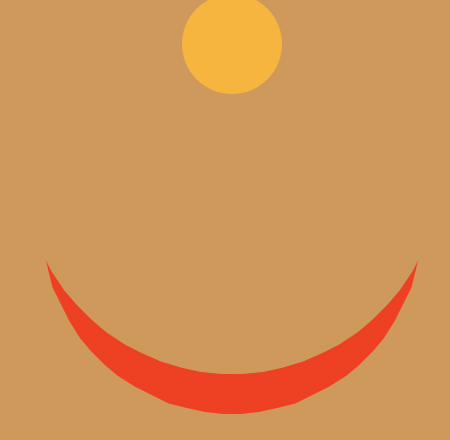
Step 5: A mouth and a nose
To create a curved “half moon” shape for the mouth, we'll get creative by overlapping two circles like so:
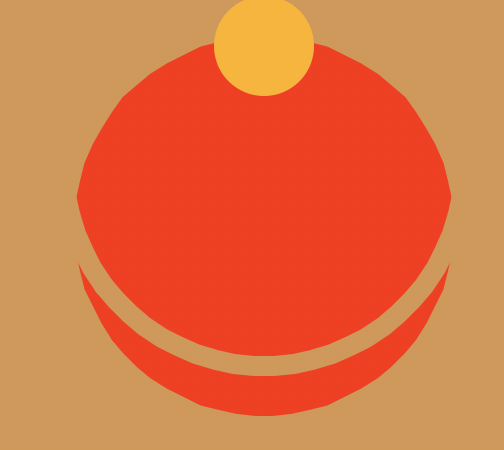
We start will a full red circle. Then we overlap another circle on top of the first circle, and we fill the second circle with the face color. This makes our top circle blend in nicely with the face as if it's not even there, like this:

Note that you need to add the nose after the mouth, otherwise, the "cover up" mouth circle will hide the nose. The most recently drawn turtle shapes will appear on top of previously drawn shapes.
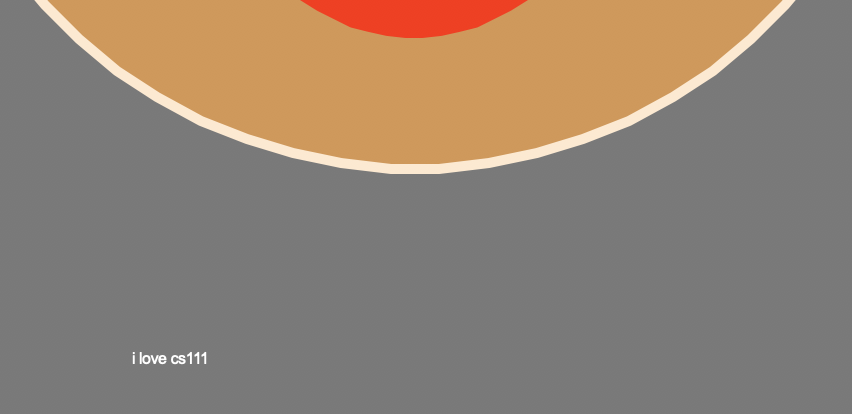
Step 6: Add a caption
For our finishing touches, let's add some text to our smiley face.
Position your turtle where you would like the text to appear, and then use the drawText command like this:
drawText("I love CS111")Can't see your text? What color is it? Where was your turtle positioned when you wrote? Is it showing up tiny, like this?
You can make the font bigger like this:
fontsize(45)
drawText("I love CS111")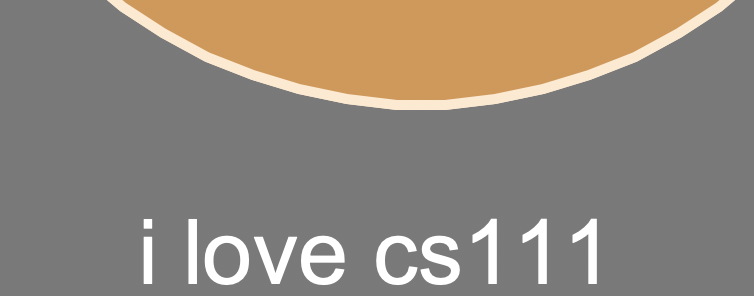
Step 7: How about some hair?
You have lots of option for head and/or facial hair: thick or thin lines, filled circles, or overlapping ellipses. Have some fun and add some hair to your face.
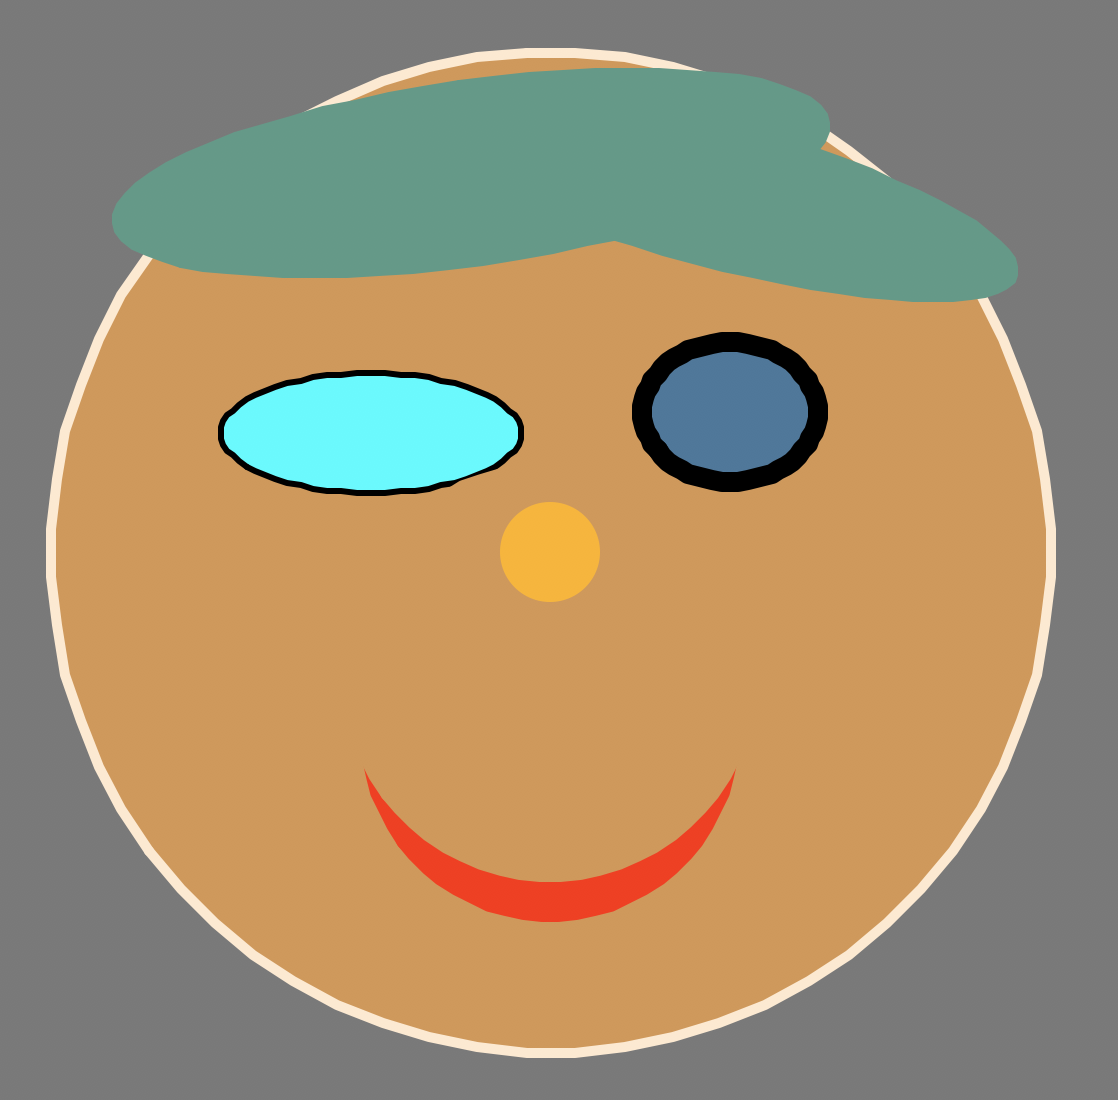
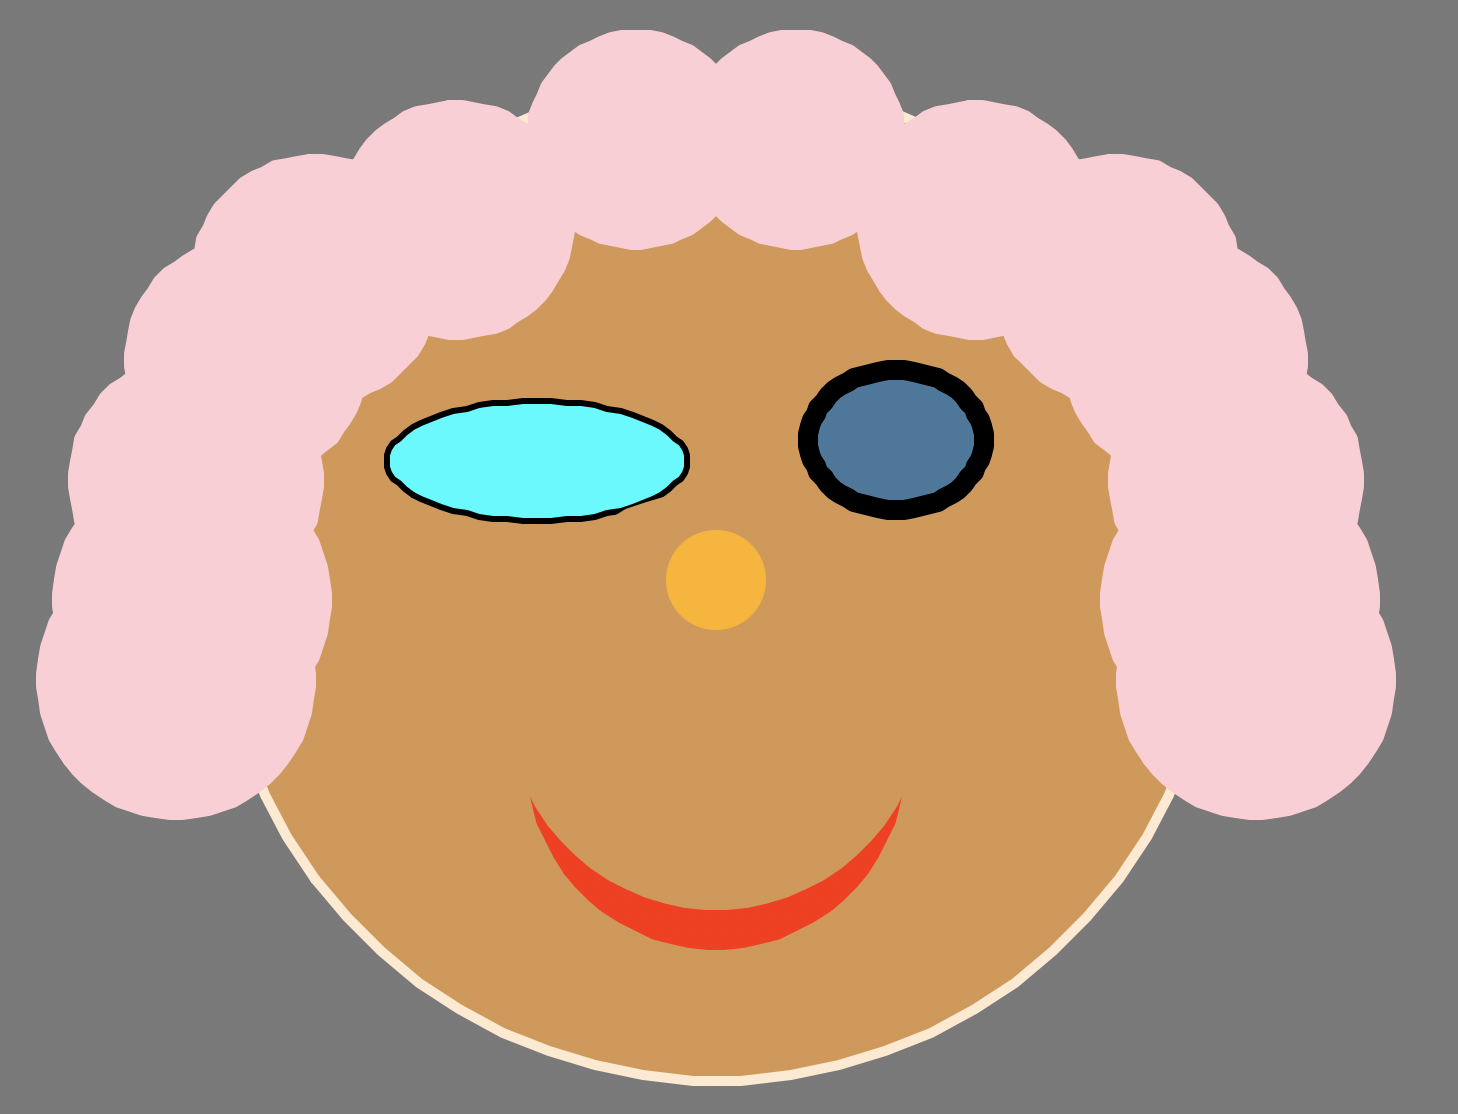
Table of Contents
- Lab 1 Home
- Part 1: Thonny intro
- Part 2: How to work on projects
- Part 3: Your first program
- Part 4: Multimedia exercises
- Part 5: Save your work