Note on Labelling
The sub-tasks in this section are marked Partner A or Partner B to indicate how to work on them, as in part 1 of this lab.
Lab 3, Extra: Functions with Python Turtles
Our goal in this part lab is to write a collection of functions that draw using Python's turtles.
Open lab03/turtleStuff.py to get started...
Task 0: CS logo
The CS department needs a new logo and is considering this design.

It would be helpful to see the design in different colors and sizes. To help in this process, you will write a logo function.
Your
logo function will accept two parameters:
size- The length of the squaremainColor- The color of the square
Your logo function will write the lowercase text "cs" in white, and always in
a font size that is half the square size. For example, if the square has size
30, the font will be size 15. Note that font size must be specified as
an integer. The font will always be bold Arial. logo will not return
any values; it merely draws.
Here is an example of how to use the write function to draw the lowercase text:
write("I love CS111", font=('Arial',45,'bold'))How to test your logo function?
At the end of your file, paste the following code that invokes your logo function.
if __name__ == "__main__":
   #  test one logo invocation
   logo(50, 'red')
which produces this drawing:
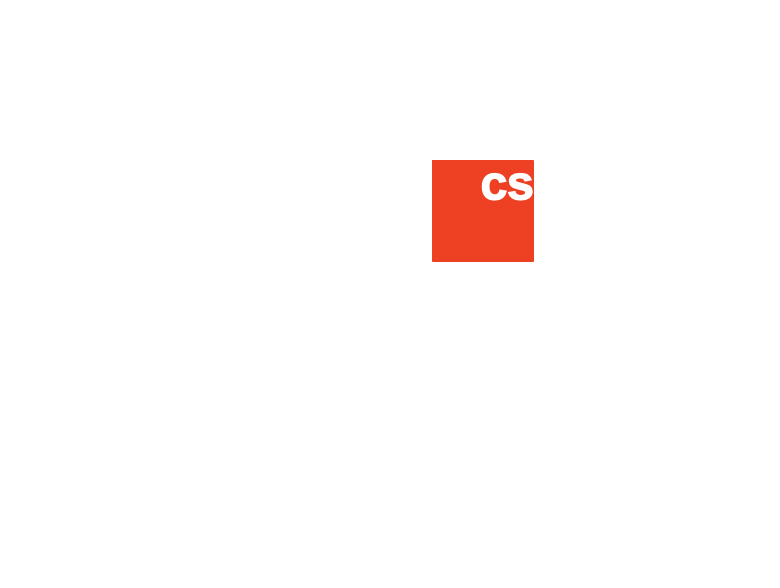
Notes:
- Friendly reminder that you can see all available turtle colors here
- If you would like an explanation of the purpose of this main method, see disabling testing code
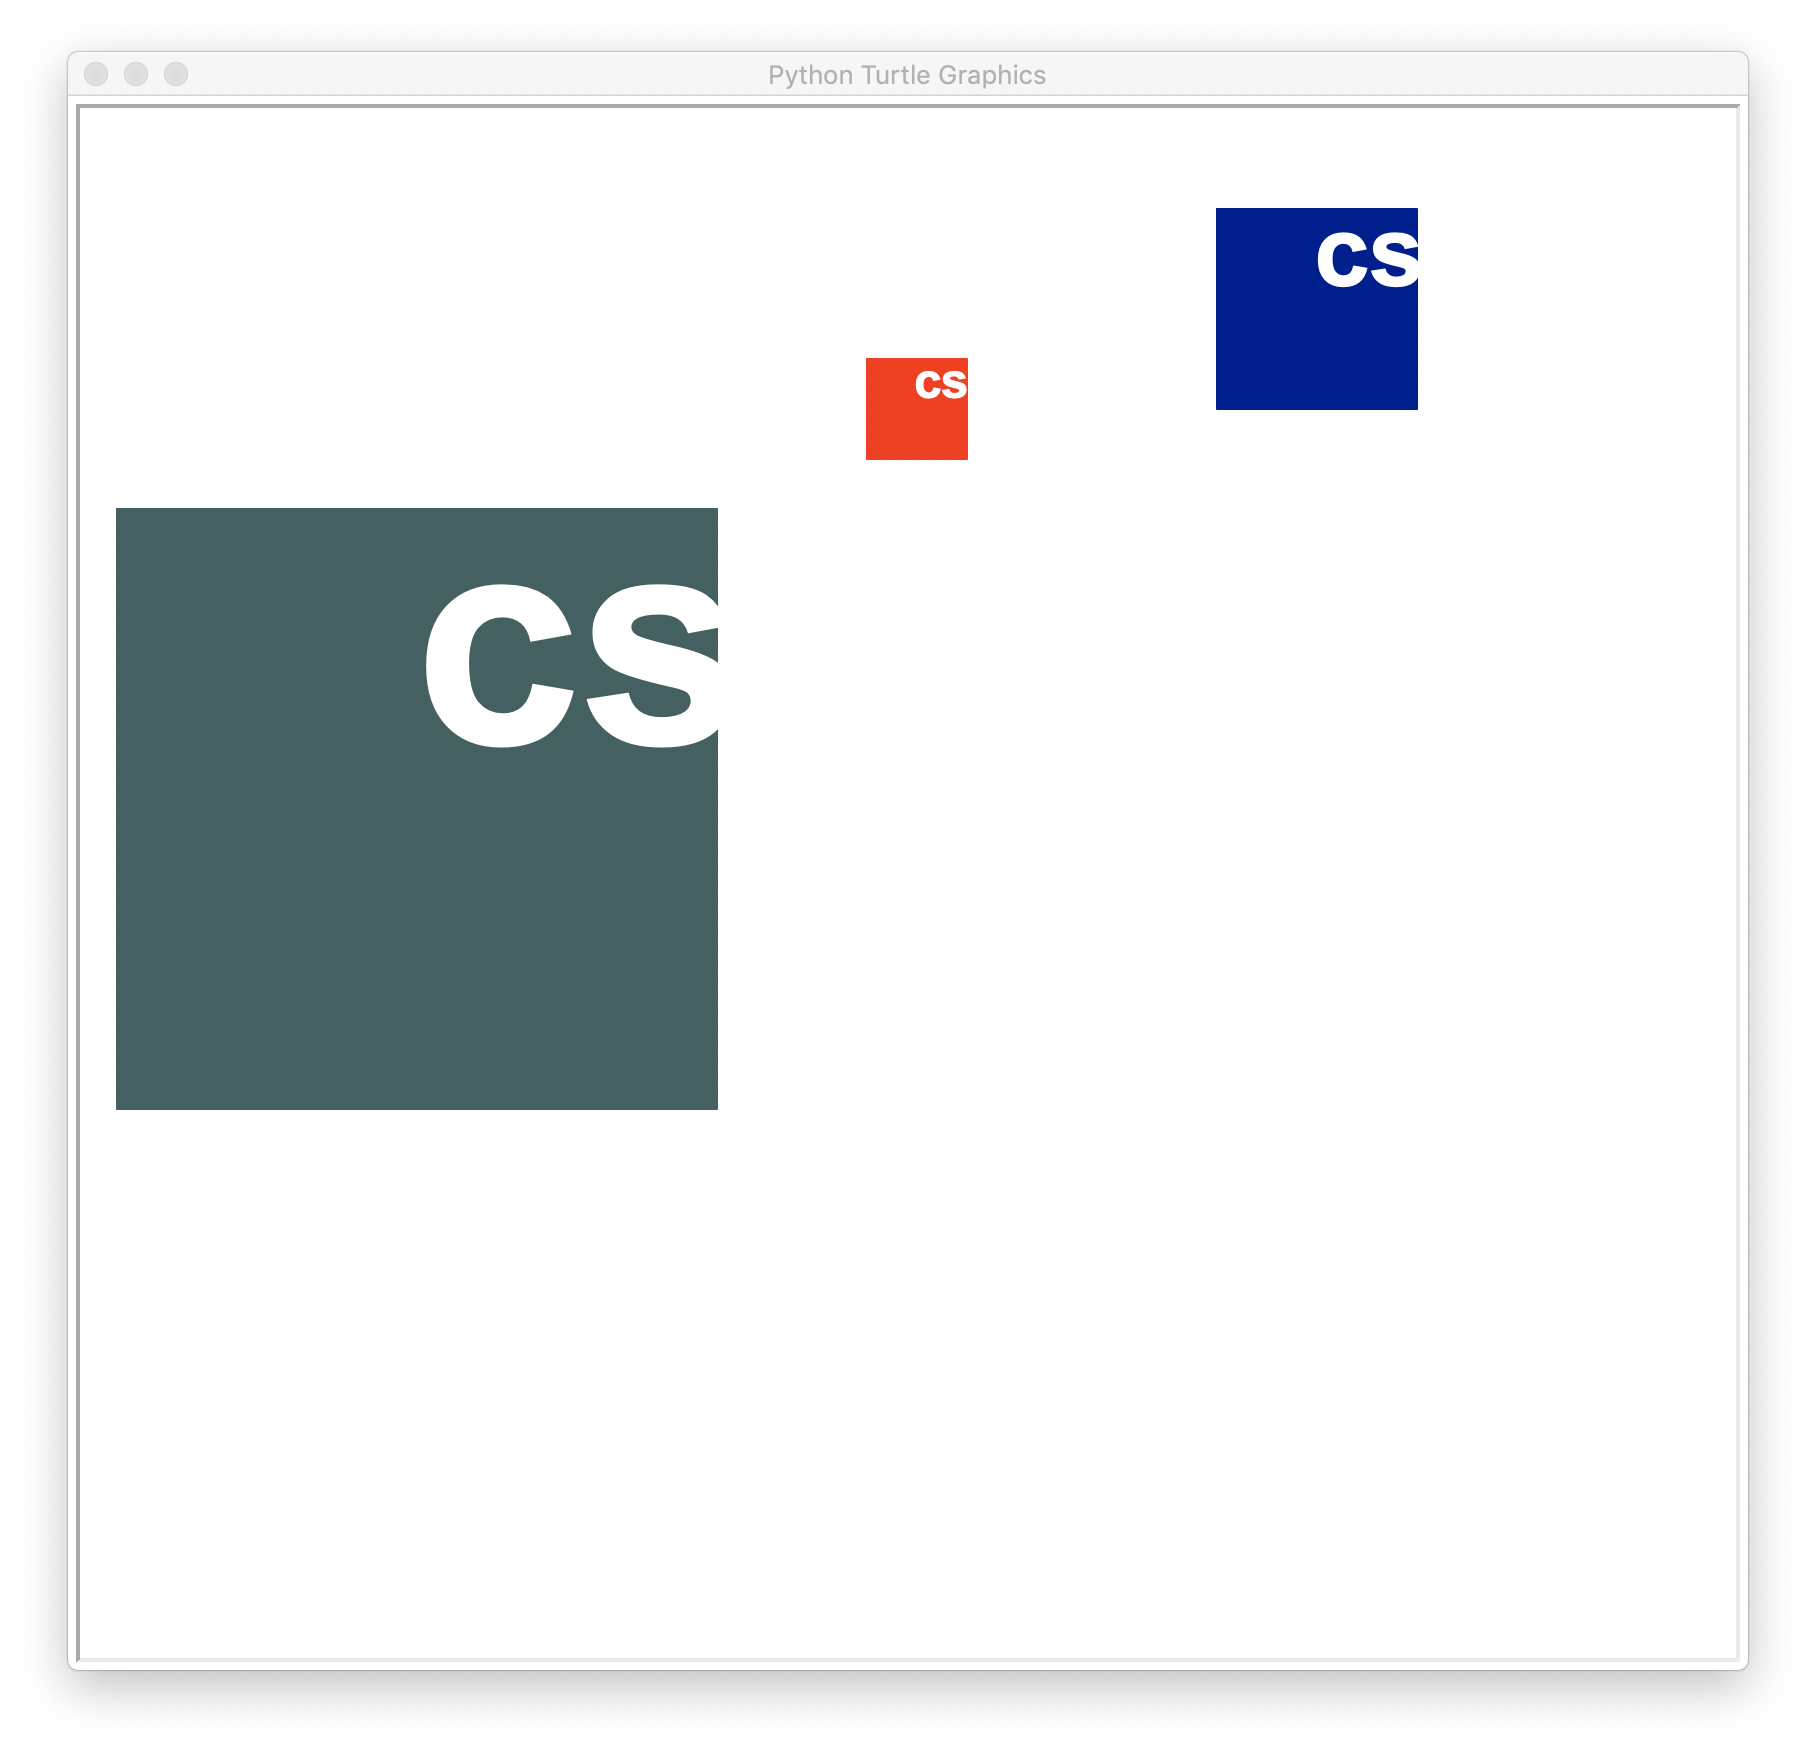
Once your logo works, you can test it more thoroughly using the provided testLogo function in your lab03/turtleStuff.py file as follows:
if __name__ == "__main__":
   #  test one logo invocation
   # logo(50, 'red')
   testLogo()
should yield this drawing:
Task 1: BullsEye
This bullsEye function will draw a circle with radius size that contains 3 nested concentric circles. Each concentric circle will alternate colors and decrease in radius by 25%. Initially, do not fill any circles, keep them just as outlines.
The bullsEye function accepts 3 parameters:
size: the radius of the largest circlecolor1: the color of the outermost and third circlecolor2: the color of the second and fourth circle, counting from the outermost in
Here are two sample invocations:
if __name__ == "__main__":
teleport(-100, 0)
bullsEye(140, 'red','darkOliveGreen')
teleport(100, 200)
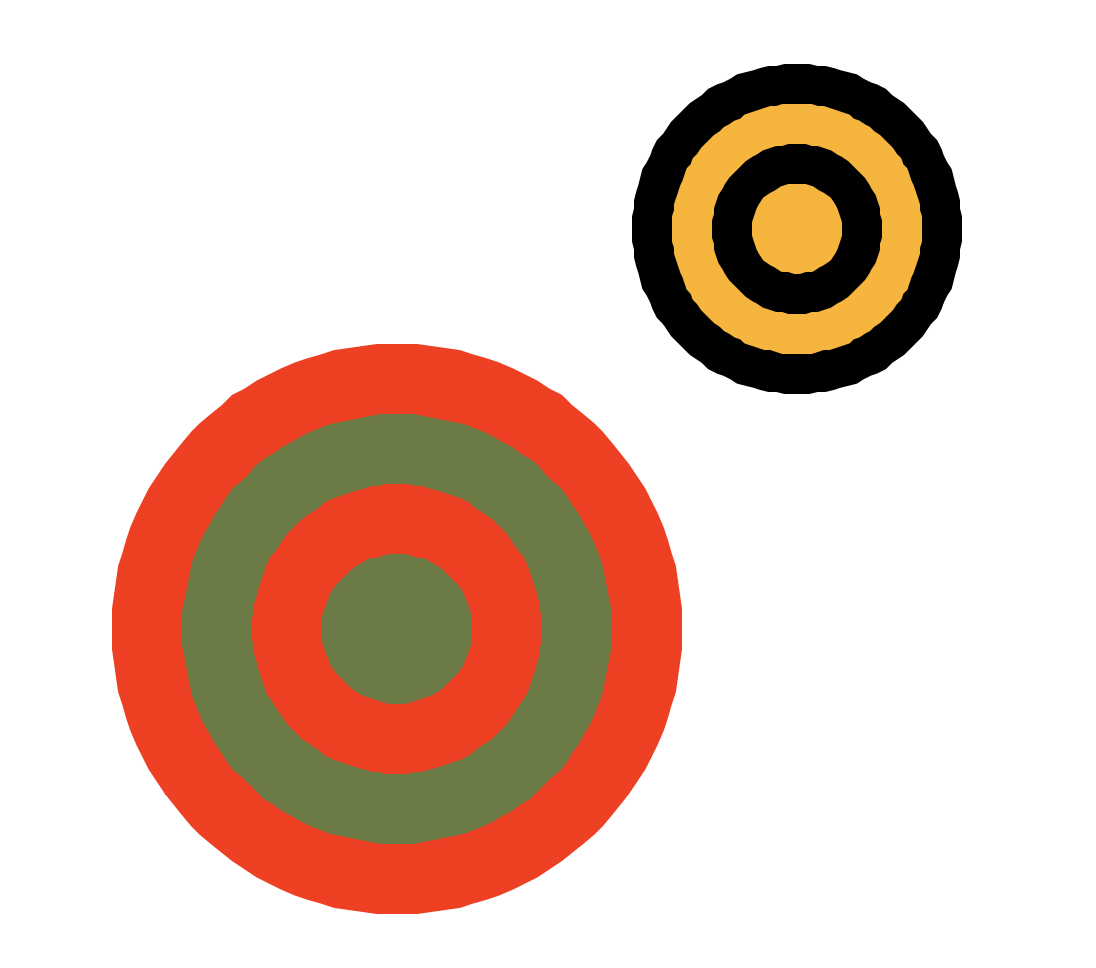
bullsEye(80, 'black', 'orange')the create this drawing (note that the pensize is 5 in these drawings):

If these look like your results, then go back to your bullsEye function
and fill in each circle, which will then produce this drawing:
And for a more thorough test, run the provided testBullsEye function
as follows:
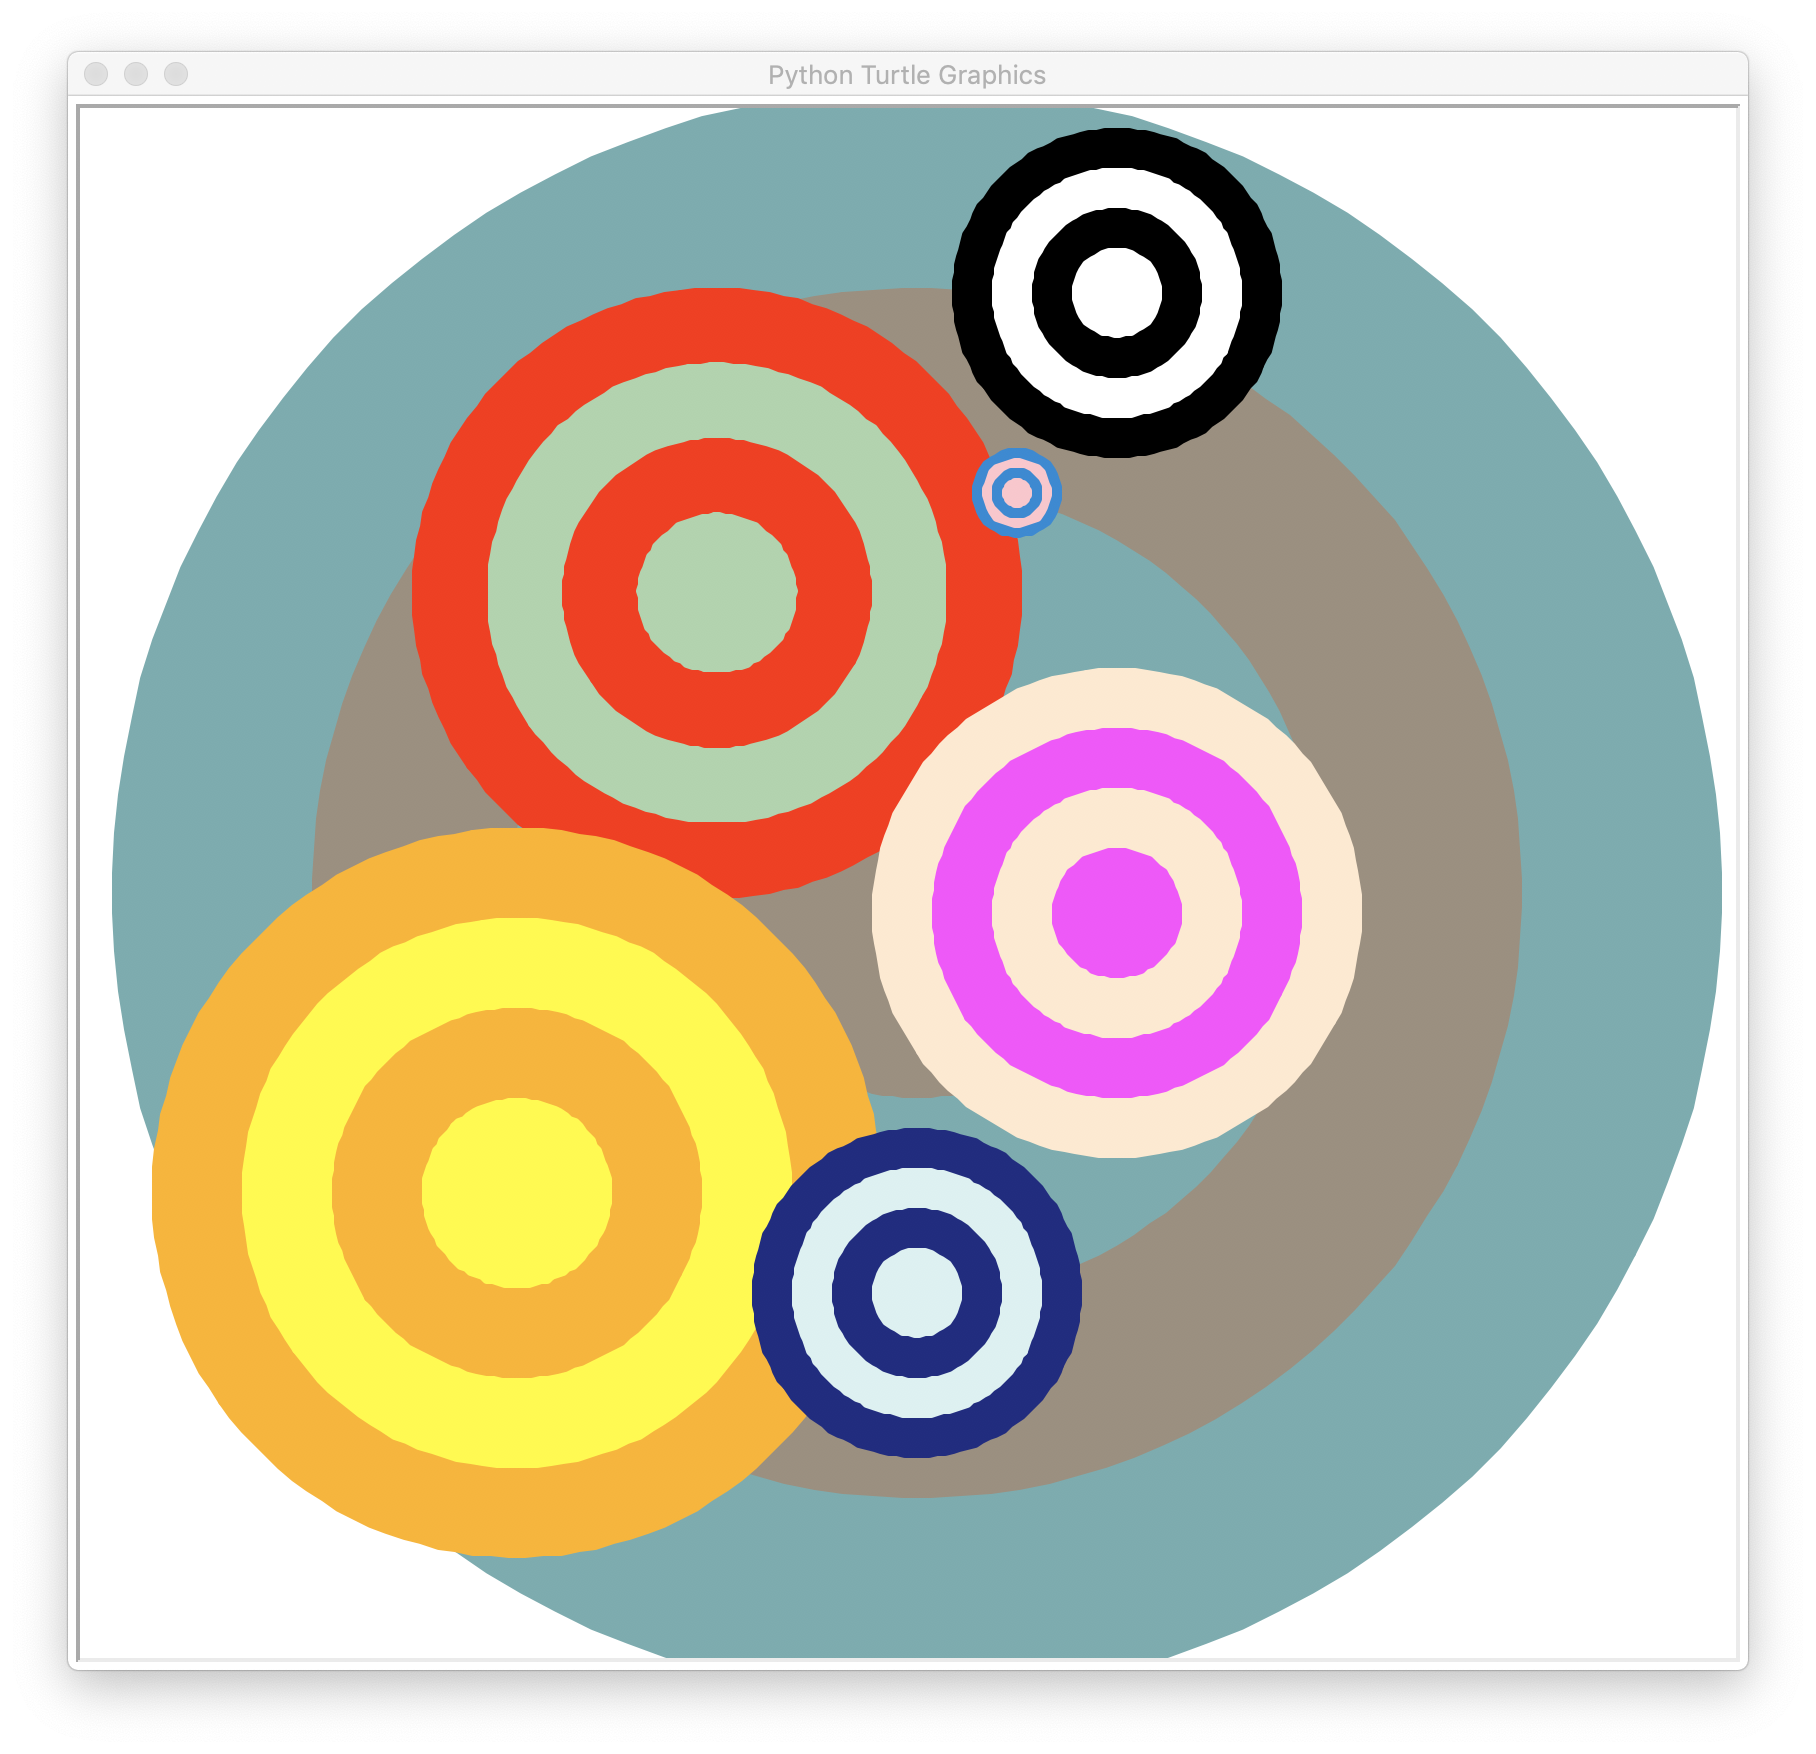
if __name__ == "__main__":
   testBullsEye()
and it should produce this drawing:
Task 2: Rectangular flowers
In this task, you'll draw a flower where each of the five "petals" is a rectangle with the specified width and height dimensions. Each "petal" is rotated 72 degrees from its successor (72 x 5 = 360, so the petals are evenly spaced around the flower). Just as above, initially, keep your rectangles as just outlines, we will fill them in with color later.
Write a rectFlower function that (initially) takes two parameters:
width: the width of the rectangular petalheight: the height of the rectangular petal
Here is a table of some sample invocations:
| rectFlower(75, 30) | 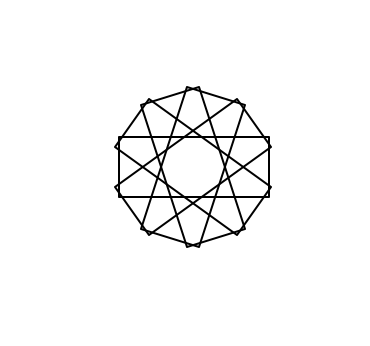
|
| rectFlower(200, 125) | 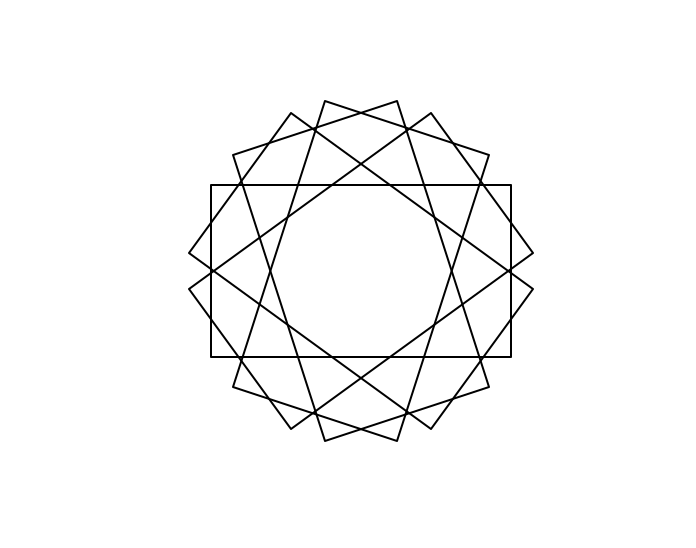
|
| rectFlower(200,34) | 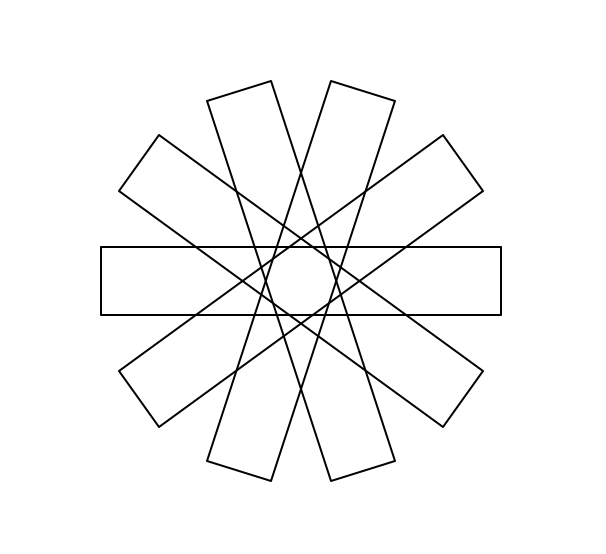
|
If your rectFlower matches for the above invocations, then go back and
edit the function so that it fills in the flower with a color. This means you
will need to add a color parameter.
Here is a close up of the rectFlower('orange' 75, 30) filled with color:
Note: Overlapping regions may display as filled in with the given color, as opposed to white for Windows users.
And here are the above flowers filled with color:
Note that when you fill a region where the rectangles overlap, the overlapping areas are filled in with white.
Task 3: Make your own flower function
Using the examples above, write your own custom flower function, called it
customFlower. You and your partner can decide how it should look.
You have full creative freedon. You can change parameters, colors, the shape
of the petals, anything you like. This function won't return anything, it will
merely draw.
If you are so inclined, upload a screenshot of your flower to this shared google folder (you must be logged into your Wellesley gmail account in order to be able to access this folder).
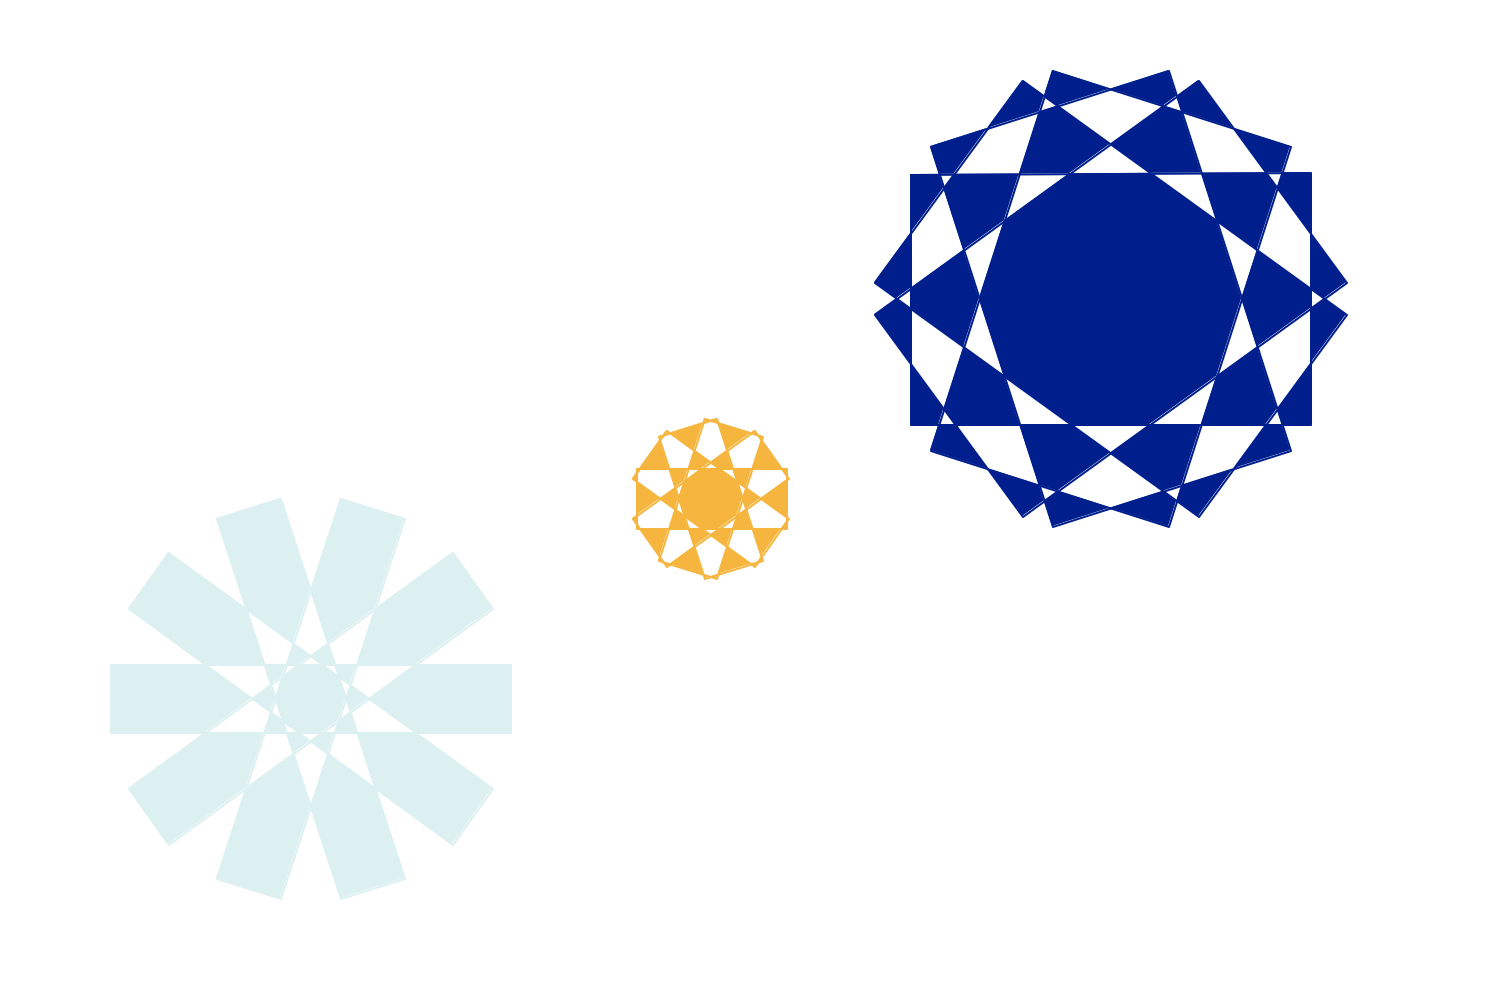
Task 4: Bouquet
Write a function called bouquet that will create a bouquet of 4 flowers
(using any invocation of rectFlower or your own flower function).
Note that every flower is not in the same alignment as its neighbors.
Here is one example of a bouquet:
Consider:
- how many parameters does your
bouquetfunction need? - what are those parameters?
- can you minimize the number of lines of code in your function?
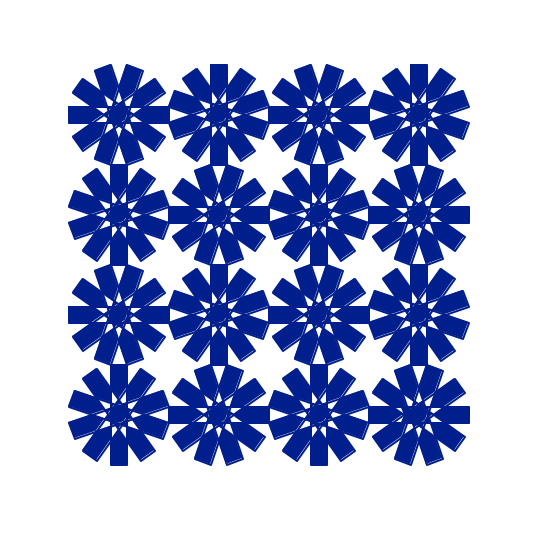
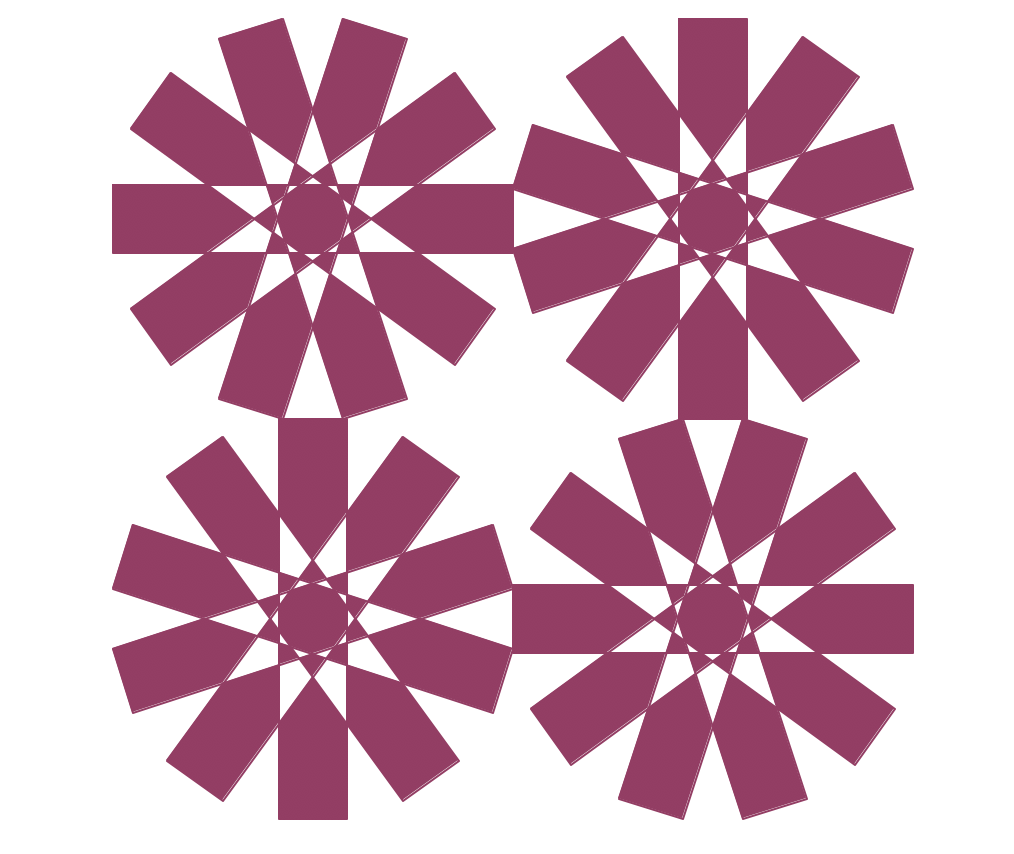
[OPTIONAL] Task 5: Bunch of bouquets
Write a function called flowerField that will create four bouquets of 4
flowers each so that the flowers do not overlap at all and are evenly
spaced (using any invocation of rectFlower or your own flower
function). You have creative freedom to design your pattern as you and
your partner like.
Here is one example of a pattern of 4 bouquets: