HTML
HTML: The code behind web pages
- All web pages are structured using HTML code.
- You can always see the HTML code by chosing View |Developer |View Source in the Chrome browser (or Ctrl+Click on the web page and choose View Page Source).
- Hands-on learning of HTML with W3 Schools website. We strongly recommend this, especially if you have never worked with HTML before.
- HTML Element reference.
Task 1a: Your first page
Save the following code as top5.html in your ps08 folder.
<!DOCTYPE html>
<html>
<head>

    <title>Last FM Top 5</title>
    <meta charset='utf-8'>

</head>
<body>

</body>
</html>
Load this file in Google Chrome by...
- dragging the
top5.htmlfile into your browser window - or go to
File: Open...
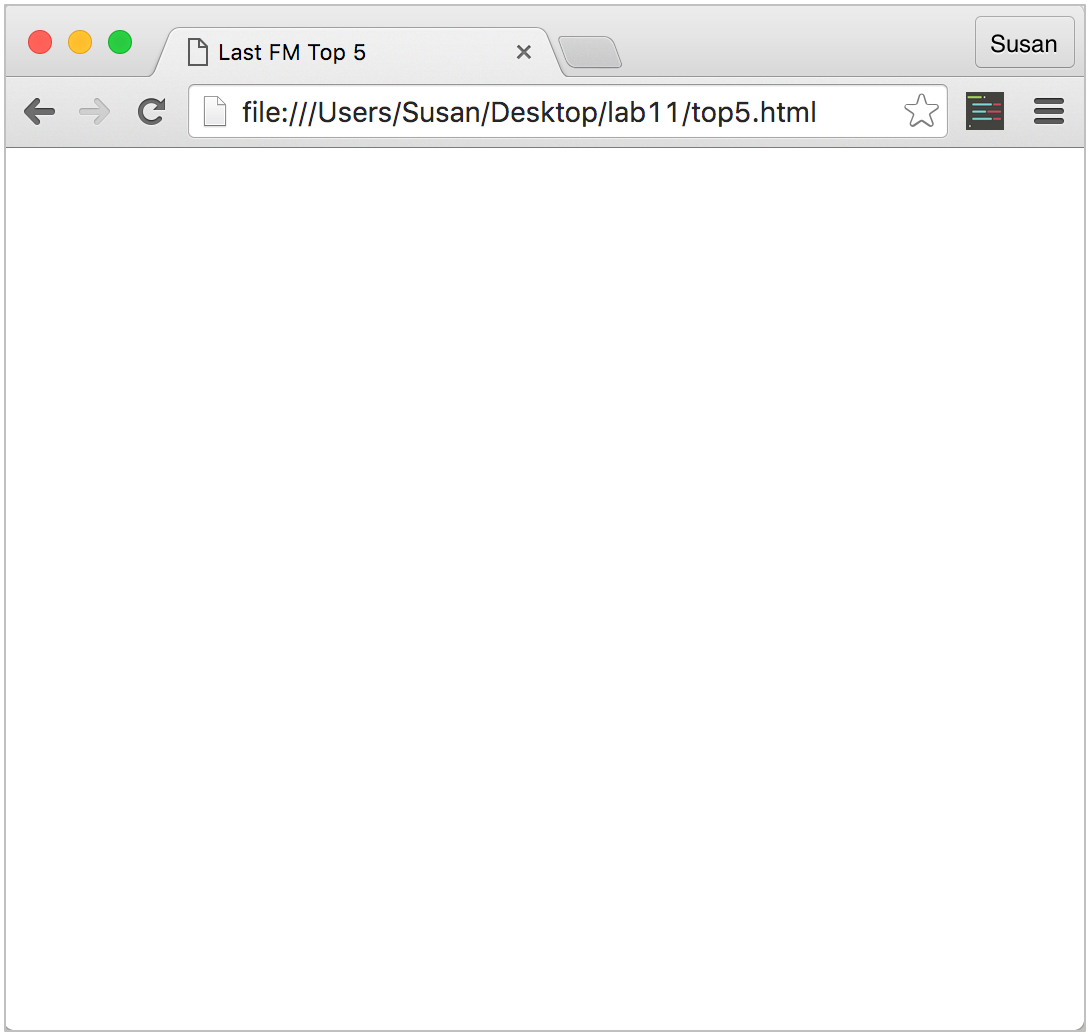
Once it's loaded, you should see a blank white page:

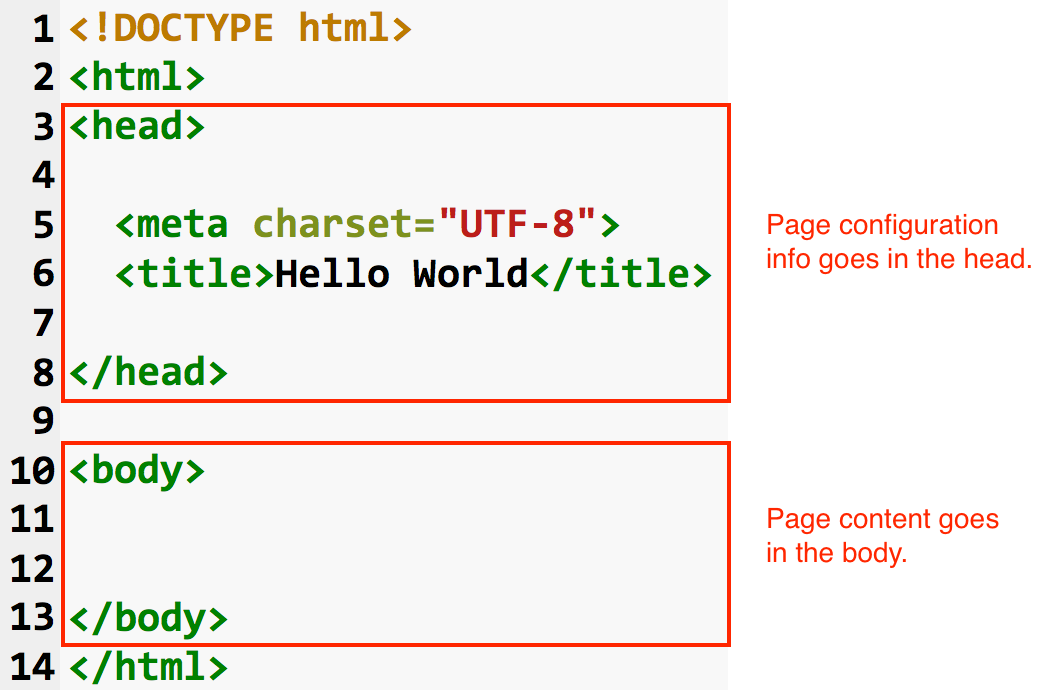
The above code is a basic web page template. Note how it's divided into two main pieces (the screenshot below doesn't refer to our file example):
- The
headwhere all configuration information about your page will go. - The
bodywhere the content of your page will go.

With your file set up, you're ready to start writing some HTML. With each edit you make below, save your changes and refresh the browser to see the results.
Tip: Re-opening HTML files: If you close your top5.html file in Canopy and try to re-open it, Canopy will display it as a web page, rather than showing you the HTML code.
To get around this, right click top5.html in the File Browser and choose Open With > Code Editor.

Tag basics
HTML is a tag based language.
Tags are used to surround content, for example, here's a Heading 1 (h1) tag:
<h1>Top 5 Artists</h1>The forward slash in the second tag (</h1>) indicates it's the end tag.
The combination of the start tag + content + end tag is called an element.
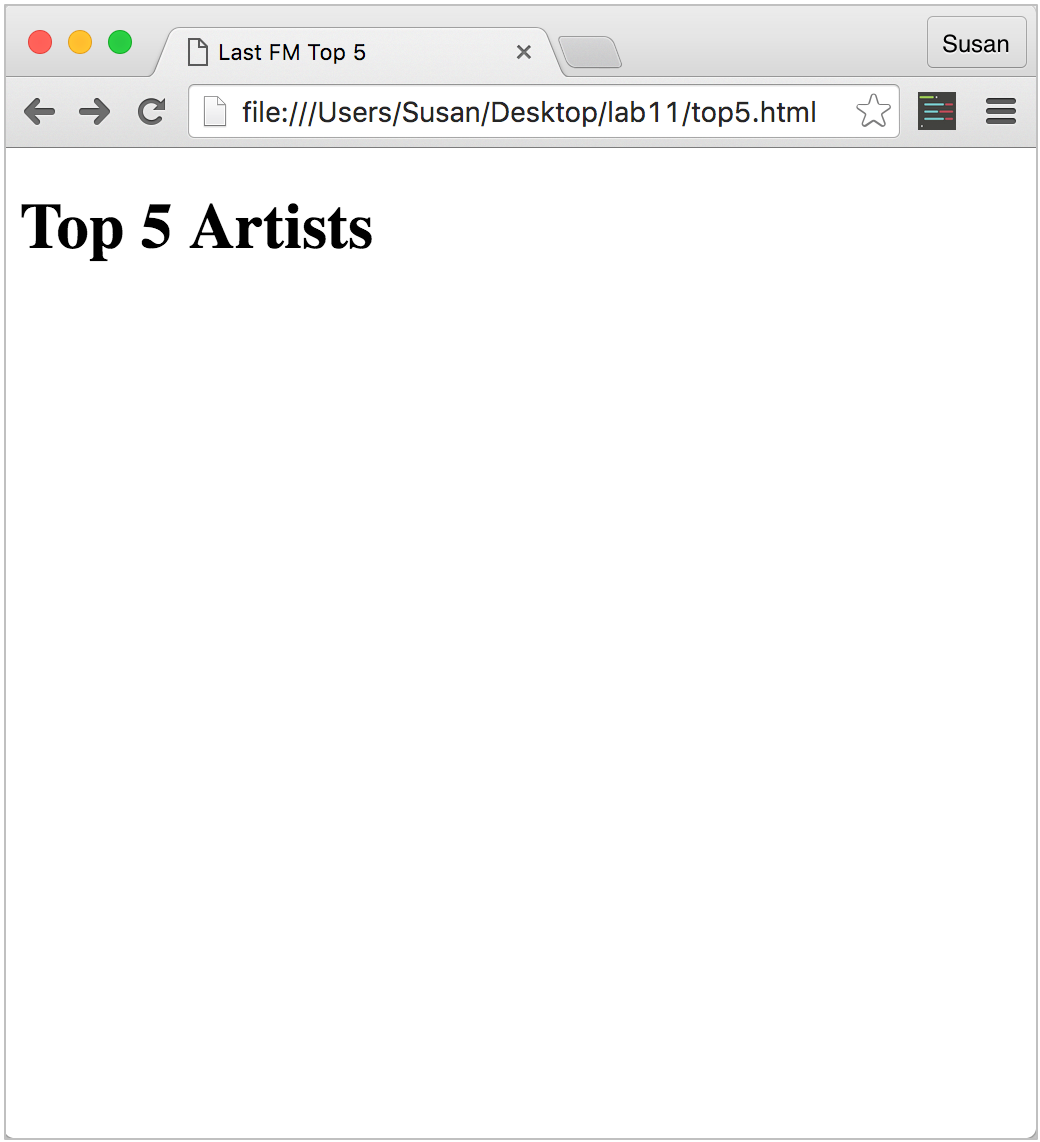
Task 1b: Add a heading
Add <h1>Top 5 Artists</h1> in the <body> of your page.
<body>

    <h1>Top 5 Artists</h1>

</body>
Tag teamwork
Some tags work together with other tags.
For example, an <ul> (unordered list) tag teams up with <li> (list item) tags
    <ul>
        <li>Apples</li>
        <li>Oranges</li>
        <li>Pears</li>
        <li>Grapes</li>
    </ul>
Task 1c: Add unordered list
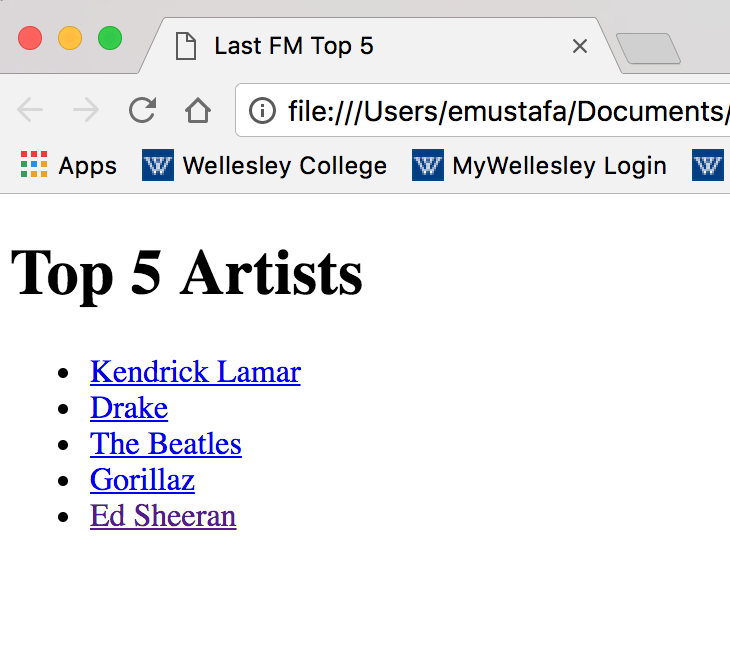
Below your <h1>, add a list of the current top 5 artists on Last.fm (listed at http://last.fm/music).

(The artists in the above screenshot may not reflect the current top 5 artists you see when you build your page)
Links
Some start tags have attributes to describe information about that element.
Example, the <a> element (anchors i.e., links) has the href attribute which dictates where a link should go.
<a href='http://www.last.fm/music/Ed+Sheeran'>Ed Sheeran</a>Task 1d: Add links
Edit your unordered list so that each artist name links to their artist page on Last.fm. For example, Ed Sheeran should link to http://last.fm/music/Ed+Sheeran.

Note that in order to accomplish this, you will be nesting <a> elements inside of your existing <li> elements.
Images
Images have a src attribute to specify the image's location.
For example, here's an img tag that would display the Last.fm logo:
<img alt='Last.fm logo' src="http://cdn.embed.ly/providers/logos/lastfm.png">The displayed image has a default width that may be too large for your tastes. You can change it using the style attribute to specify a different width:
<img src="http://cdn.embed.ly/providers/logos/lastfm.png" style="width:300px">The alt attribute is required for non-decorative images and is used to describe what the image is of. The alt attribute is important for search engines, and individuals who use screen readers:
<img alt="Last.fm logo" src="http://cdn.embed.ly/providers/logos/lastfm.png" style="width:300px">Task 1e: Add image
Right before the <h1> element, add the Last.fm logo.

Task 1f: Spotlight artist
Pick one of the top 5 artists (or any other artist you like) to spotlight on your page.
Below your unordered list, add a heading like:
<h2>Artist Spotlight: Rihanna</h2>Below that heading, add an image of that artist.
<img src="SOME URL HERE" style="width:300px">Every artist page on Last.fm also has a page of images you can browse to find an image. For example: http://www.last.fm/music/Rihanna/+images.
When you find an image you want to use, right-click/control-click on that image and select the to copy the image URL.
- Chrome: Copy Image Address
- Firefox: Copy Image Location
- Safari: Copy Image Address
Depending on which browser you use, you should get a URL that looks like one of the following:
https://lastfm-img2.akamaized.net/i/u/avatar170s/ed53efb3820d059b2e6d62efa35d0918or
https://lastfm-img2.akamaized.net/i/u/770x0/ed53efb3820d059b2e6d62efa35d0918.jpgIf the image you choose is very large, you can shrink it down by setting a width attribute on your image (you don't have to set the height because it will shrink proportionally to the height).
<img width='200' alt='Photograph of Rihanna'
  src='https://lastfm-img2.akamaized.net/i/u/770x0/ed53efb3820d059b2e6d62efa35d0918.jpg'>
Side Note: Shrinking the image like this is not ideal, because while the image might display smaller, the browser still has to load the larger image, which will slow the loading of the page. When building real web pages that will be loaded on the internet, it's better to save the image and actually shrink it in a program like Photoshop. For our purposes, though, this technique is okay for now.
Aside: Indentation in HTML
We've learned that correct indentation is essential in Python— if your code isn't properly indented, your script won't run.
HTML, however, is forgiving regarding spaces/indentation and your browser will ignore any white space in your code beyond a single space.
You can try it out: all of the following examples will produce the same results, despite their various spacing.
<h1>Hello

    World</h1>
<h1>Hello
World</h1><h1>
Hello World
</h1>While code indentation/spacing is not important for the browser, it's still important for you the programmer (and other programmers that will read your code).
In HTML, indentation shows hierarchy. For example, if you have a series of list items (<li>) nested inside an unordered list (<ul>), those list items should be indented to show they are child elements of the parent list element.
    <ul>
        <li>Apples</li>
        <li>Oranges</li>
        <li>Pears</li>
        <li>Grapes</li>
    </ul>

Compare the above, correct, example to the following incorrect example:
<ul>
<li>Apples</li>
<li>Oranges</li>
<li>Pears</li>
<li>Grapes</li>
</ul>
Notice how the child relationship is visually harder to spot in this latter example.
Variations
Nesting child elements is common for structural elements with several child components. Smaller examples, however, may be written on one line.
For example, instead of this:
   <h1>
        <img src='wellesley-logo.png'> Wellesley
   </h1>
You could write this:
<h1><img src='wellesley-logo.png'> Wellesley</h1>This comes down to personal preference. While styles may vary, the big picture goal of indentation is to write code that is organized and legible.