CSS
Task 2. Adding style with CSS
- CSS stands for Cascading Style Sheets.
- CSS is used to describe how the content on your page should look.
- Inspector Window on Chrome enables one to inspect and change CSS rules
- Hands-on learning of CSS with W3 Schools website.
**NOTE:** The page below uses Rihanna as the spotlight artist. Feel free to use your preferred artist.
Task 2a. External Style Sheet
Create a new file called top5.css in your ps08 folder and paste in the following code:
    body {
        background-color:black;
        color:white;
    }

    h1 {
        font-family:Georgia;
    }

    li {
        font-family:Helvetica;
    }

    img {
        border:1px solid red;
        padding:5px;
    }
Now, in the <head> of your top5.html page, add the following line that will "link" the HTML code with the CSS styling that
we are applying to the HTML elements in the page.
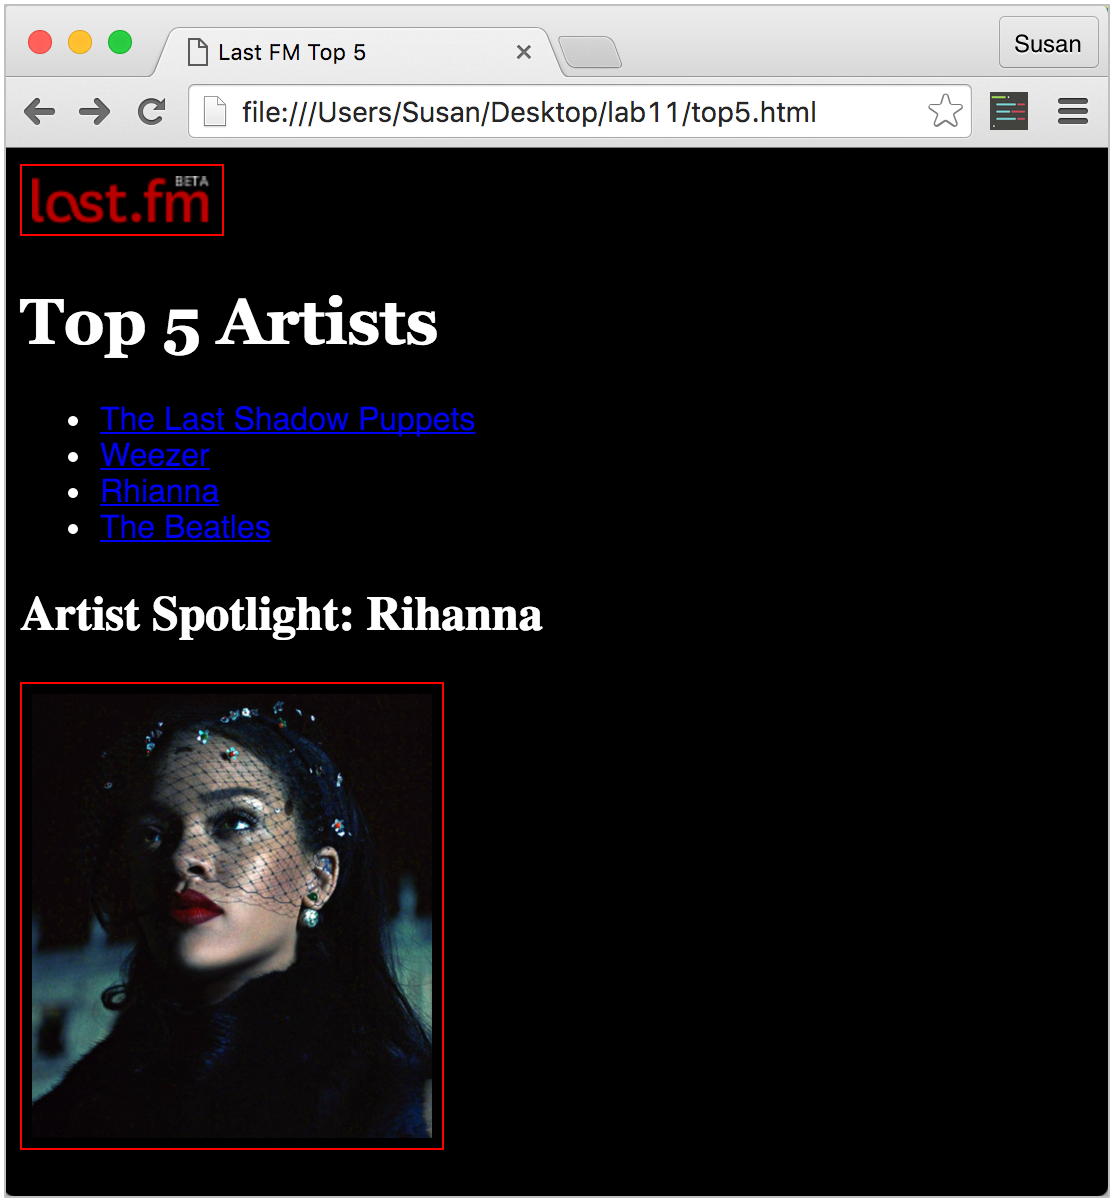
<link rel='stylesheet' href='top5.css' type='text/css'>Save your changes to both top5.html and top5.css and then refresh your page in the browser— you should see that your page now has some style added to it.
Task 2b. CSS Syntax
Study the CSS code you just used.
Note that CSS styles are written using property:value pairs such as color:white and font-family:Georgia.
These property:value pairs are called declarations, and in the above example they're being applied to specific HTML elements (body,h1,img).
Using the CSS reference list, make a couple adjustments to the given styles. For example, remove the padding, change the border width, change the font, change the background-color, etc.
Also, add at least two other CSS properties not already in the example.
Task 2c. Classes
On your page you should currently have 2 images (logo and spotlight artist) which, because of the following CSS, both have a red border:
   img {
        border:1px solid red;
        padding:5px;
       }
As you can see, when you apply styles to the img element, it applies the given styles to all the images on a page.
But what if you wanted to be more specific about which images are styled?
This can be done by adding classes to elements.
For example, let's add the class artist to the spotlight artist image:
<img class='artist'
     src='https://lastfm-img2.akamaized.net/i/u/770x0/ed53efb3820d059b2e6d62efa35d0918.jpg'
     width='200'
     alt='Photograph of Rihanna'>
**NOTE:** The given URL is for a different image of Rihanna than the one pictured in screenshots.
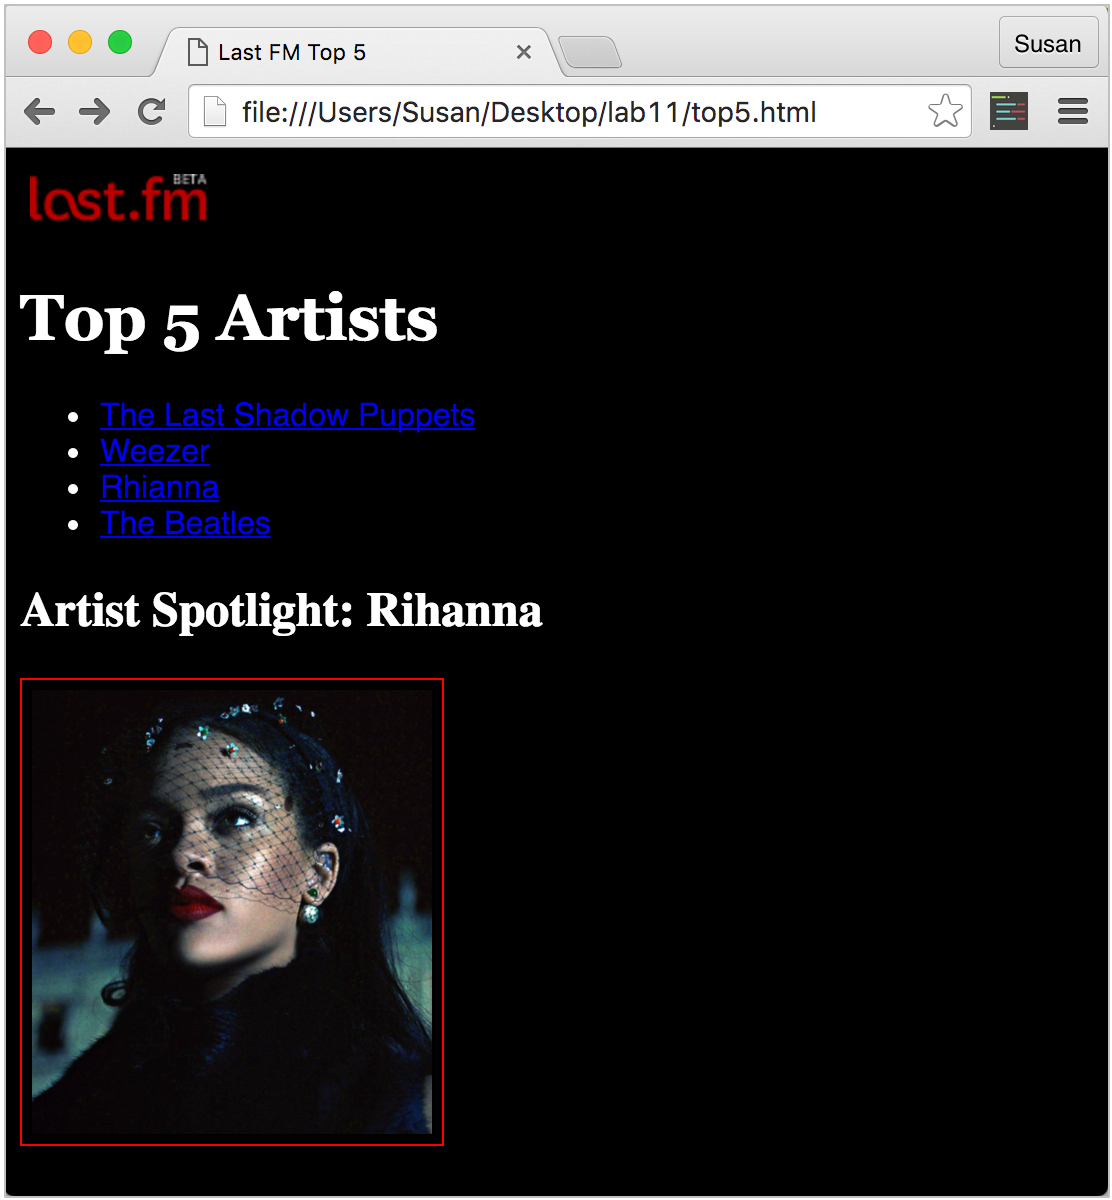
Now, you can adjust your CSS, removing the border from the img and shifting it to the class .artist:
    img {
        padding:5px;
    }

    .artist {
        border:1px solid red;
    }
Notes:
- Classes are selected using a period followed by the class name (
.spotlight). - Classes can be used multiple times throughout your page.
Task 2d. Divs
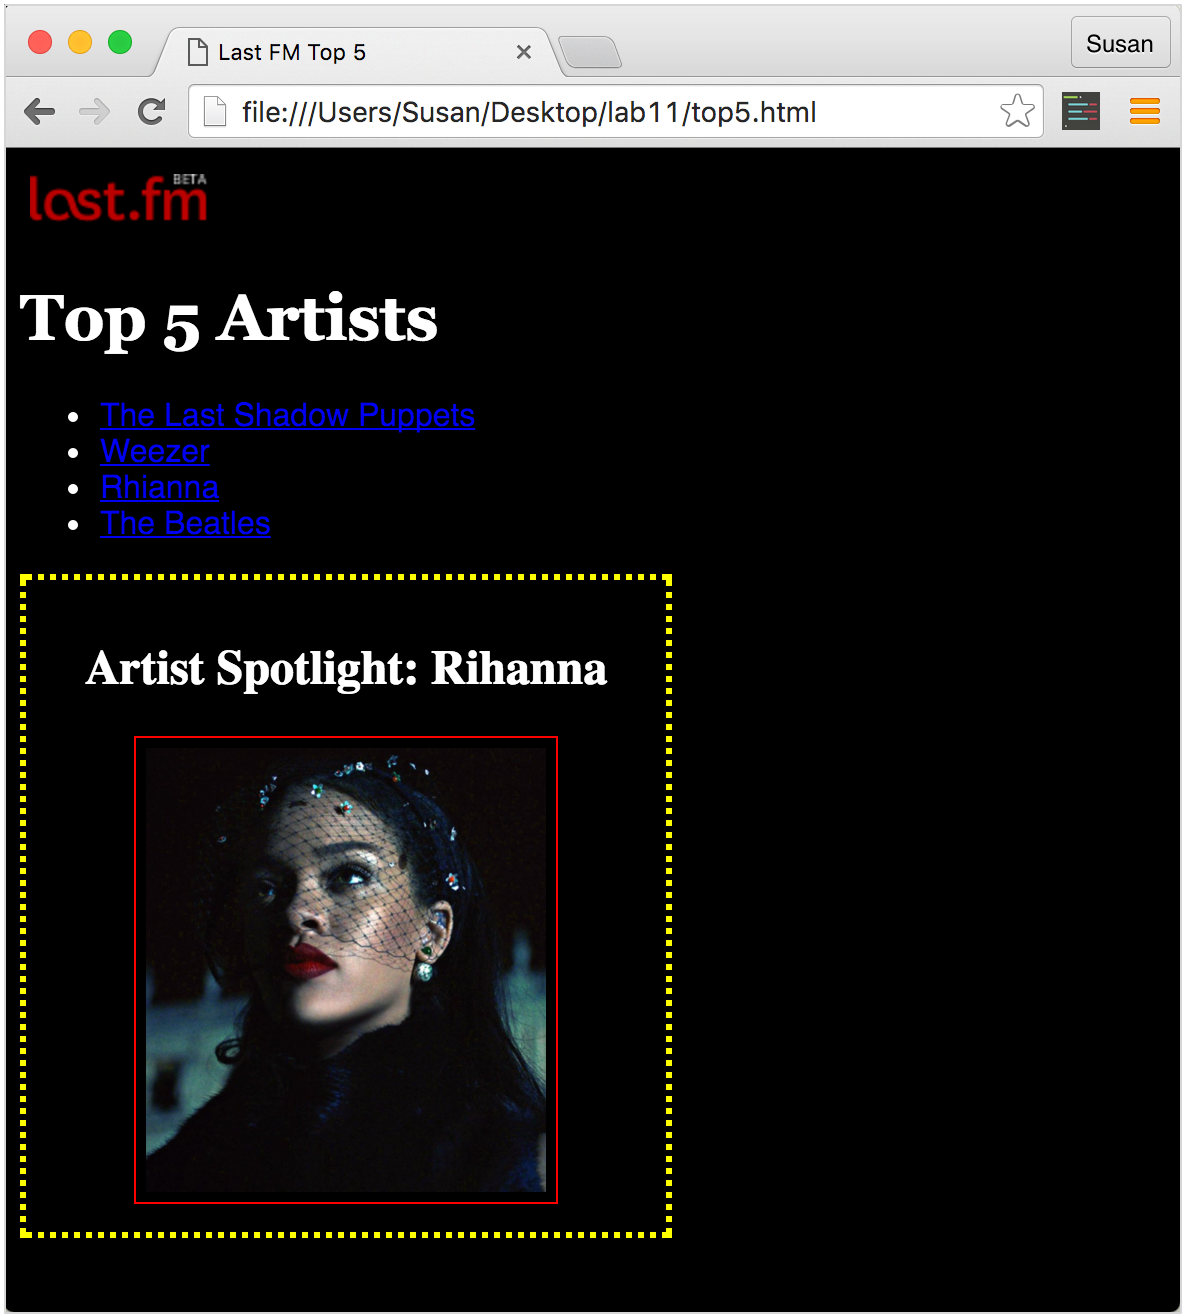
Put both the <h2> and the <img> for your spotlight artist in a div element with the class spotlight.
div is short for division, and it's a generic element used to group together other elements for styling purposes.
Apply styles to the div with the class spotlight to accomplish the following:
- Give it a padding of
10px. - Set the border to be
3px dotted yellow. - Restrict the width to
300px. - Use the text-align property so that every thing in the div is centered.
If you are unsure how to use any of the above properties, look them up in the CSS reference list.
Expected results:
Task 3a. Fonts
When choosing fonts for your site, you can pull from a small list of “web safe fonts ” such as Georgia, Arial, Helvetica, Verdana, Courier, etc...here's a full list of web safe fonts.
These fonts are deemed “web safe ” because they're common enough that you can expect most of your visitors to have that font installed on their computer.
If you find this limited selection to be boring, you can utilize tools such as Google Web Fonts, which makes it easy to import a unique font for use on your site. Because the font is being imported from Google (rather than the user's computer), you can be assured that it will load.
Step 1
Choose a font from the Google Font library, for example, Roboto.
Add this line of code to the <head> of your document, replacing Roboto with the name of the font you chose.
<link href='https://fonts.googleapis.com/css?family=Roboto'
      rel='stylesheet'
      type='text/css'>
If you choose a font that is named with multiple words, separate the words with the + sign. For example:
<link href='https://fonts.googleapis.com/css?family=Roboto+Condensed'
      rel='stylesheet'
      type='text/css'>
Step 2
Now that your page is set to import the font, you can use it anywhere in your CSS. For example, here's how you'd make all your <h1> tags use the font Roboto:
h1 {
    font-family: 'Roboto', sans-serif;
   }
In the above example, we provide two font options, which is called a font-stack. The second option sans-serif will be used if for some reason Roboto fails to load.
Choose a font from Google Web Fonts and apply it to an element (or elements) on your page.
Task 4a. Publishing online
The page you've created in lab is a web page, but it's not yet available on the web— only you can view it because it's saved locally on your computer.
To publish web pages online, you need a web server. Turns out, the cs.wellesley.edu accounts you've been using all semester long are, in fact, web server accounts.
Using a FTP program, log into your cs.wellesley.edu account.
Once logged in, look for the folder called public_html. This is the folder that is web accessible, so any files you put in it will be accessible via the web (i.e. you can view it in a web browser).
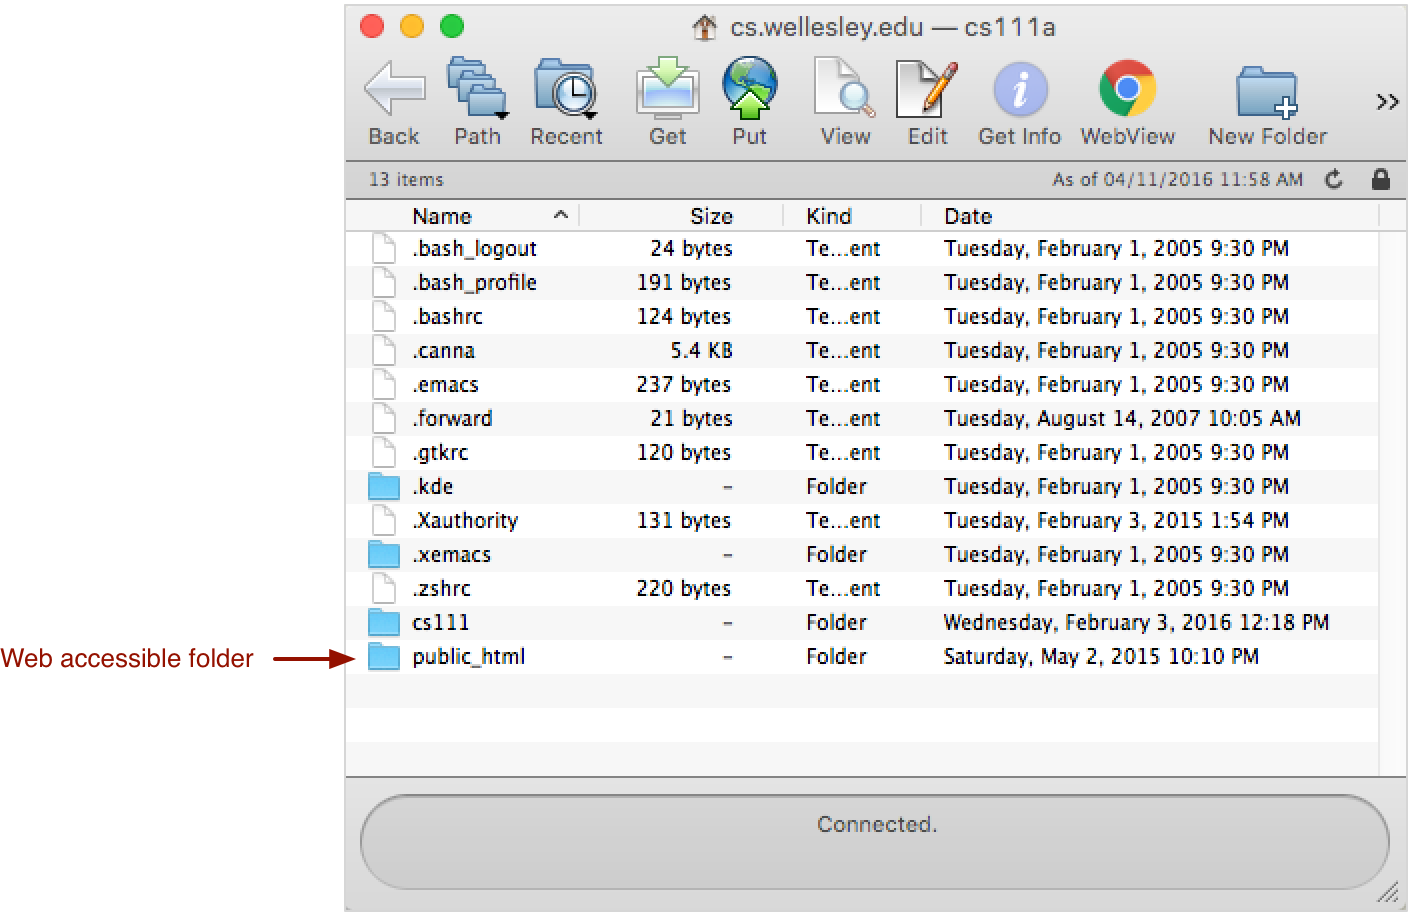
Drag both your top5.html and top5.css file into your public_html folder.
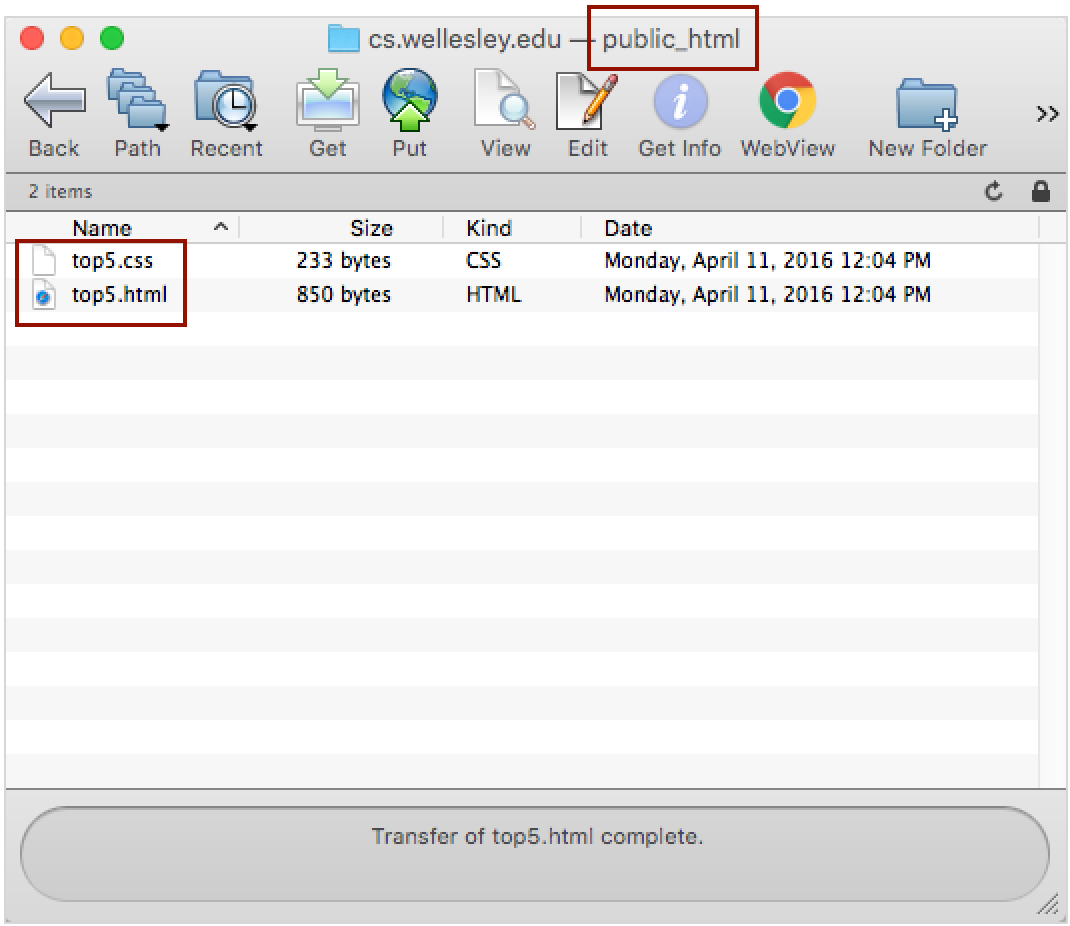
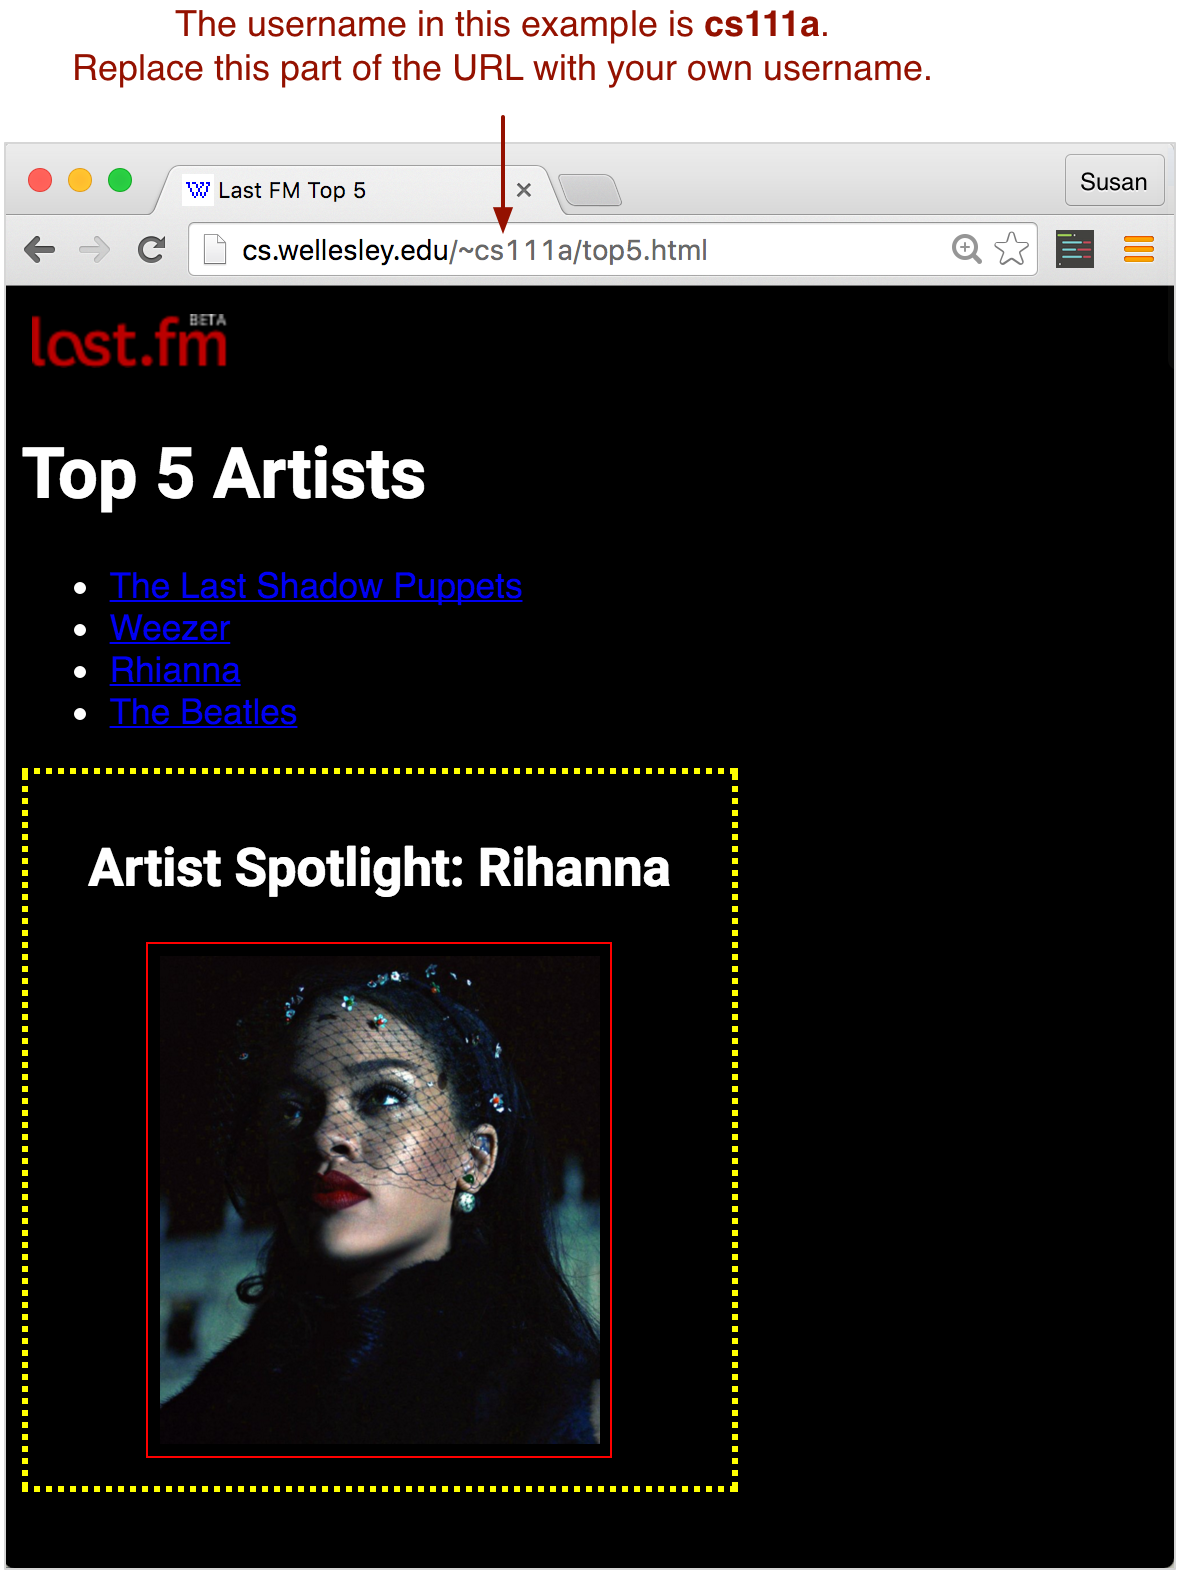
Once those files are uploaded, you should be able to load the web page via http://cs.wellesley.edu/~username/top5.html (replace username with your username.)
