Software for CS111
This page provides links to download software for this class onto your personal laptop. In an ideal scenario, all three programs would be downloaded to your personal laptop before the first day of class.
CS111 students need the following:
- Thonny (to write/run Python code)
- Anaconda (to run Python via Jupyter notebooks)
- CyberDuck or WinSCP (to download starter code and upload your pset code)
If you encounter problems with the installation process, please post on piazza.
Instructions
1. Thonny
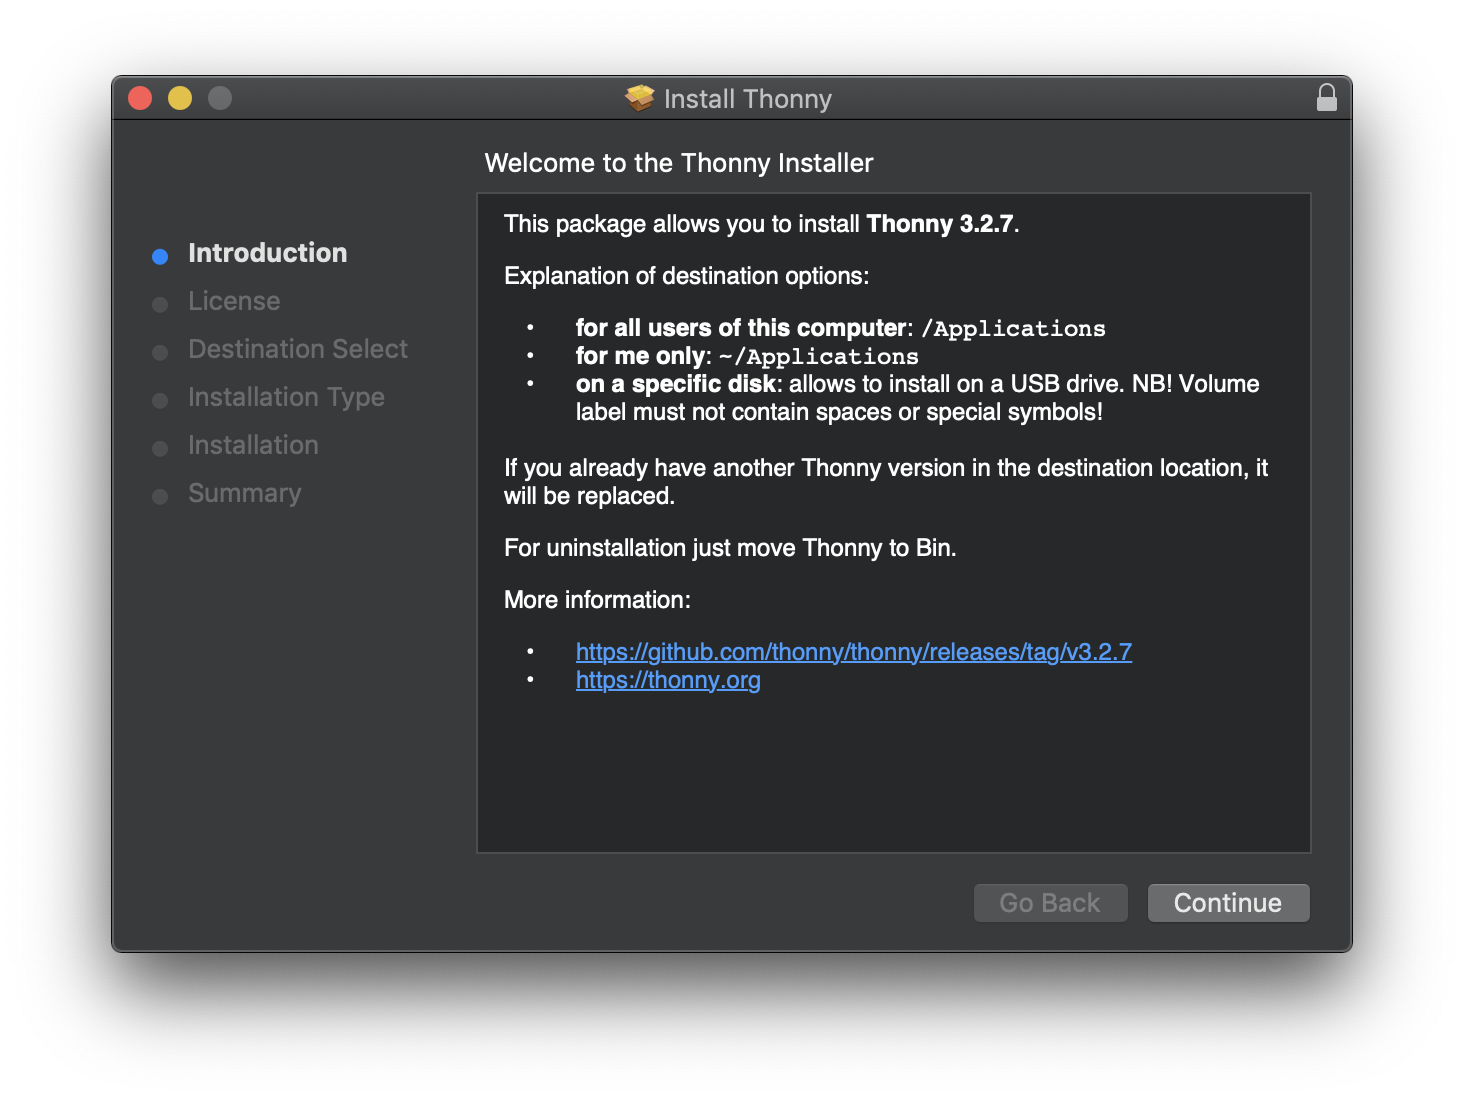
 You can download installers for Thonny below. By clicking on the blue links below, the installer will automatically download to your machine. Double-click on the installer, and it will start the process of installing Thonny.
You'll see this screen when the installer starts:
Click through each of the sections (License, Destination Select, Installation Type, Installation, Summary). When given options, if you are uncertain, use the default suggested by the installer. Eventually, you will arrive at this screen:
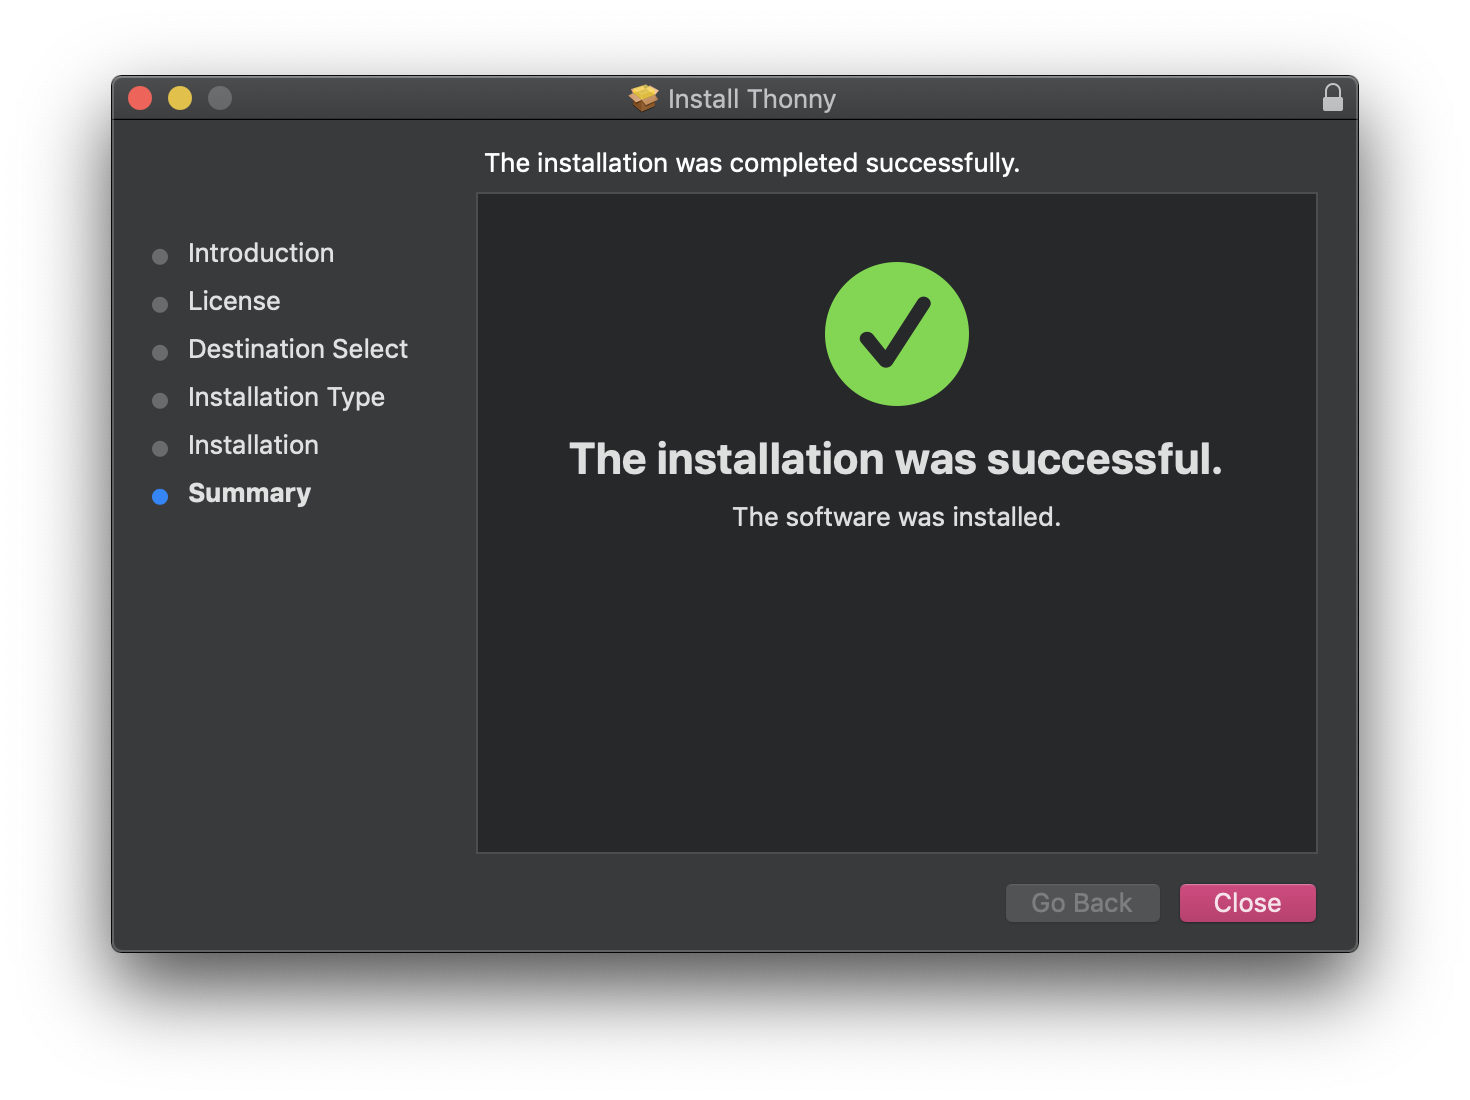
which tells you that Thonny was successfully installed on your machine. We will review how to use Thonny during the first lab.
2. Anaconda
 In addition to Thonny, which comes with its own version of Python, we
will be using Jupyter Notebooks in this class, and you can use a program
called Anaconda to run notebooks on your own computer.
In addition to Thonny, which comes with its own version of Python, we
will be using Jupyter Notebooks in this class, and you can use a program
called Anaconda to run notebooks on your own computer.
You will be using the latest version of Anaconda's Individual Edition (which is free). The specific installers that we want you to use are:
- For Mac OS users:
Anaconda3-2020.11-MacOSX-x86_64.pkg - For Windows users:
Anaconda3-2020.11-Windows-x86_64.exe- If you're using a 32-bit version of Windows (not very likely), you should use:
Anaconda3-2020.11-Windows-x86.exe
- If you're using a 32-bit version of Windows (not very likely), you should use:
- For Linux users:
Anaconda3-2020.11-Linux-x86_64.sh
You can also find these installers by going to https://www.anaconda.com/products/individual and clicking on the "Download" link near the top of thaat page, which will scroll you down the page to where the actual installer links are located.
When you open the installer, you will be given a chance to read the README and asked to agree to the license for the software (it's an open-source license that gives you broad permissions to modify and redistribute the software). Continue through the installer using the default options it suggests, and then launch "Anaconda Navigator" once the installation is complete.

Anaconda navigator should look something like the image above, and for this class, the only tool that we will use is Jupyter Notebook (indicated with an arrow in the image above). When you launch Jupyter Notebook, it should open up a terminal window that displays diagnostic information in text, and it should also automatically open a tab in your main browser that looks like the image below.
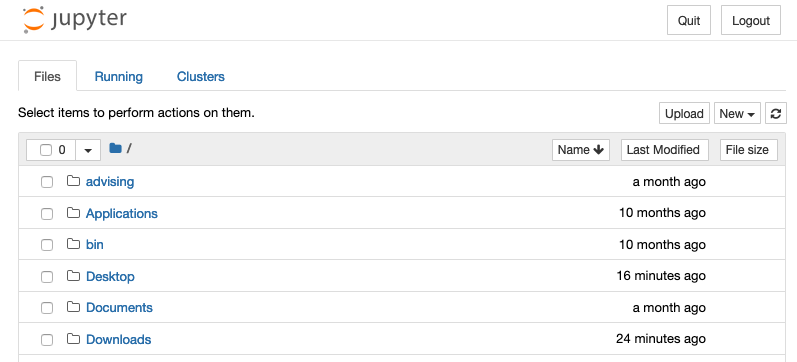
In this browser tab, you can click on folders to open them, and open
.ipynb files to display notebooks in your browser. When you download a
notebook file for a lecture, you can edit, run, and save them in your
browser. When you are done working with a notebook, you can close the
notebook and then use the Quit button in the browser tab to shut down the
Jupyter server. If you close the browser tab, the server window should
remain open, and it should have instructions near the top for how to
launch a new browser tab. You can also press control-C (even on a Mac,
use the control key instead of the command key) in the console window to
shut down the Jupyter server, which you can always re-launch from
Anaconda Navigator.
You'll use Anaconda during lecture when using Jupyter notebooks.
3. CyberDuck or WinSCP
 Go to the CyberDuck download page and click on the link for your operating system (Mac or Windows). You do not need to get a registration key, and you do not need to donate (CyberDuck is free).
Open the downloaded file to install. We will go over the instructions for using CyberDuck during the first lab.
Here are some reference pages on CyberDuck:
- CyberDuck (SFTP client for Macs and PCs): Wellesley (old) LTS documentation for CyberDuck
- CyberDuck help page: CyberDuck's help page
NOTE: Many students who use PCs say that WinSCP works better for them than CyberDuck.
 If you have a PC, we suggest you download WinSCP rather than CyberDuck. Here is the WinSCP download page.
Extra Info
- If you encounter problems with the installation process, please post on piazza.