
Our plan for today
- 2 minute review of UI using Python Tkinter
- Write UI buttons
- Write more complex UI
Set up
Download thelab12_programs folder from the cs server. Rename it to be yours. Start Canopy. Ready to roll.
How to make an app
These are the basic steps to create a User Interface (UI) using Tkinter:- import the Tkinter module:
import Tkinter as tk - create a class, say
MyApp(tk.Frame) - within the
MyAppclass, write these functions:__init__(self,root)createWidgets(self)
- add your widgets in
createWidgets(self)and write any other functions to build/update your app - At the end of your file, create the app
and then call the main loop of that app
root = tk.Tk() app = MyApp(root) app.mainloop() - Here is a site with useful Tkinter documentation.
Starting with a teeny tiny app
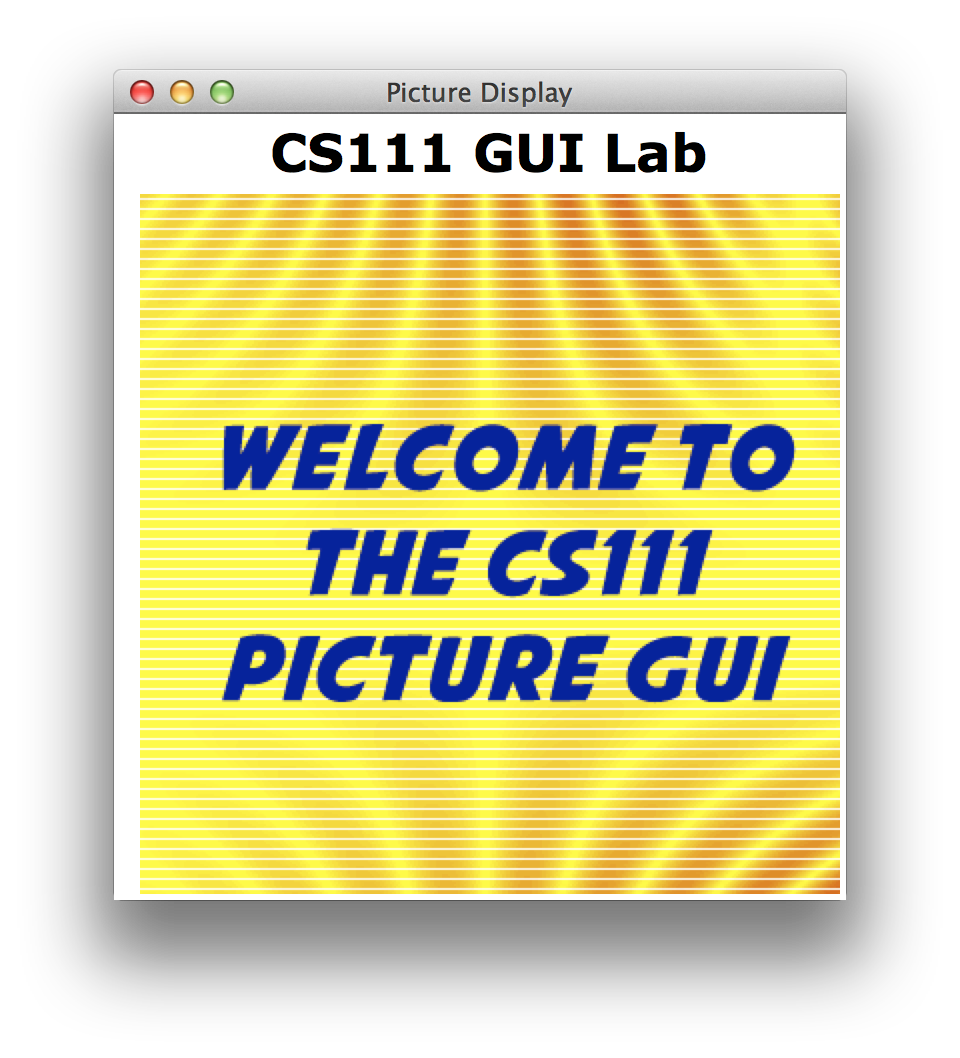
Open the fileWarmUp.py in Canopy. If you run the file, this is what you
should see: 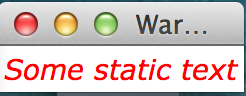 .
.If you manually make the window larger, it looks like this:
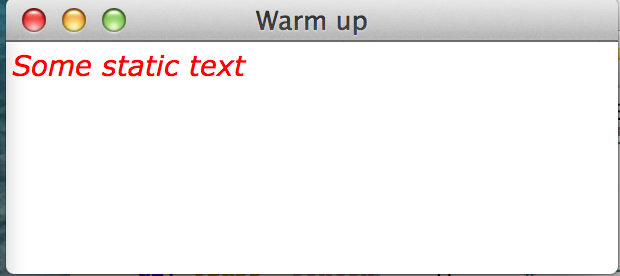 .
. Why?
Let's add some more things to our warm up app, as shown below, working from left to right:
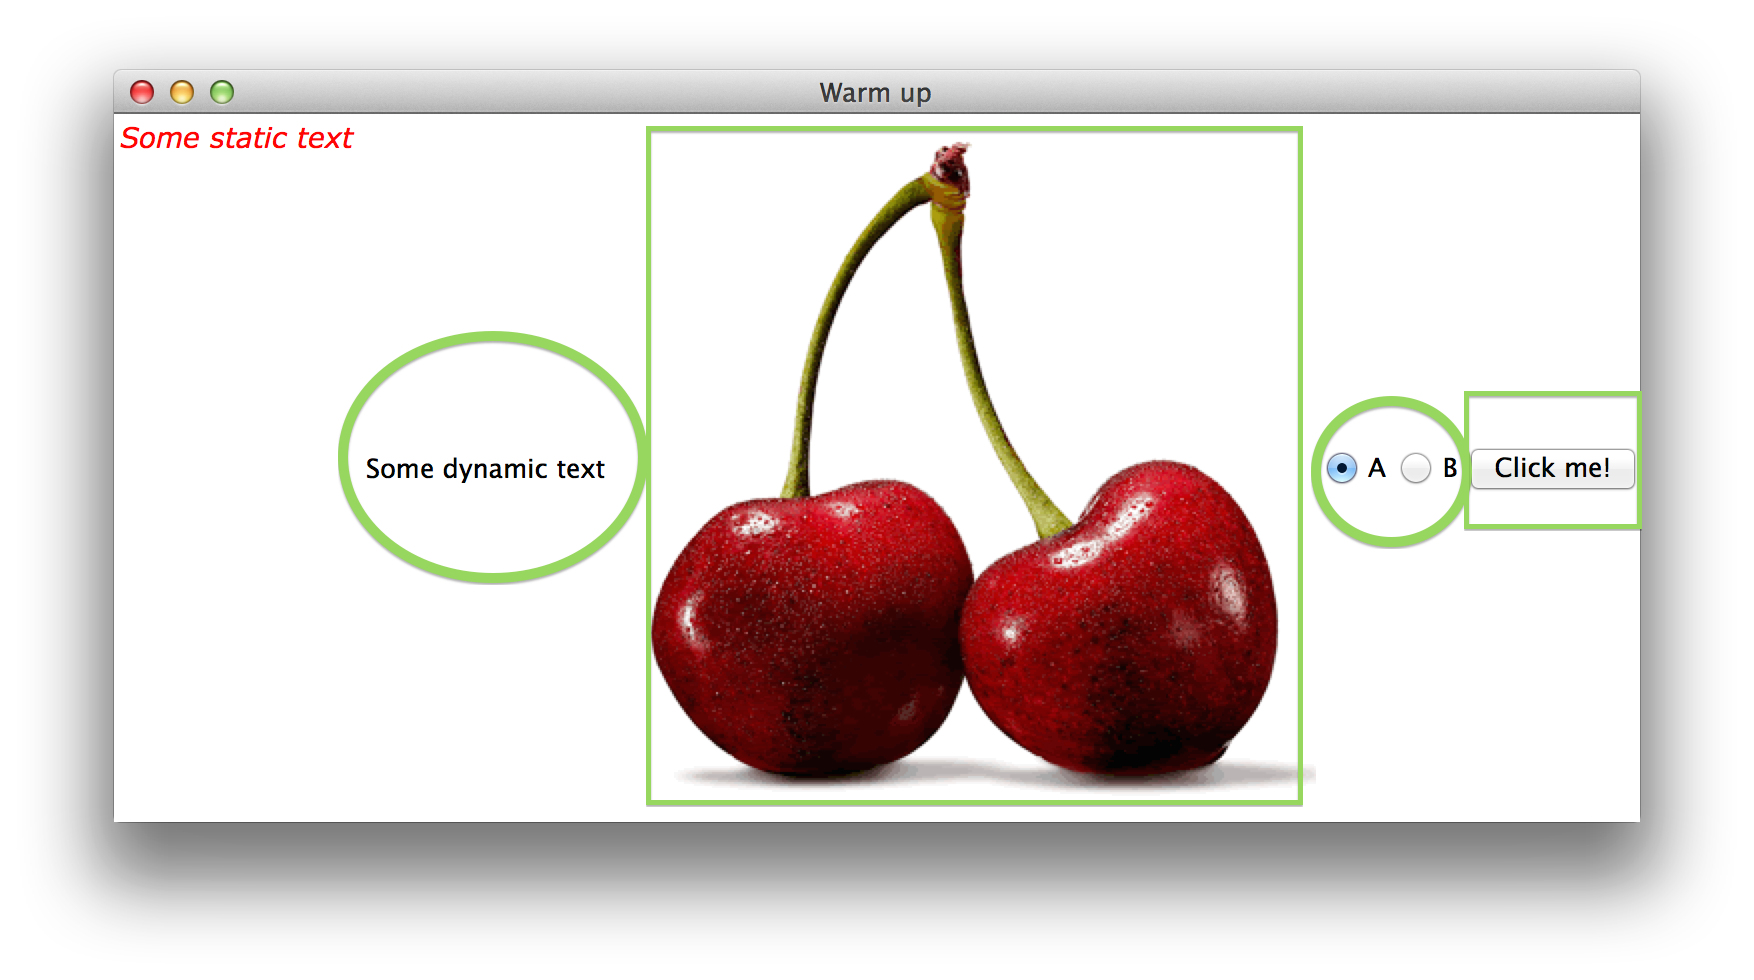
- add some dynamic text (we will change it later)
- add a picture (cherries.gif)
- add a pair of radio buttons labeled A and B
- add a button that says 'Click me'
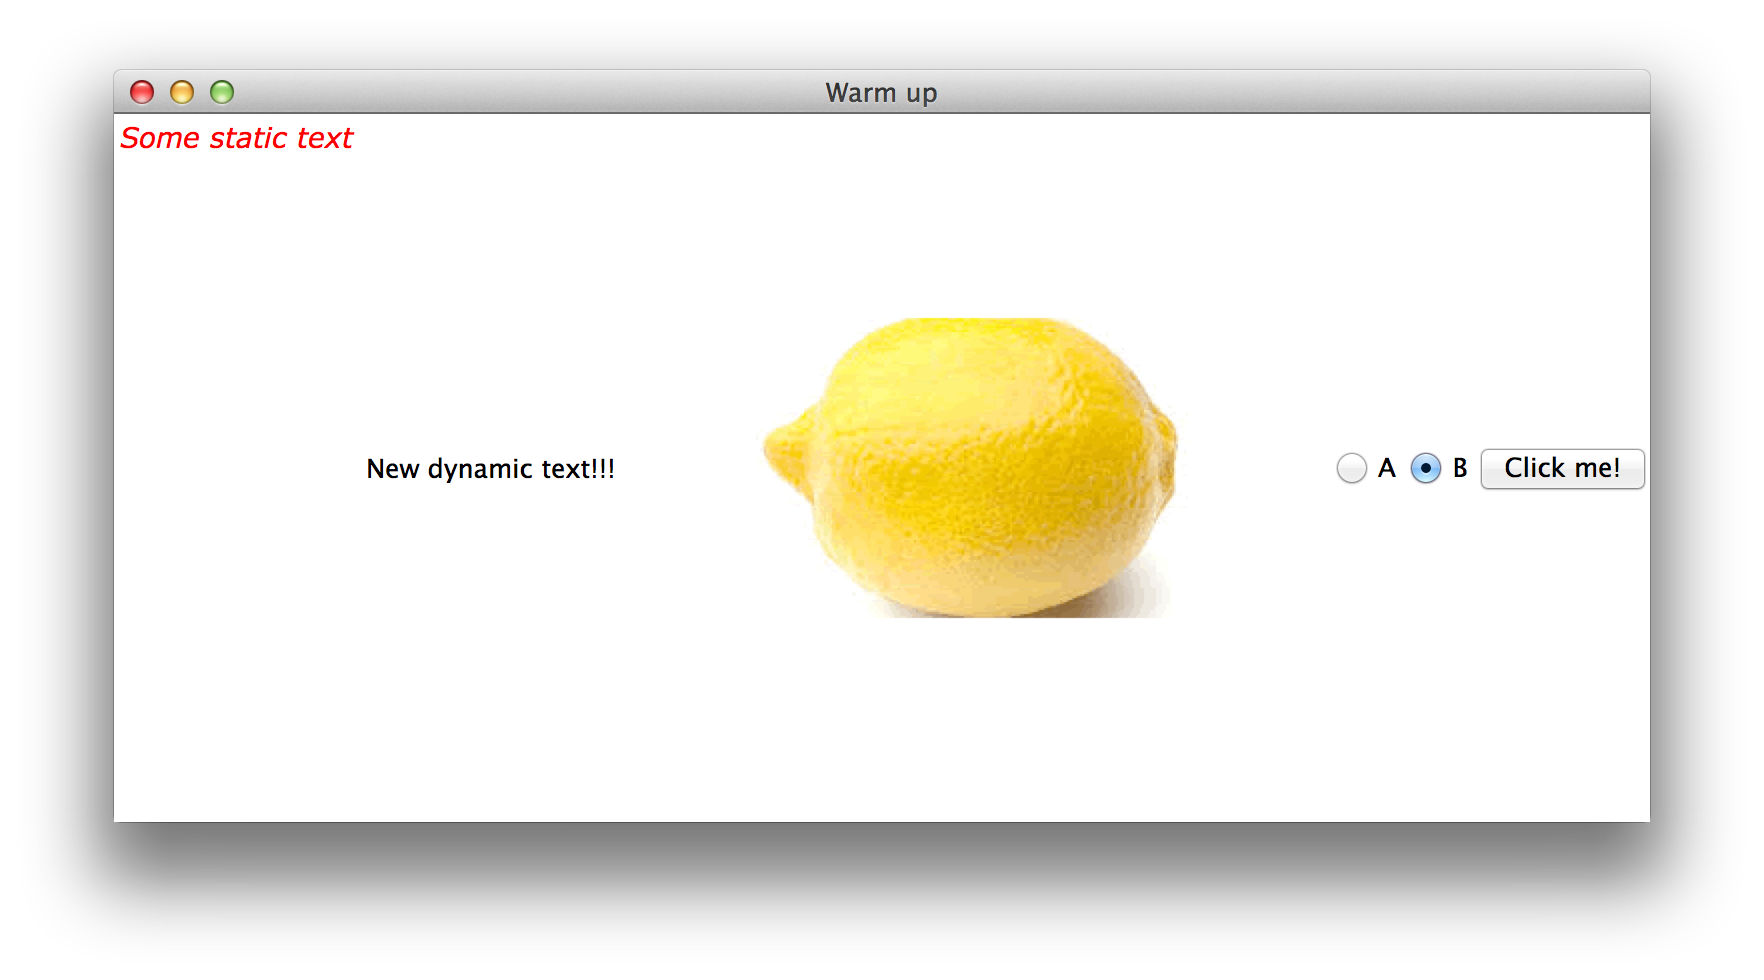
- Canopy's python pane shows this text:
     You clicked the button!
     Radio choice:1
Note: the text says Radio choice 1 because the user selected radio button B (which has value 1) rather than A (which has value 0). - The text changes to show a new message ("Some dynamic text" is replaced with "New dynamic Text!!!")
- The image changes from cherries to a lemon
Picture App: Background information
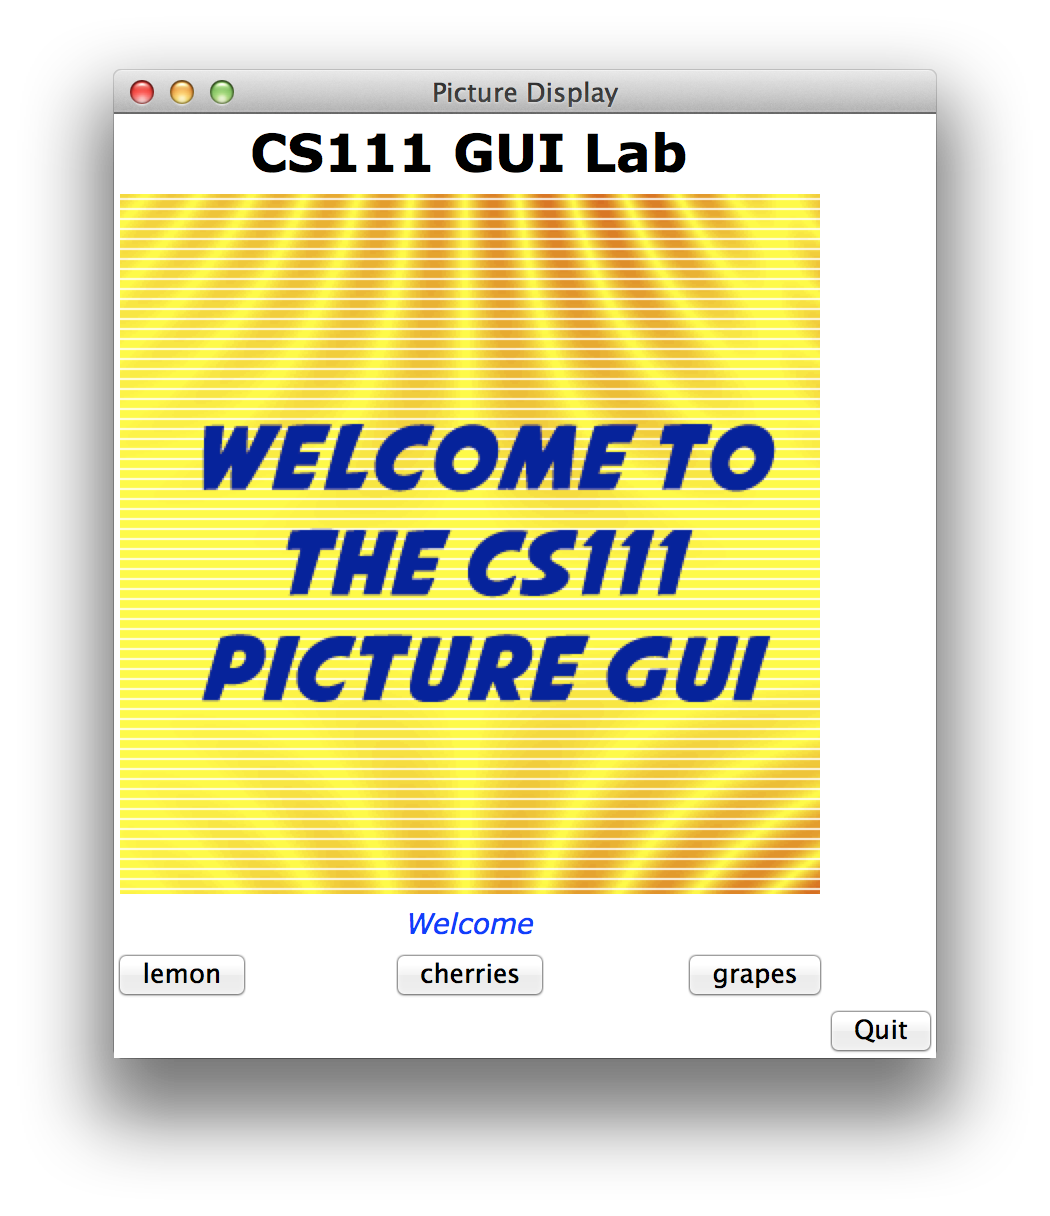
In this task, your goal is to create a picture displaying app. The user clicks on one of the three fruit buttons, and the corresponding fruit is shown in the center of the app. The image files (grapes.gif, lemon.gif, cherries.gif, watermelon.gif, seven.gif) are in yourlab12_programs folder. In this first app, we are
only using 3 of the given fruit images: lemon, cherry and grapes.
The initial image is called picGUI.gif. All of the images we are using today are .gif because the
package we are using for UI supports only .gif image files.
We are providing you with a template to get you started. Open the
file PicApp.py in Canopy. This file
creates the Label where the image is
displayed, but you will notice that the buttons
are missing. That's where you come in.

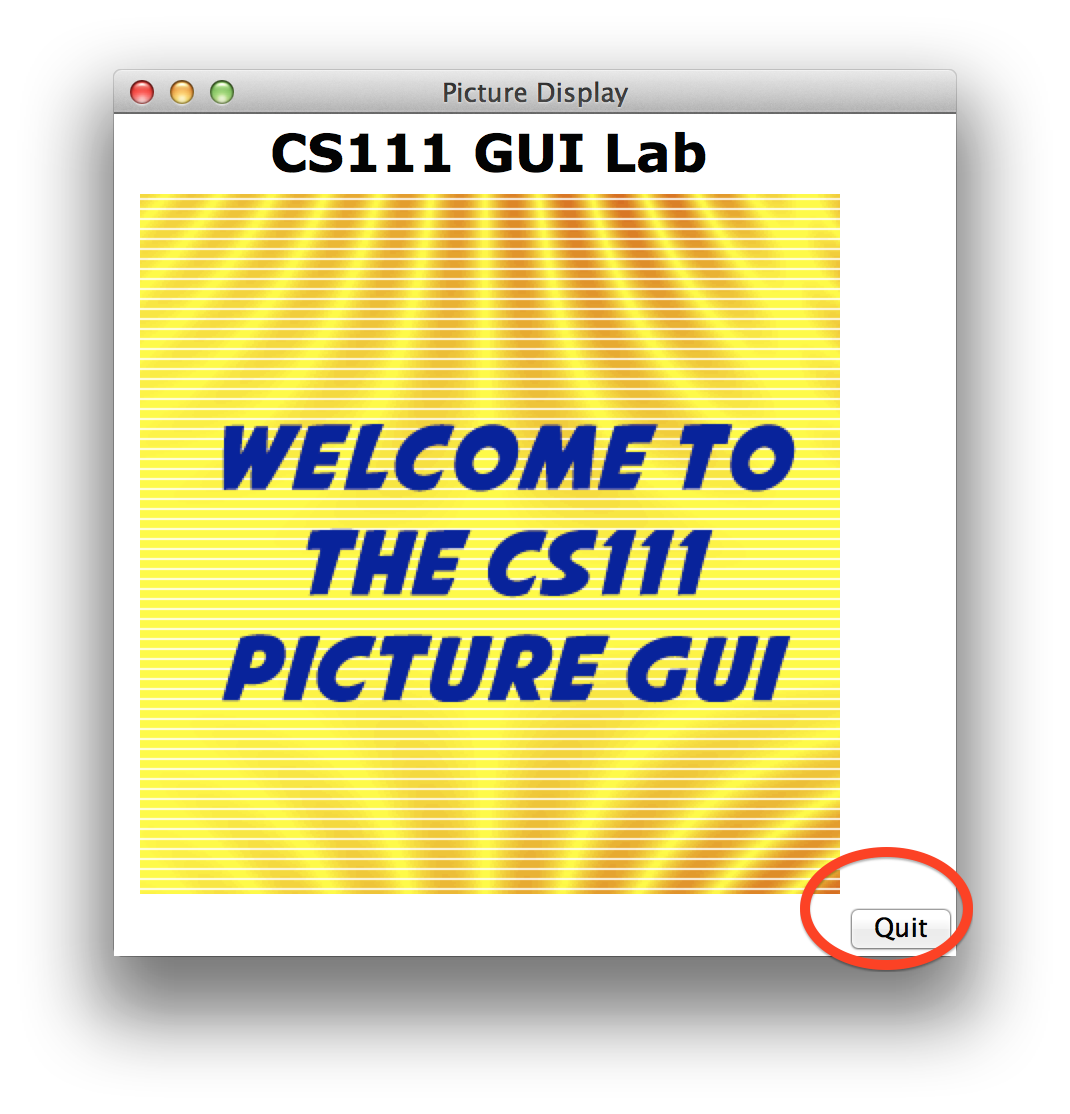
PicApp Task 1: Quit Button
Let's start by adding the quit button. First, we figure out where it should go in the grid (this diagram is helpful)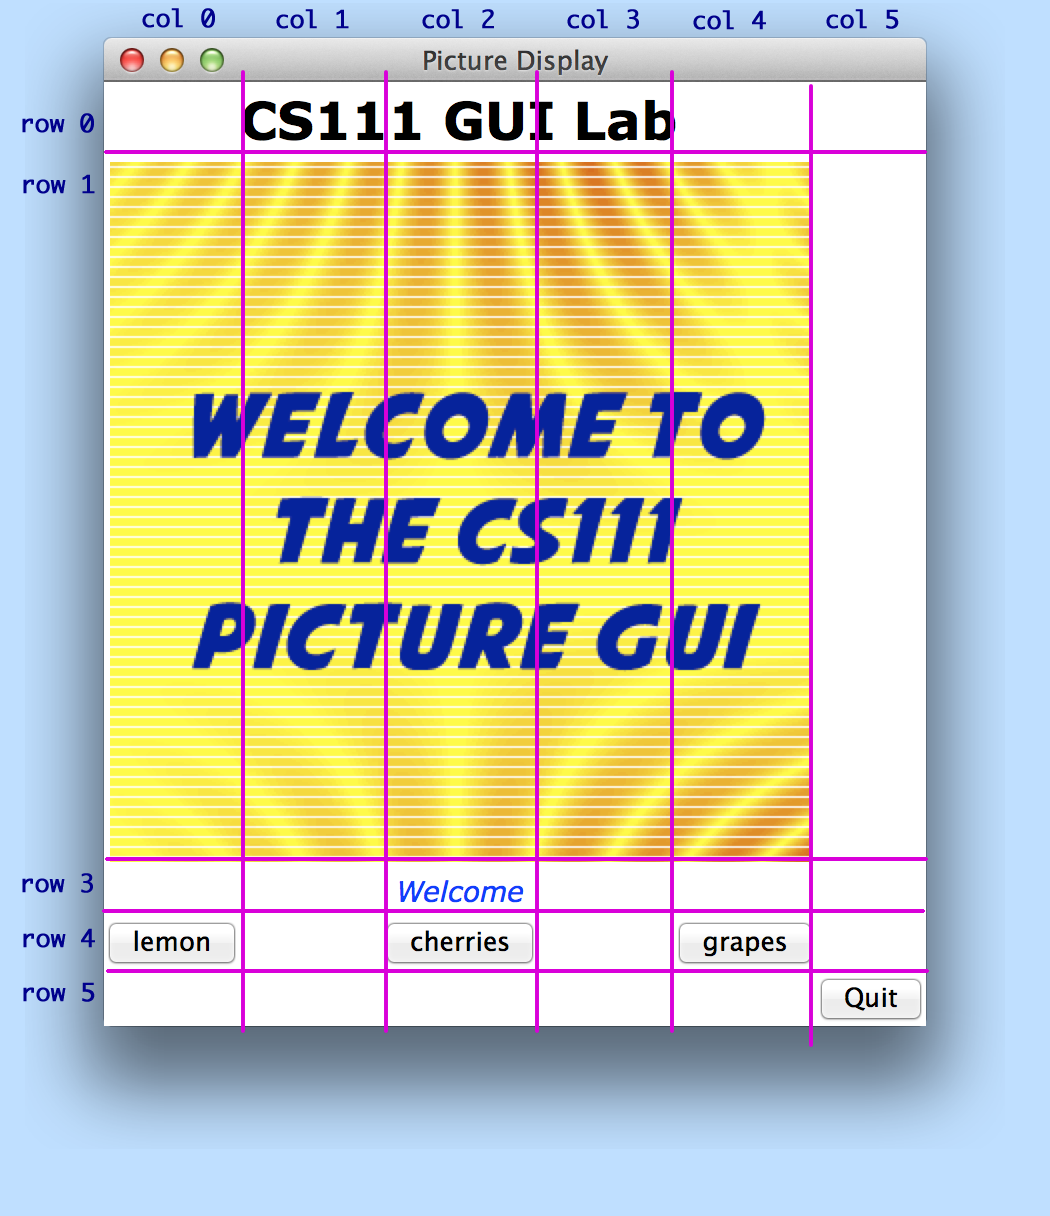
In the createWidgets() function, create your quit
button and place it in the grid (replace the ? with the appropriate numbers):
         quitButton = tk.Button(self, text='Quit')
	 quitButton.grid(row=?,column=?)
Run your program and check to make sure that your Quit button shows up.
The next step is to add an action to your Quit button so that it
actually quits your app. Write a function called onQuitButtonClick that looks like this:
     def onQuitButtonClick(self):
	     root.destroy()
And then connect your Quit button to the function (replace the magenta ??? with the correct function name):
quitButton = tk.Button(self, text='Quit', command=self.???)
Now test and make sure that you have a working Quit button.
PicApp Task 2: Picture Buttons
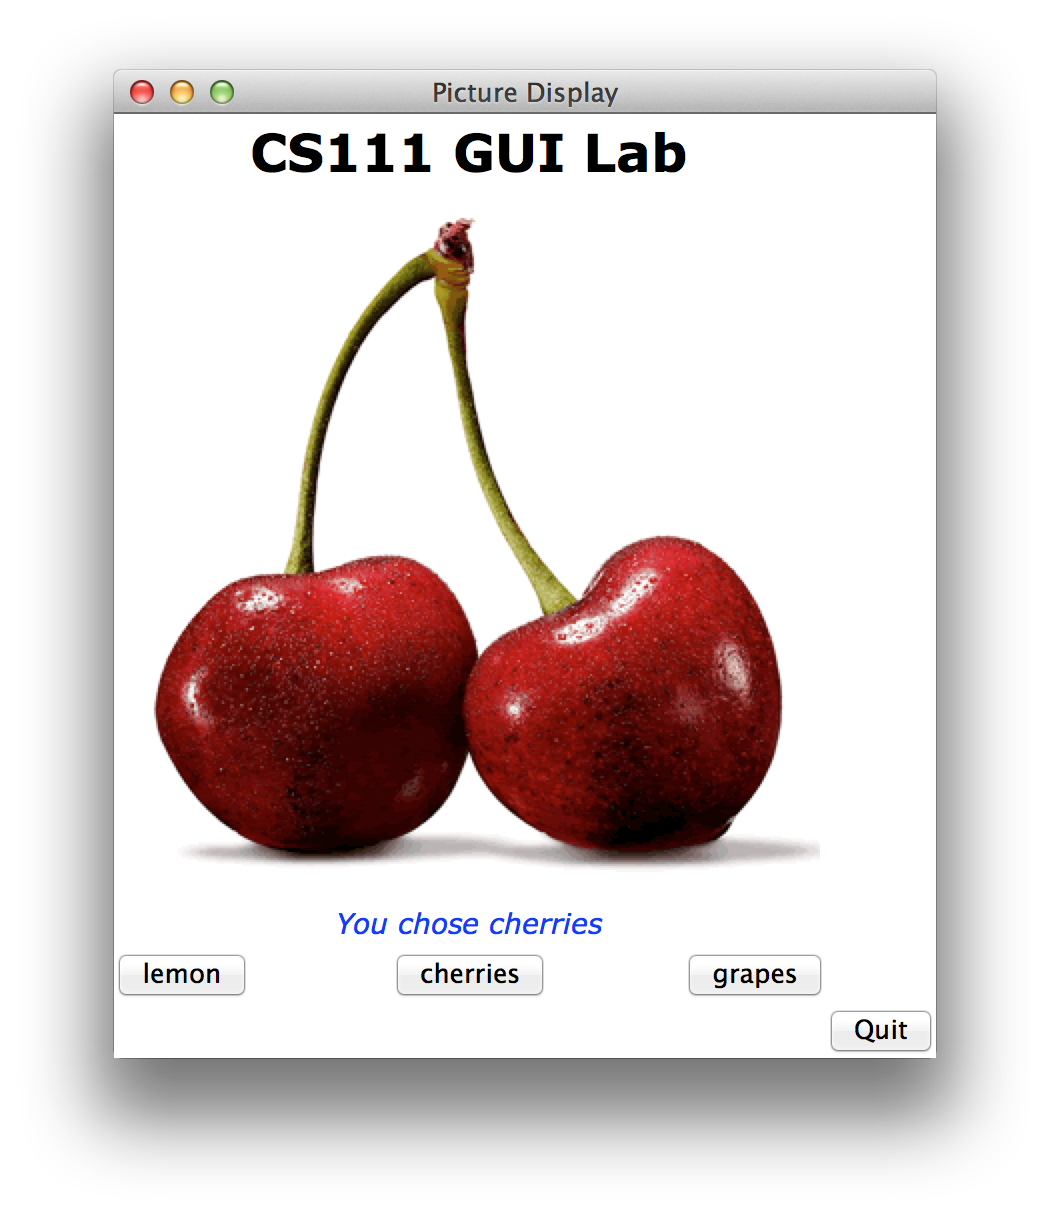
Now you will add code to create the three fruit picture buttons, and when the user clicks on a button, the picture should change to show that particular fruit (three screen shots below):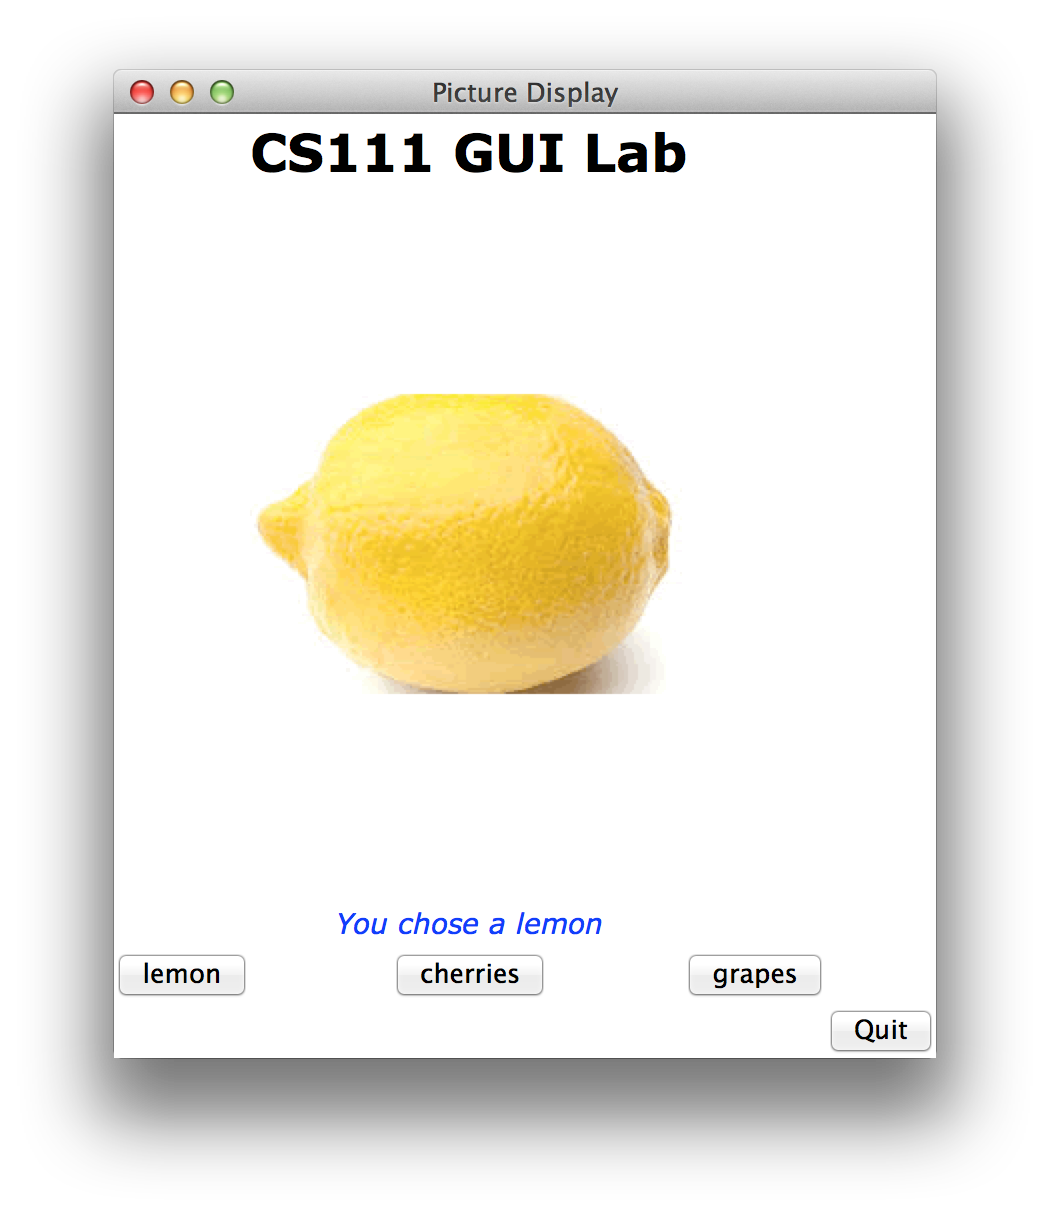

Hints: Images are displayed inside of Labels in Tkinter.
Look at the code inside createWidgets() to
see how the initial image is displayed in the app. Think
of the image as belonging to the Label, and you can change the
image using configure(). For example, if a program
has a Label called animalLabel (that was created earlier in the code) and we'd like to change the image to show a monkey, we can do it like this:
      newpic = tk.PhotoImage(file='monkey.gif') # create new PhotoImage
      self.animalLabel.configure(image=newpic) # change Label's image
      # store image, otherwise gets deleted when UI refreshes
      self.animalLabel.image = newpic
PicApp Version 2: Background information
Instead of a separate button for each picture, in this app, the user selects the radio button for the fruit, and then clicks on the button to change the image displayed. A text message appears in the app, indicating which picture was picked (e.g. "You chose a lemon!"). Note that in the__init__(self) function,
a list called self.pictures has been
set up that includes each of the images filenames:
self.pictures = ['picGUI.gif','lemon.gif','cherries.gif','grapes.gif','seven.gif']There is also a list set up that contains captions.
The final product should look like this:
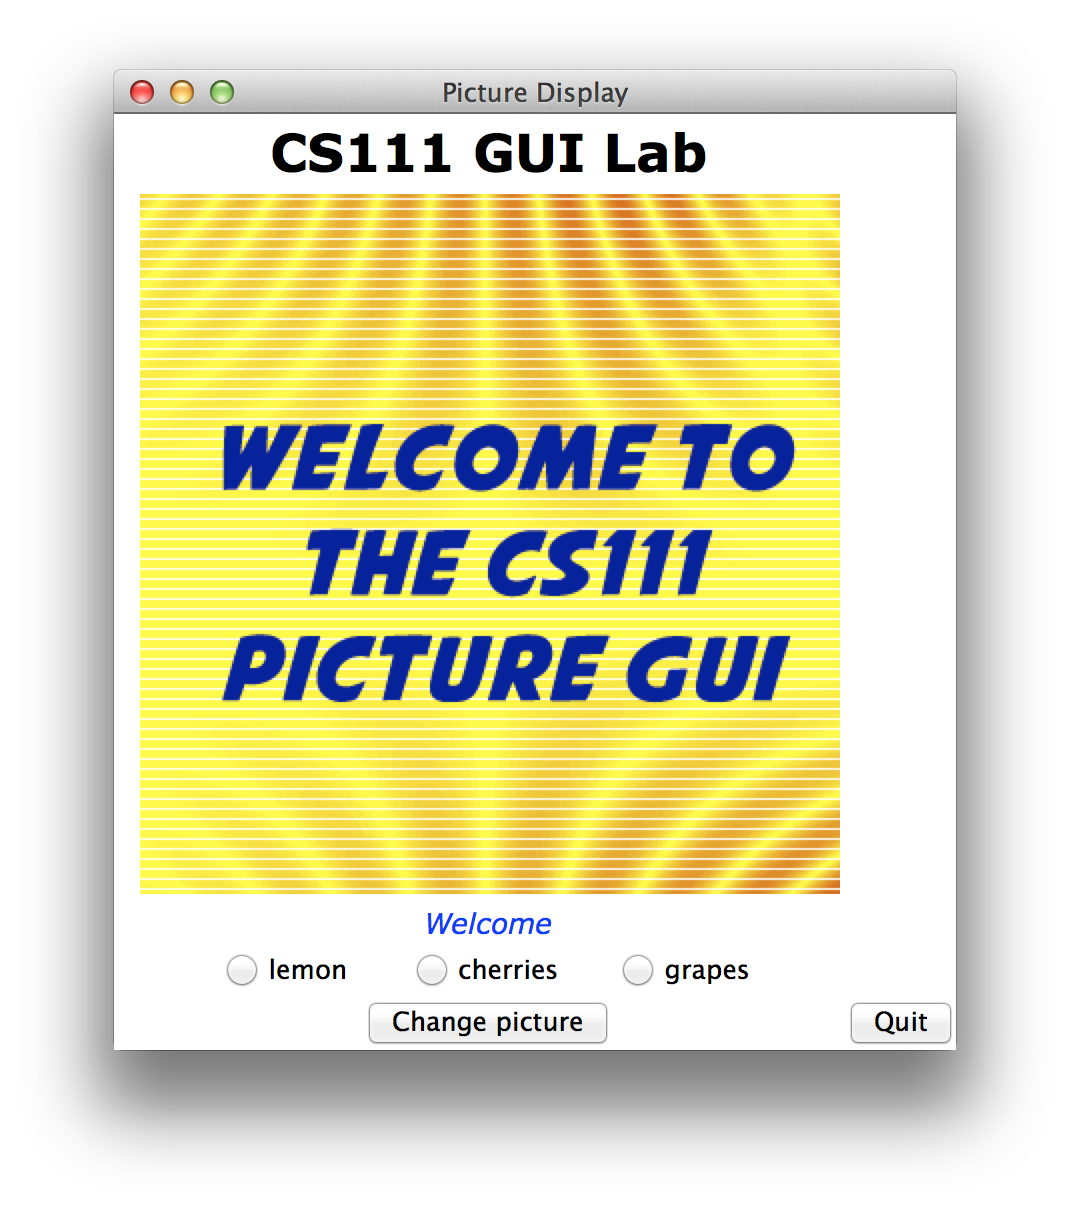
Open the PicApp2 template in Canopy. If you run the
template, you will see an app that looks like this:
Your task is to add in the missing components, and add functionality for a full working app. Follow the steps below:
PicApp 2.0, Task 1: Quit Button
Add a Quit button, as well as the function that will be called when the Quit button is clicked.
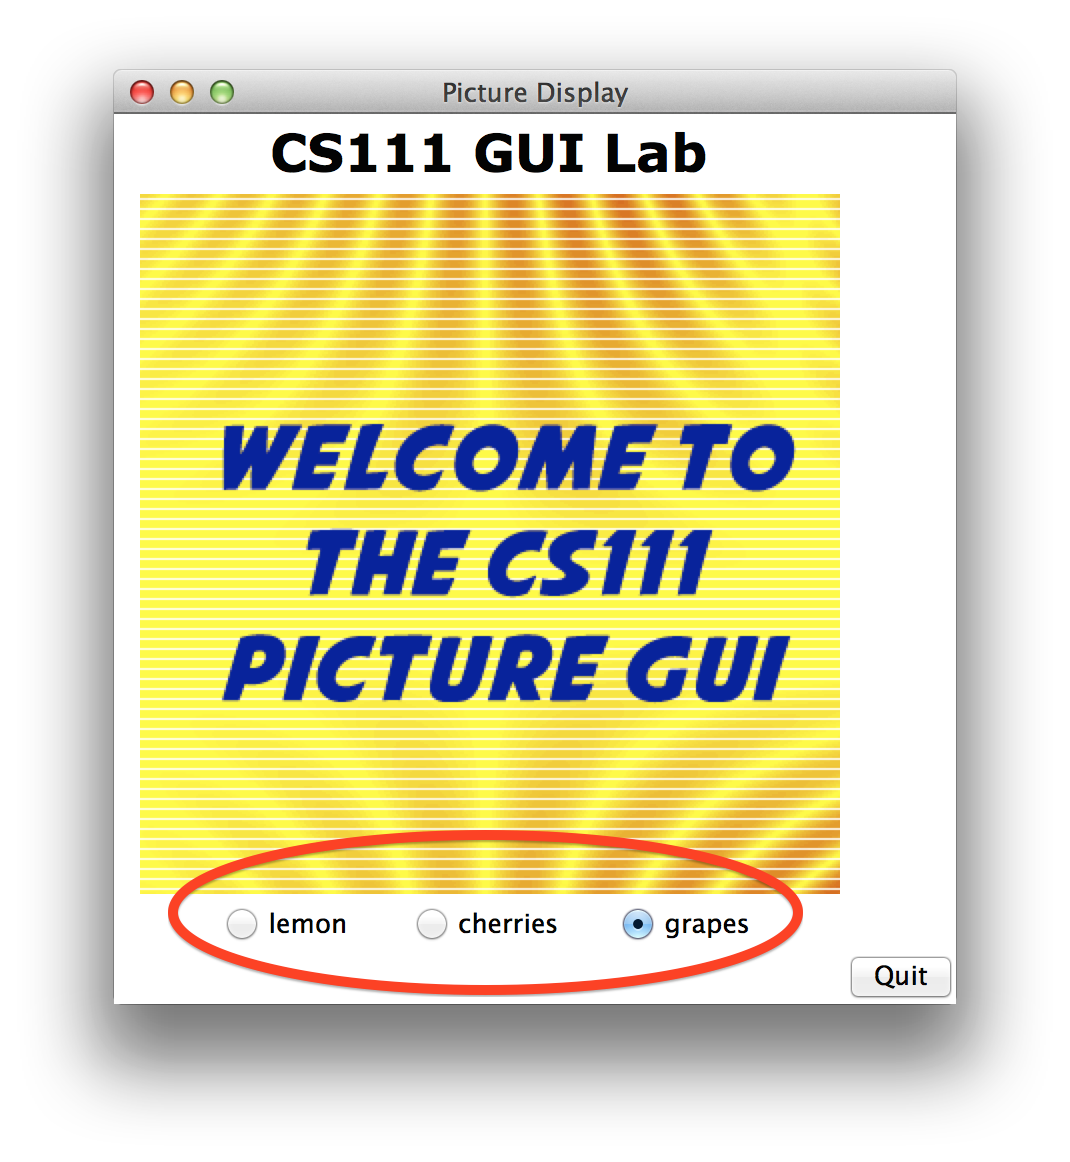
PicApp 2.0, Task 2: Radio Fruit Buttons
Add in 3 radio buttons, each indicating one of the three fruit choices (lemon, cherries, grapes).
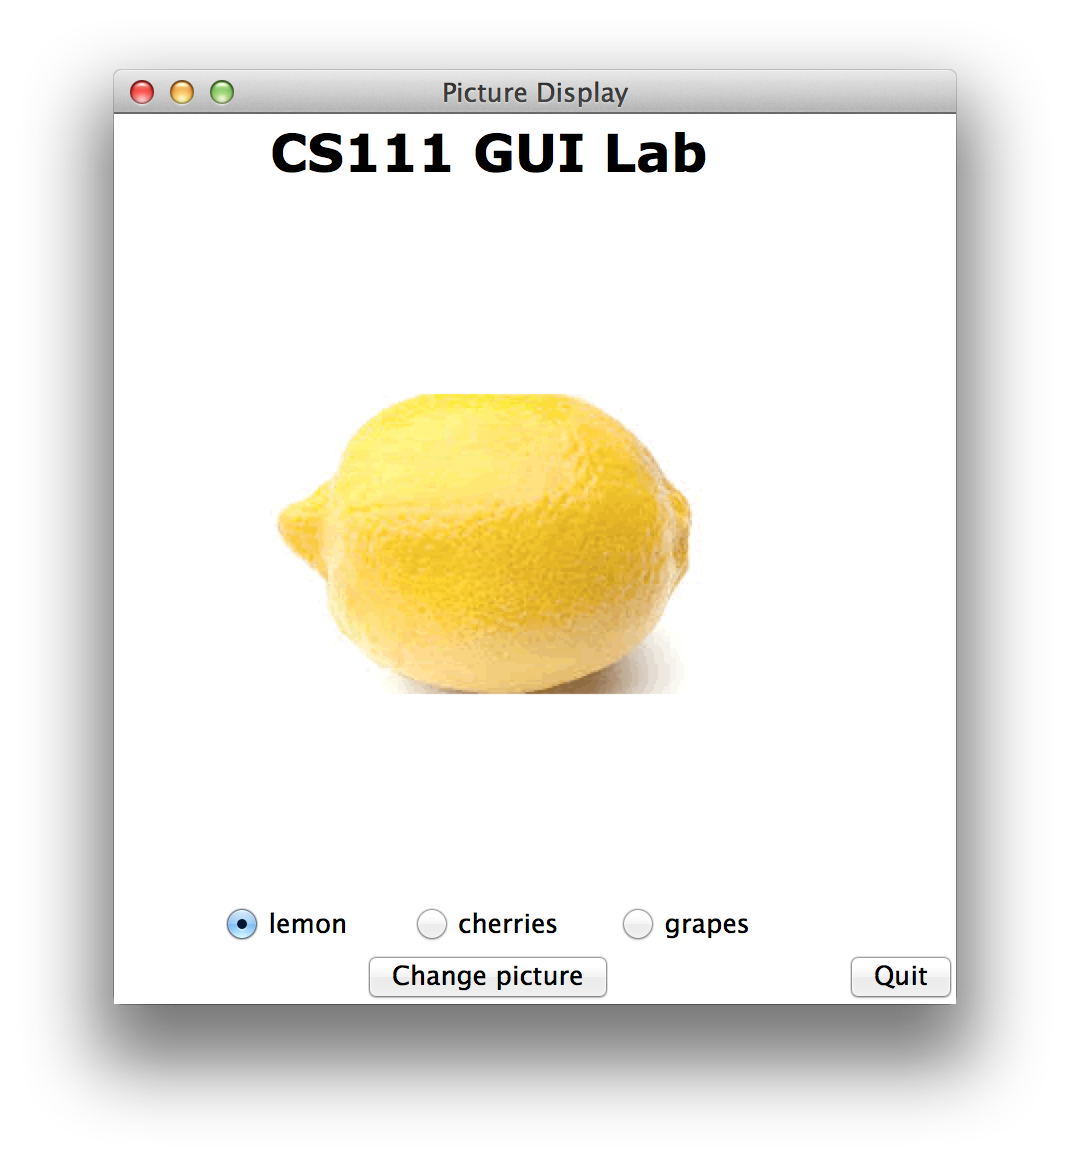
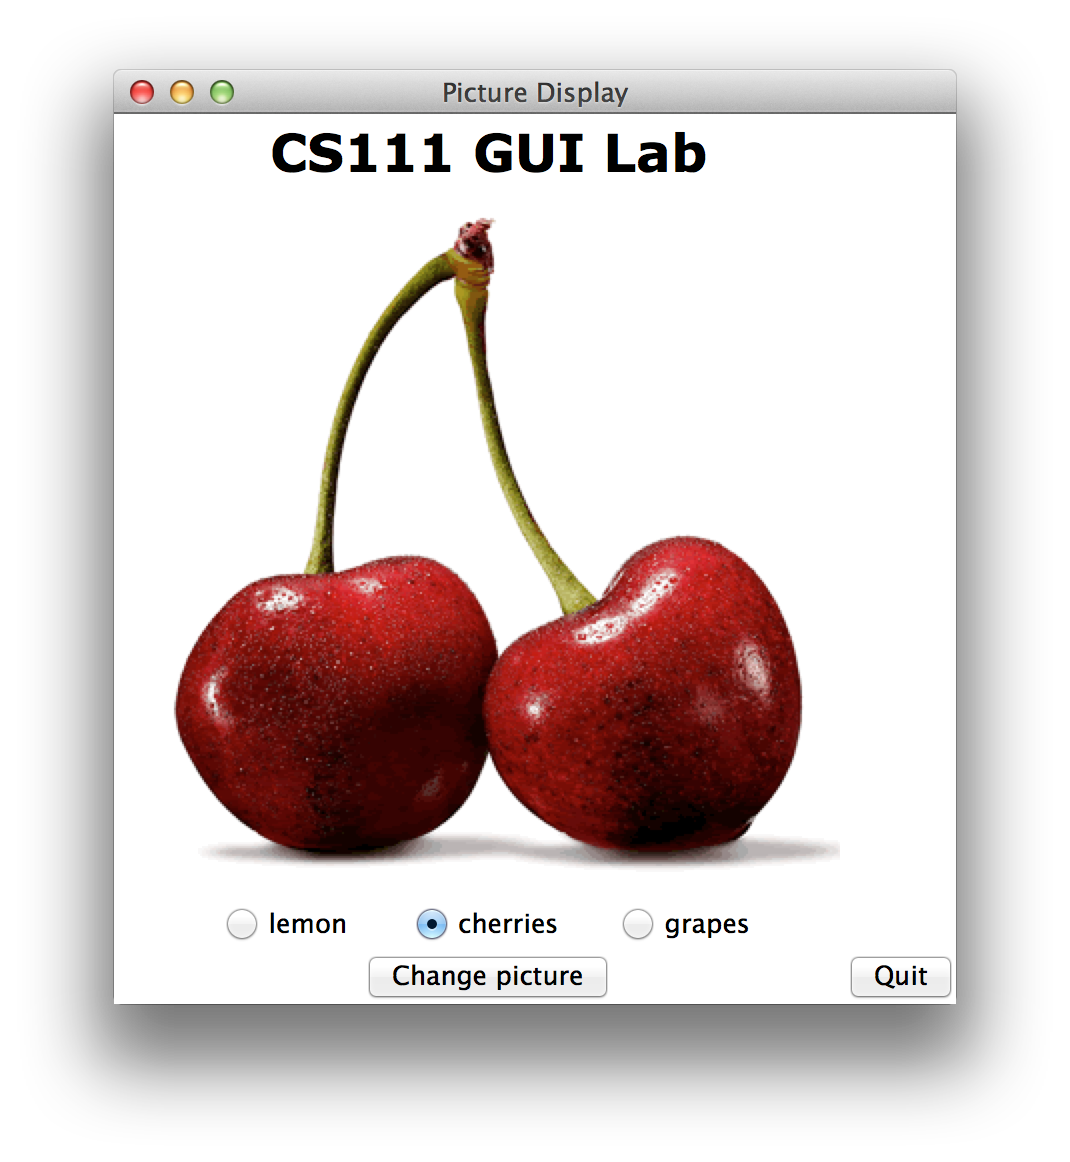
PicApp 2.0, Task 3: Change Picture Button
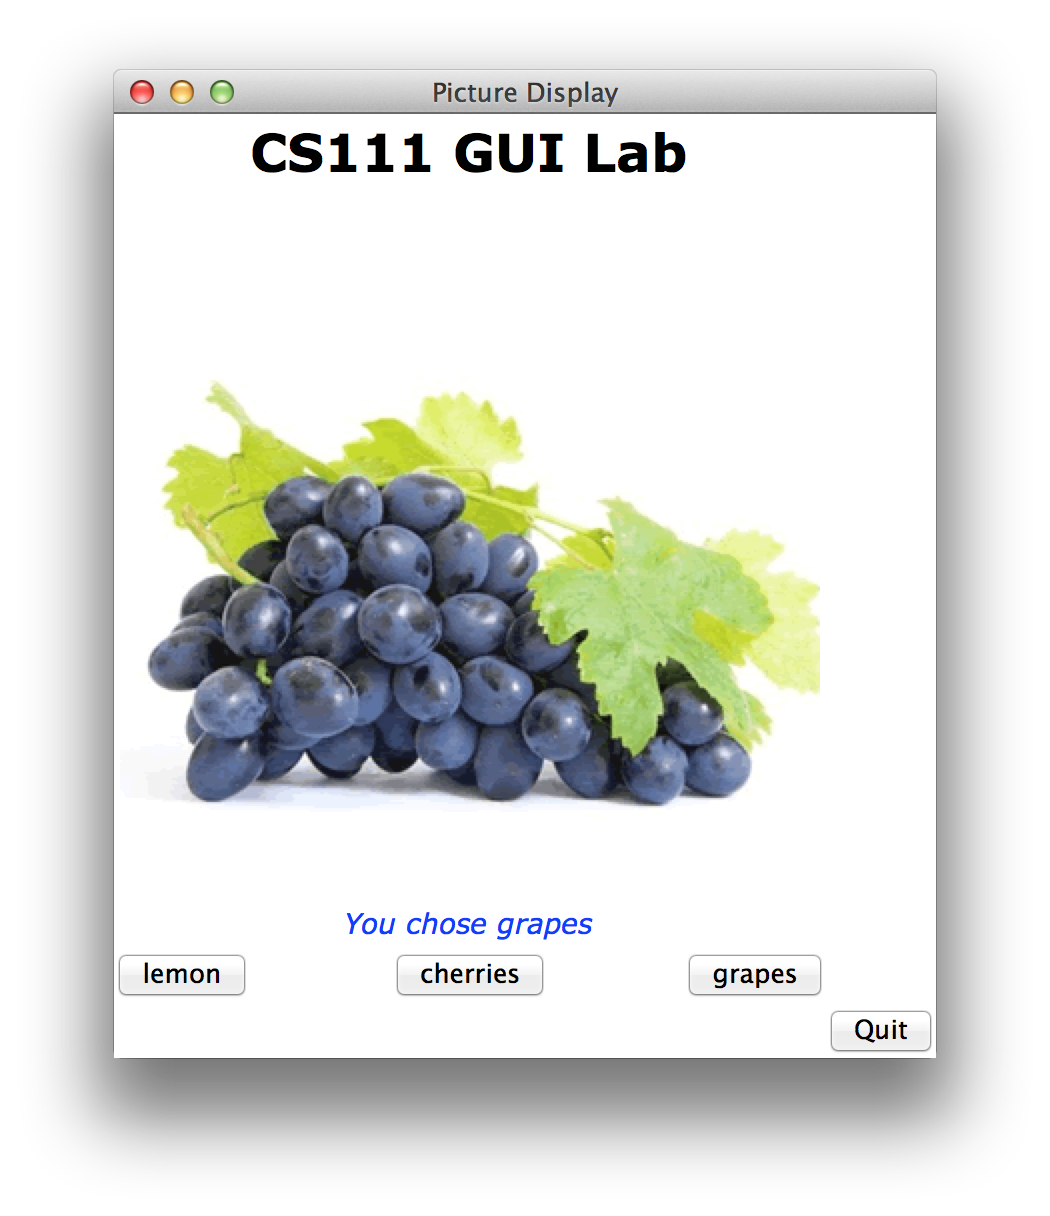
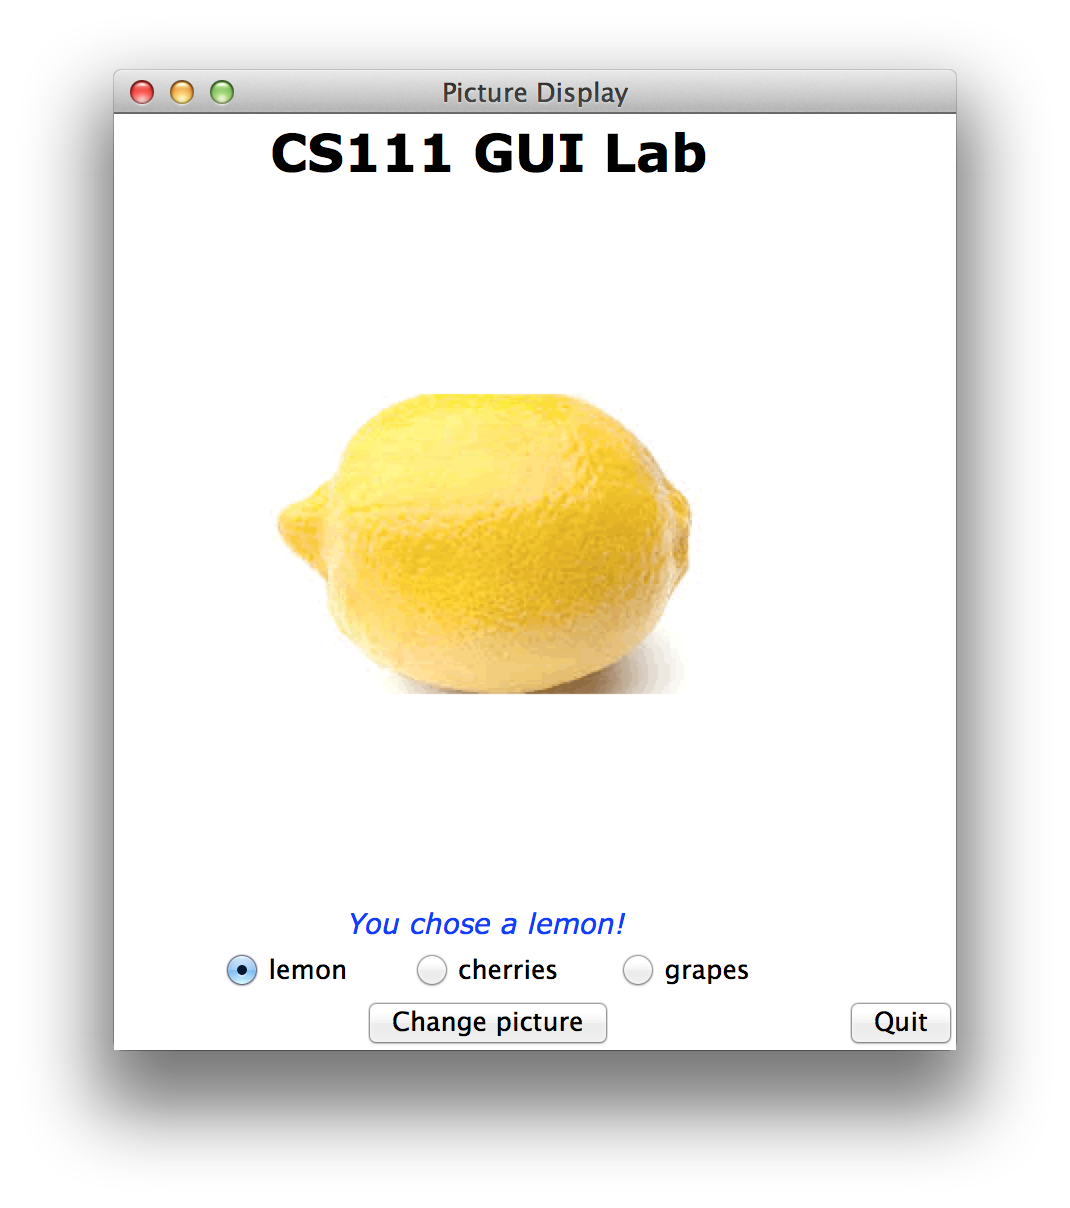
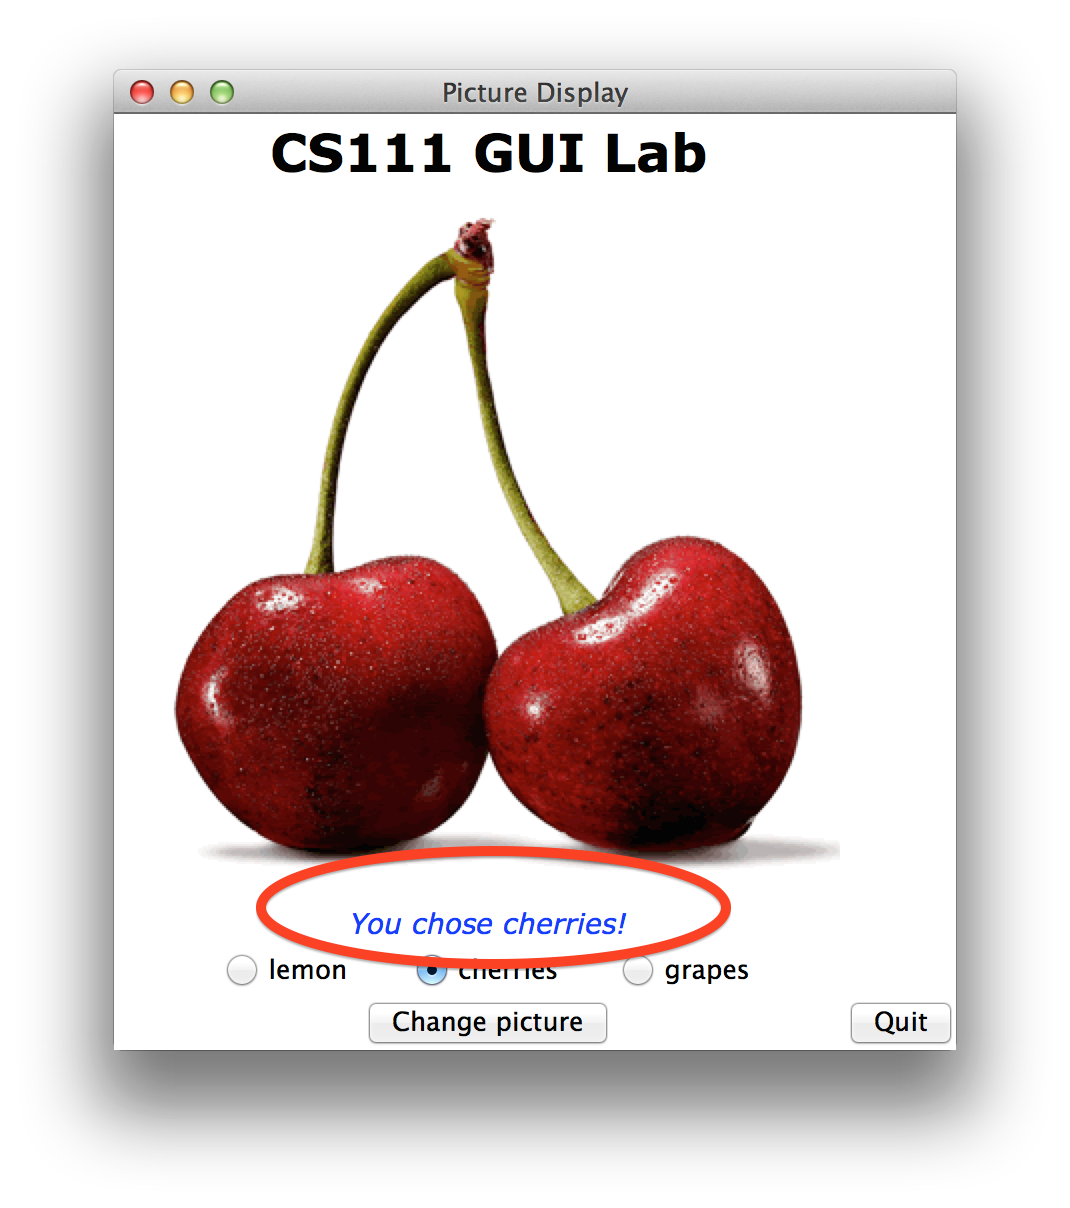
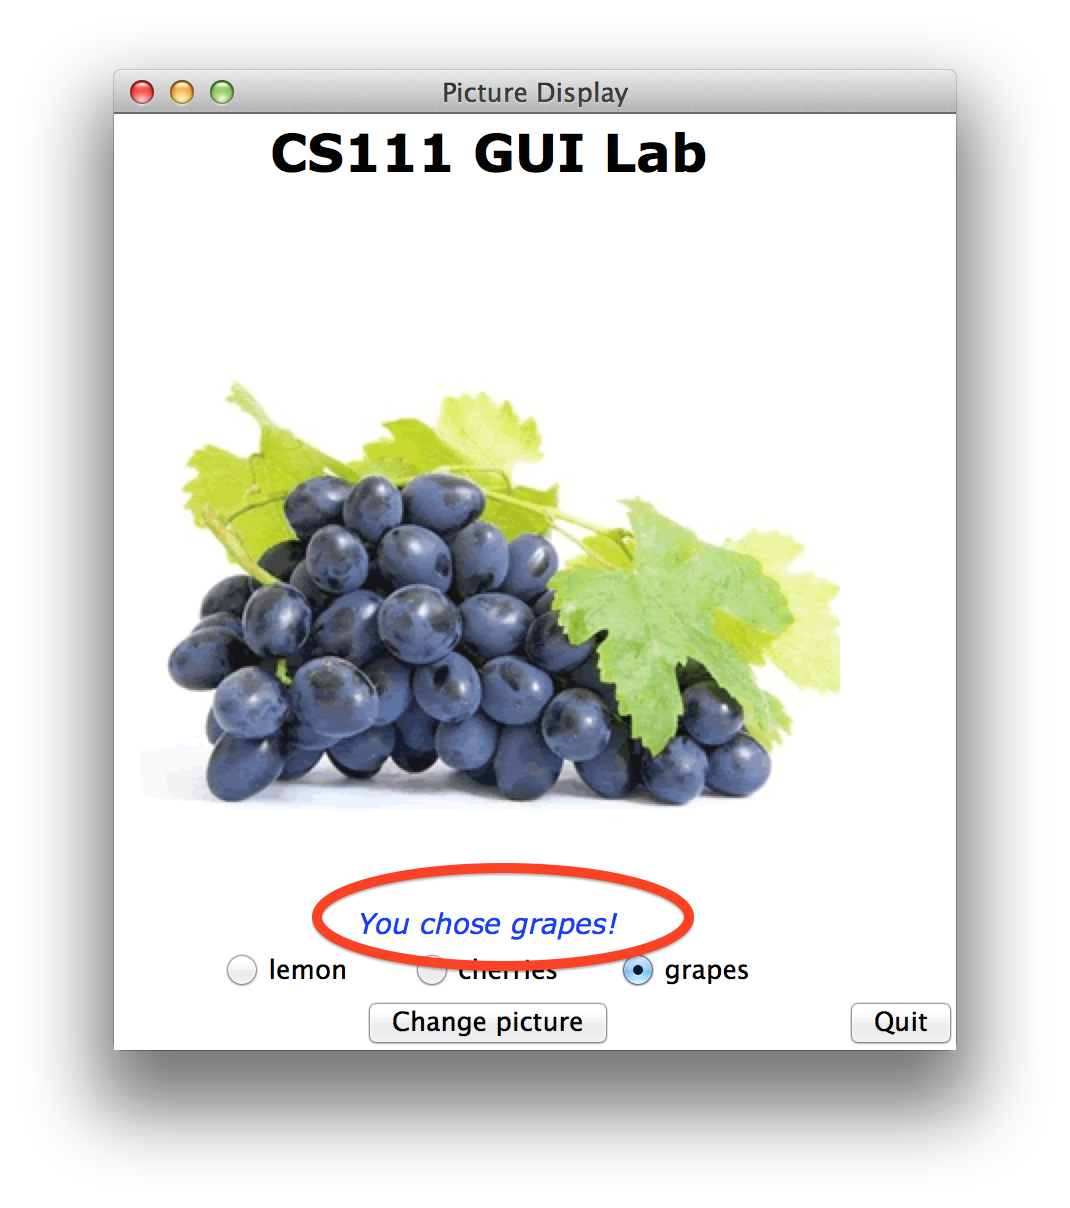
Add the Change Picture button, and have it change the picture based on which radio button was selected. We are showing two of the three possible images below (your code should work for all three).
PicApp 2.0, Task 4: Status label
Add in the Label to display text indicating which fruit was selected. Hint: a StringVar might come in handy here. Similar to the way an Image is inside a Label, strings are also inside a Label (and can be changed using theset() method. See these lecture notes for an example. Again,
we are showing two of the three possible labels below (your code should work for all three).
Slot Machine App: Background information
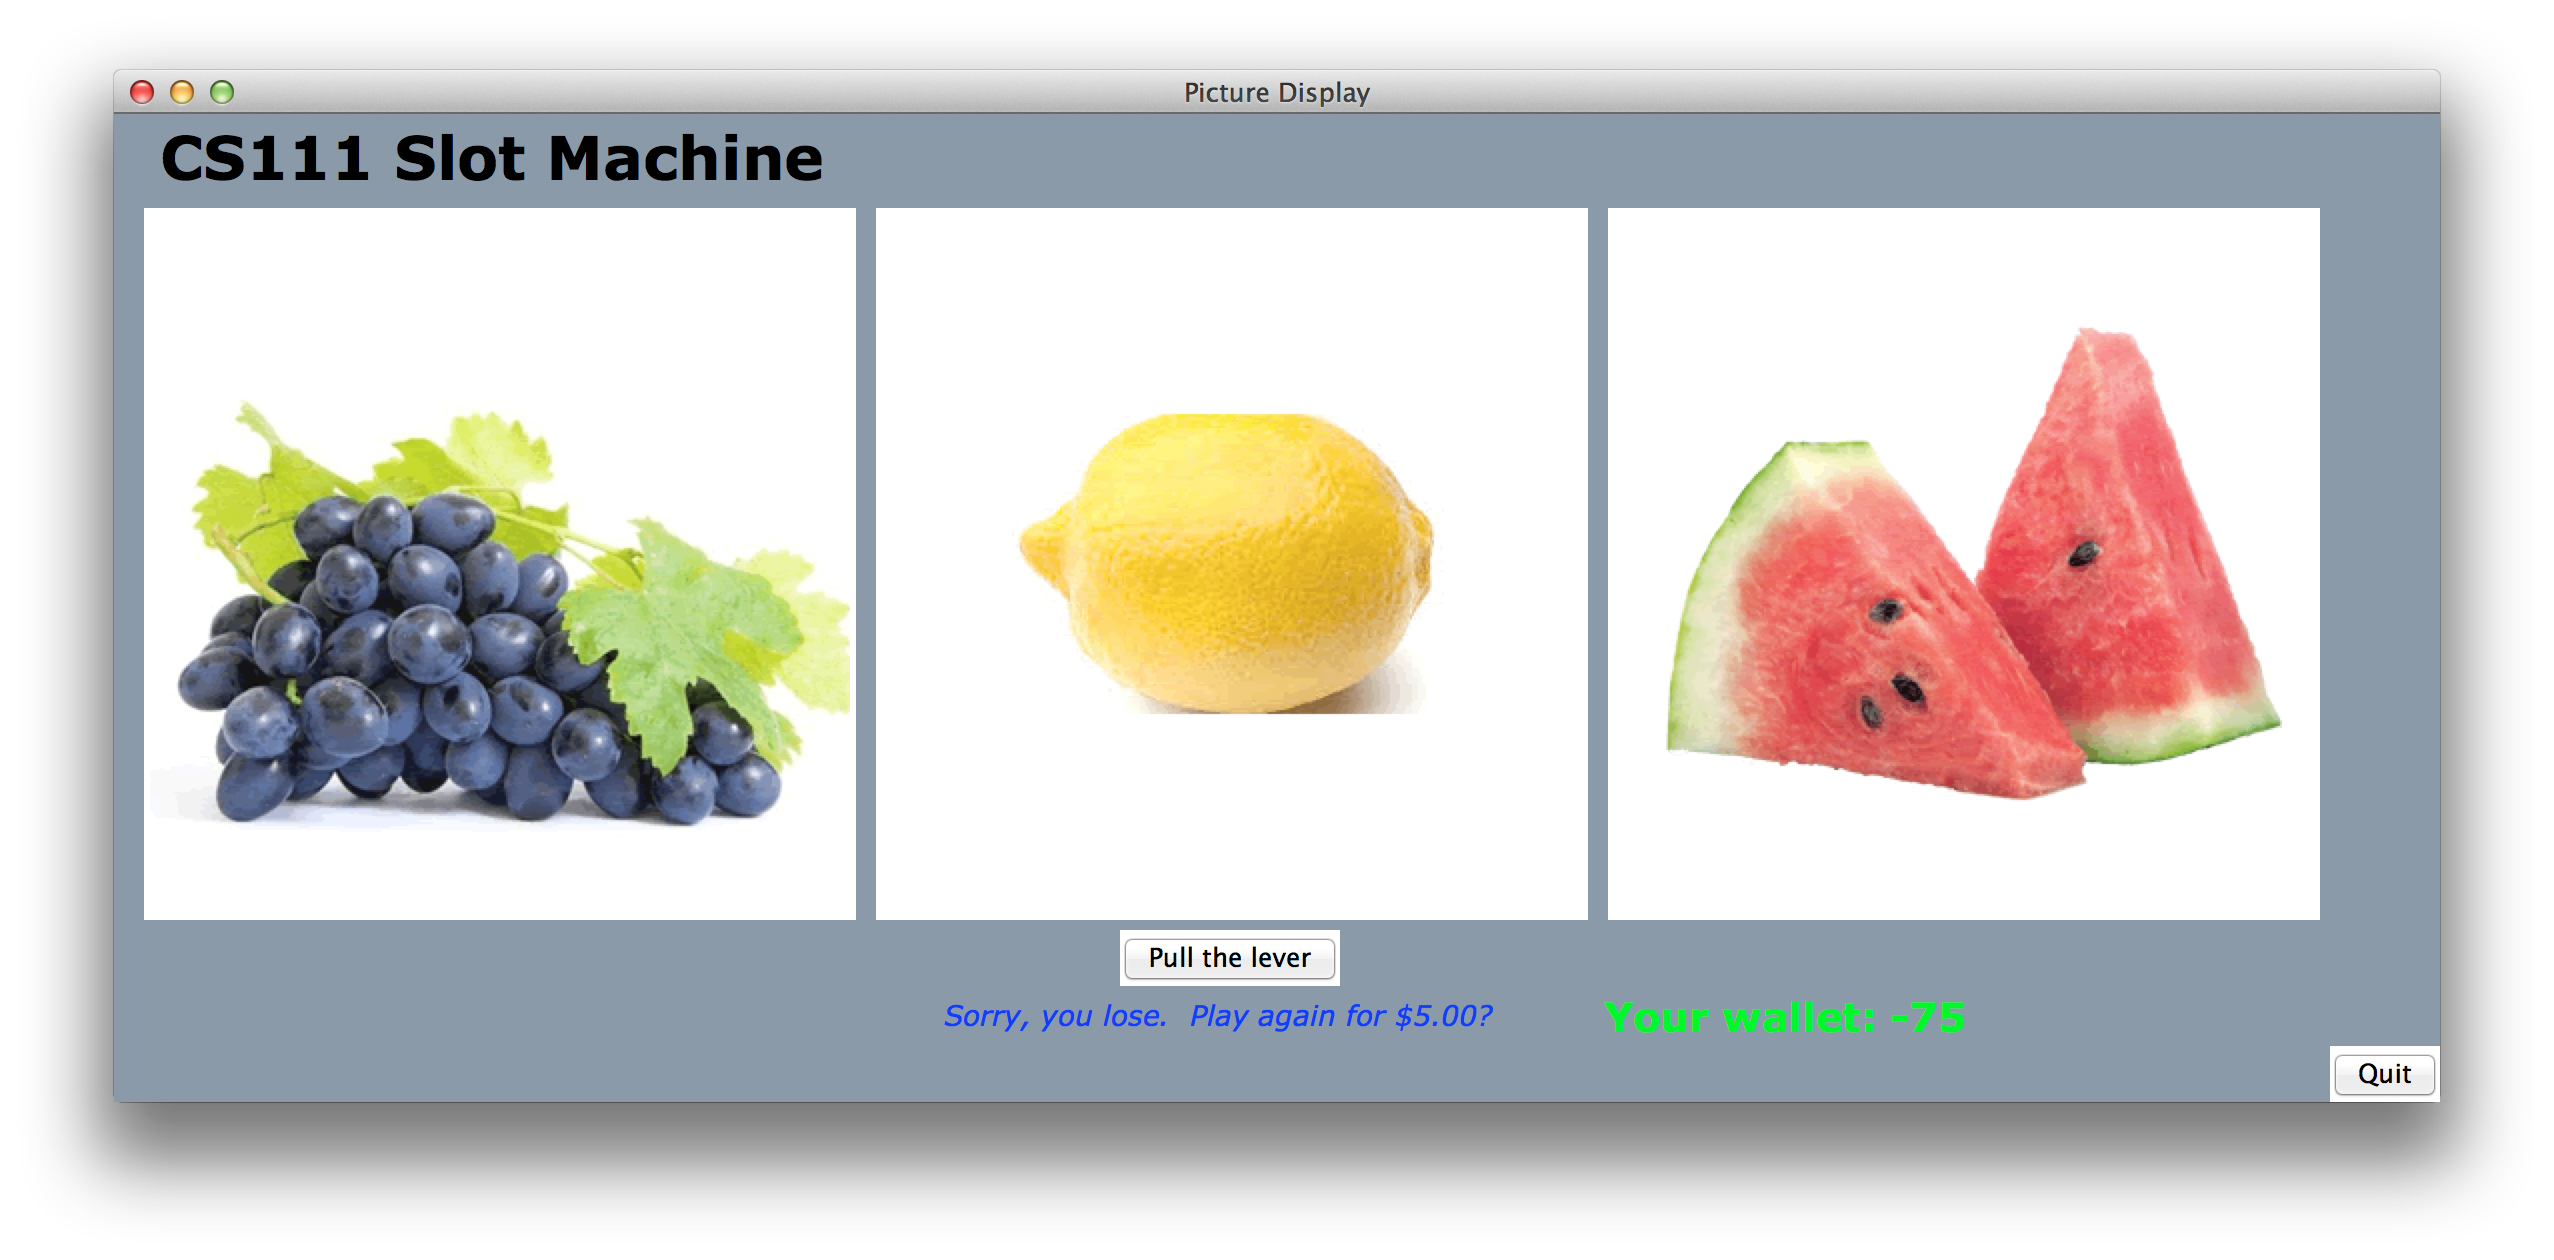
Now we'll add a bit more complexity and work on a slot machine app. Here are various scenarios taken at non-consecutive times when the app is played. The starter code for this task is in the fileSlotMachineApp.py.
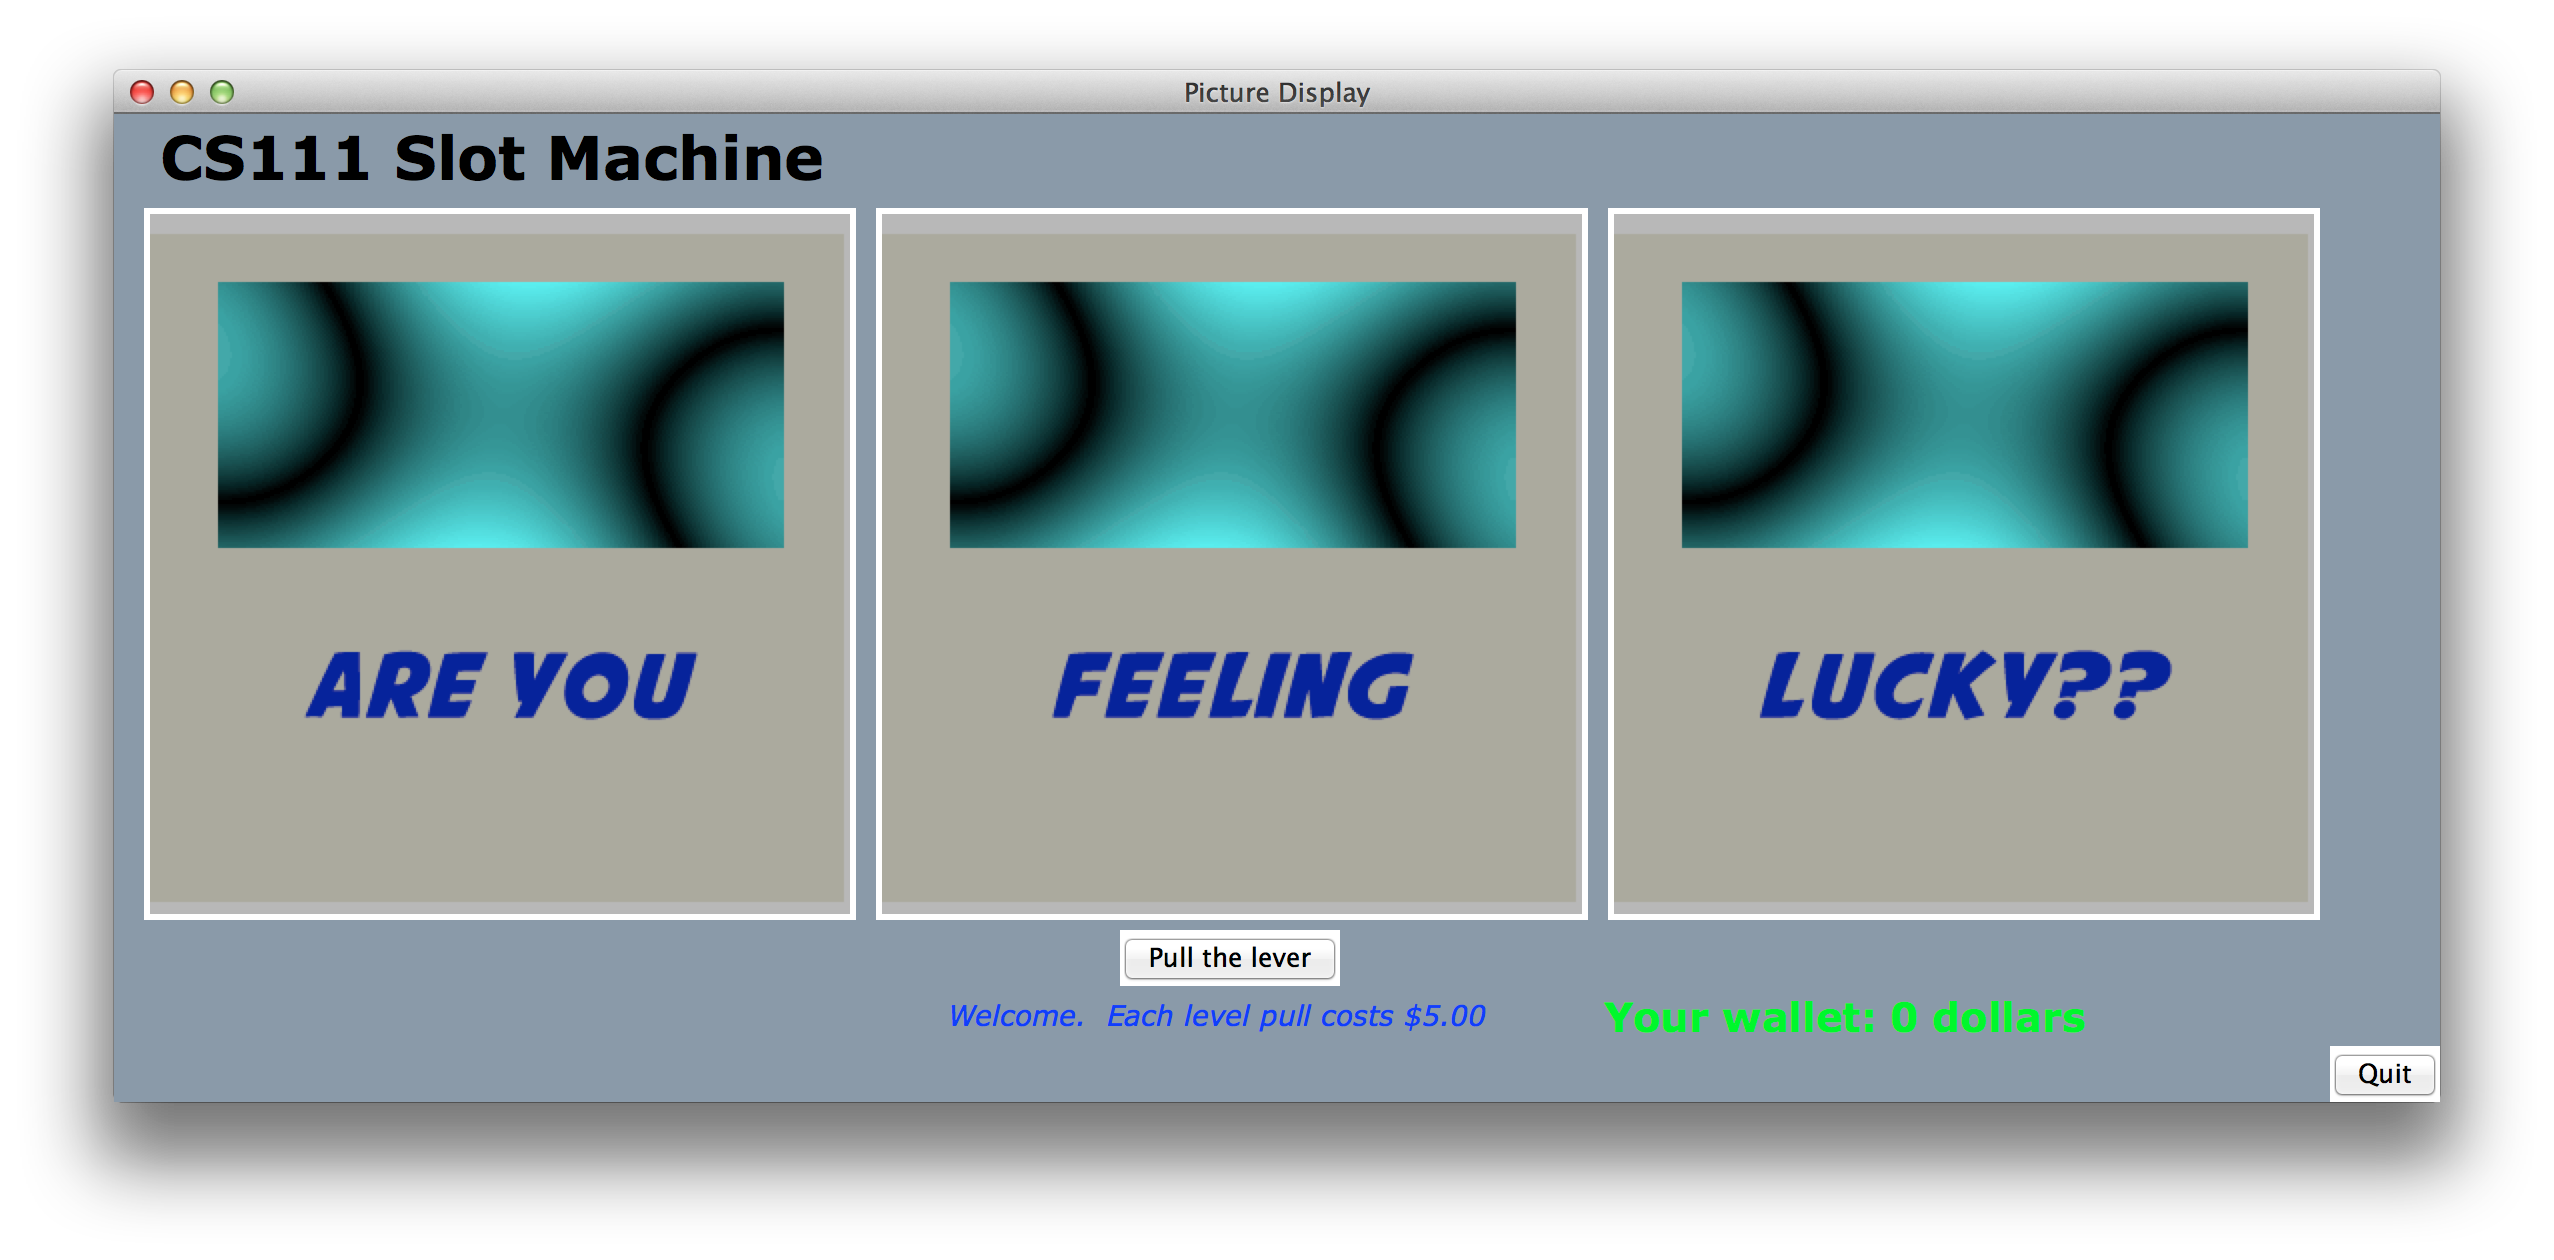
- Initial starting screen:
- After several rounds of playing
- After hitting the jackpot

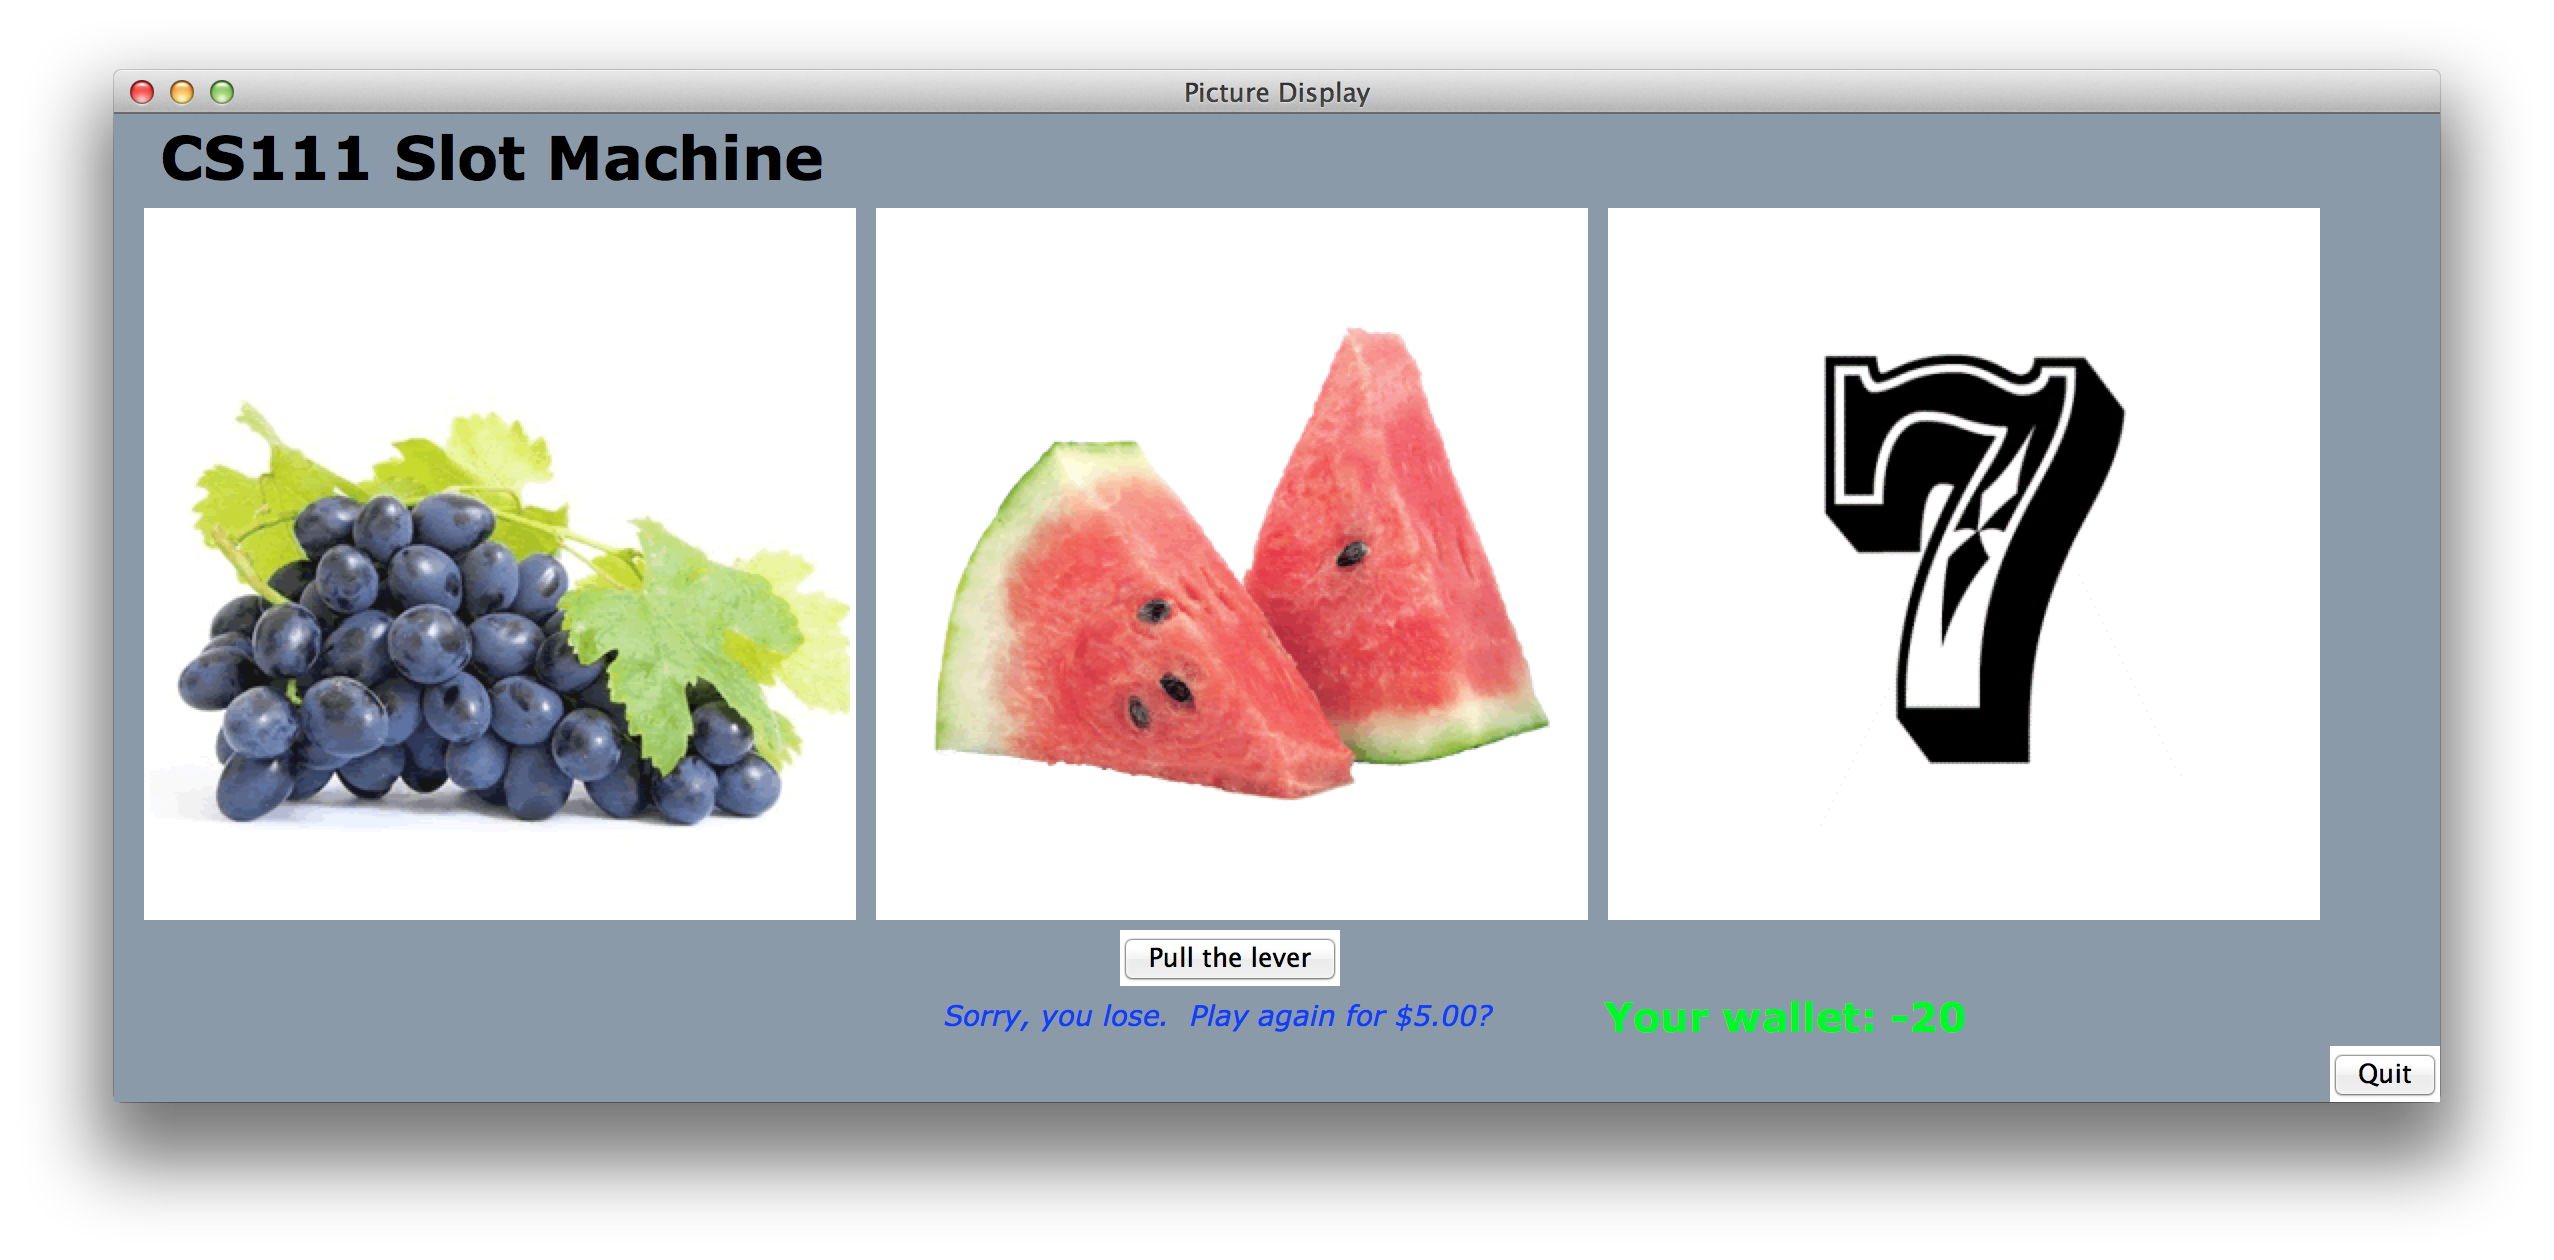
- After losing many rounds
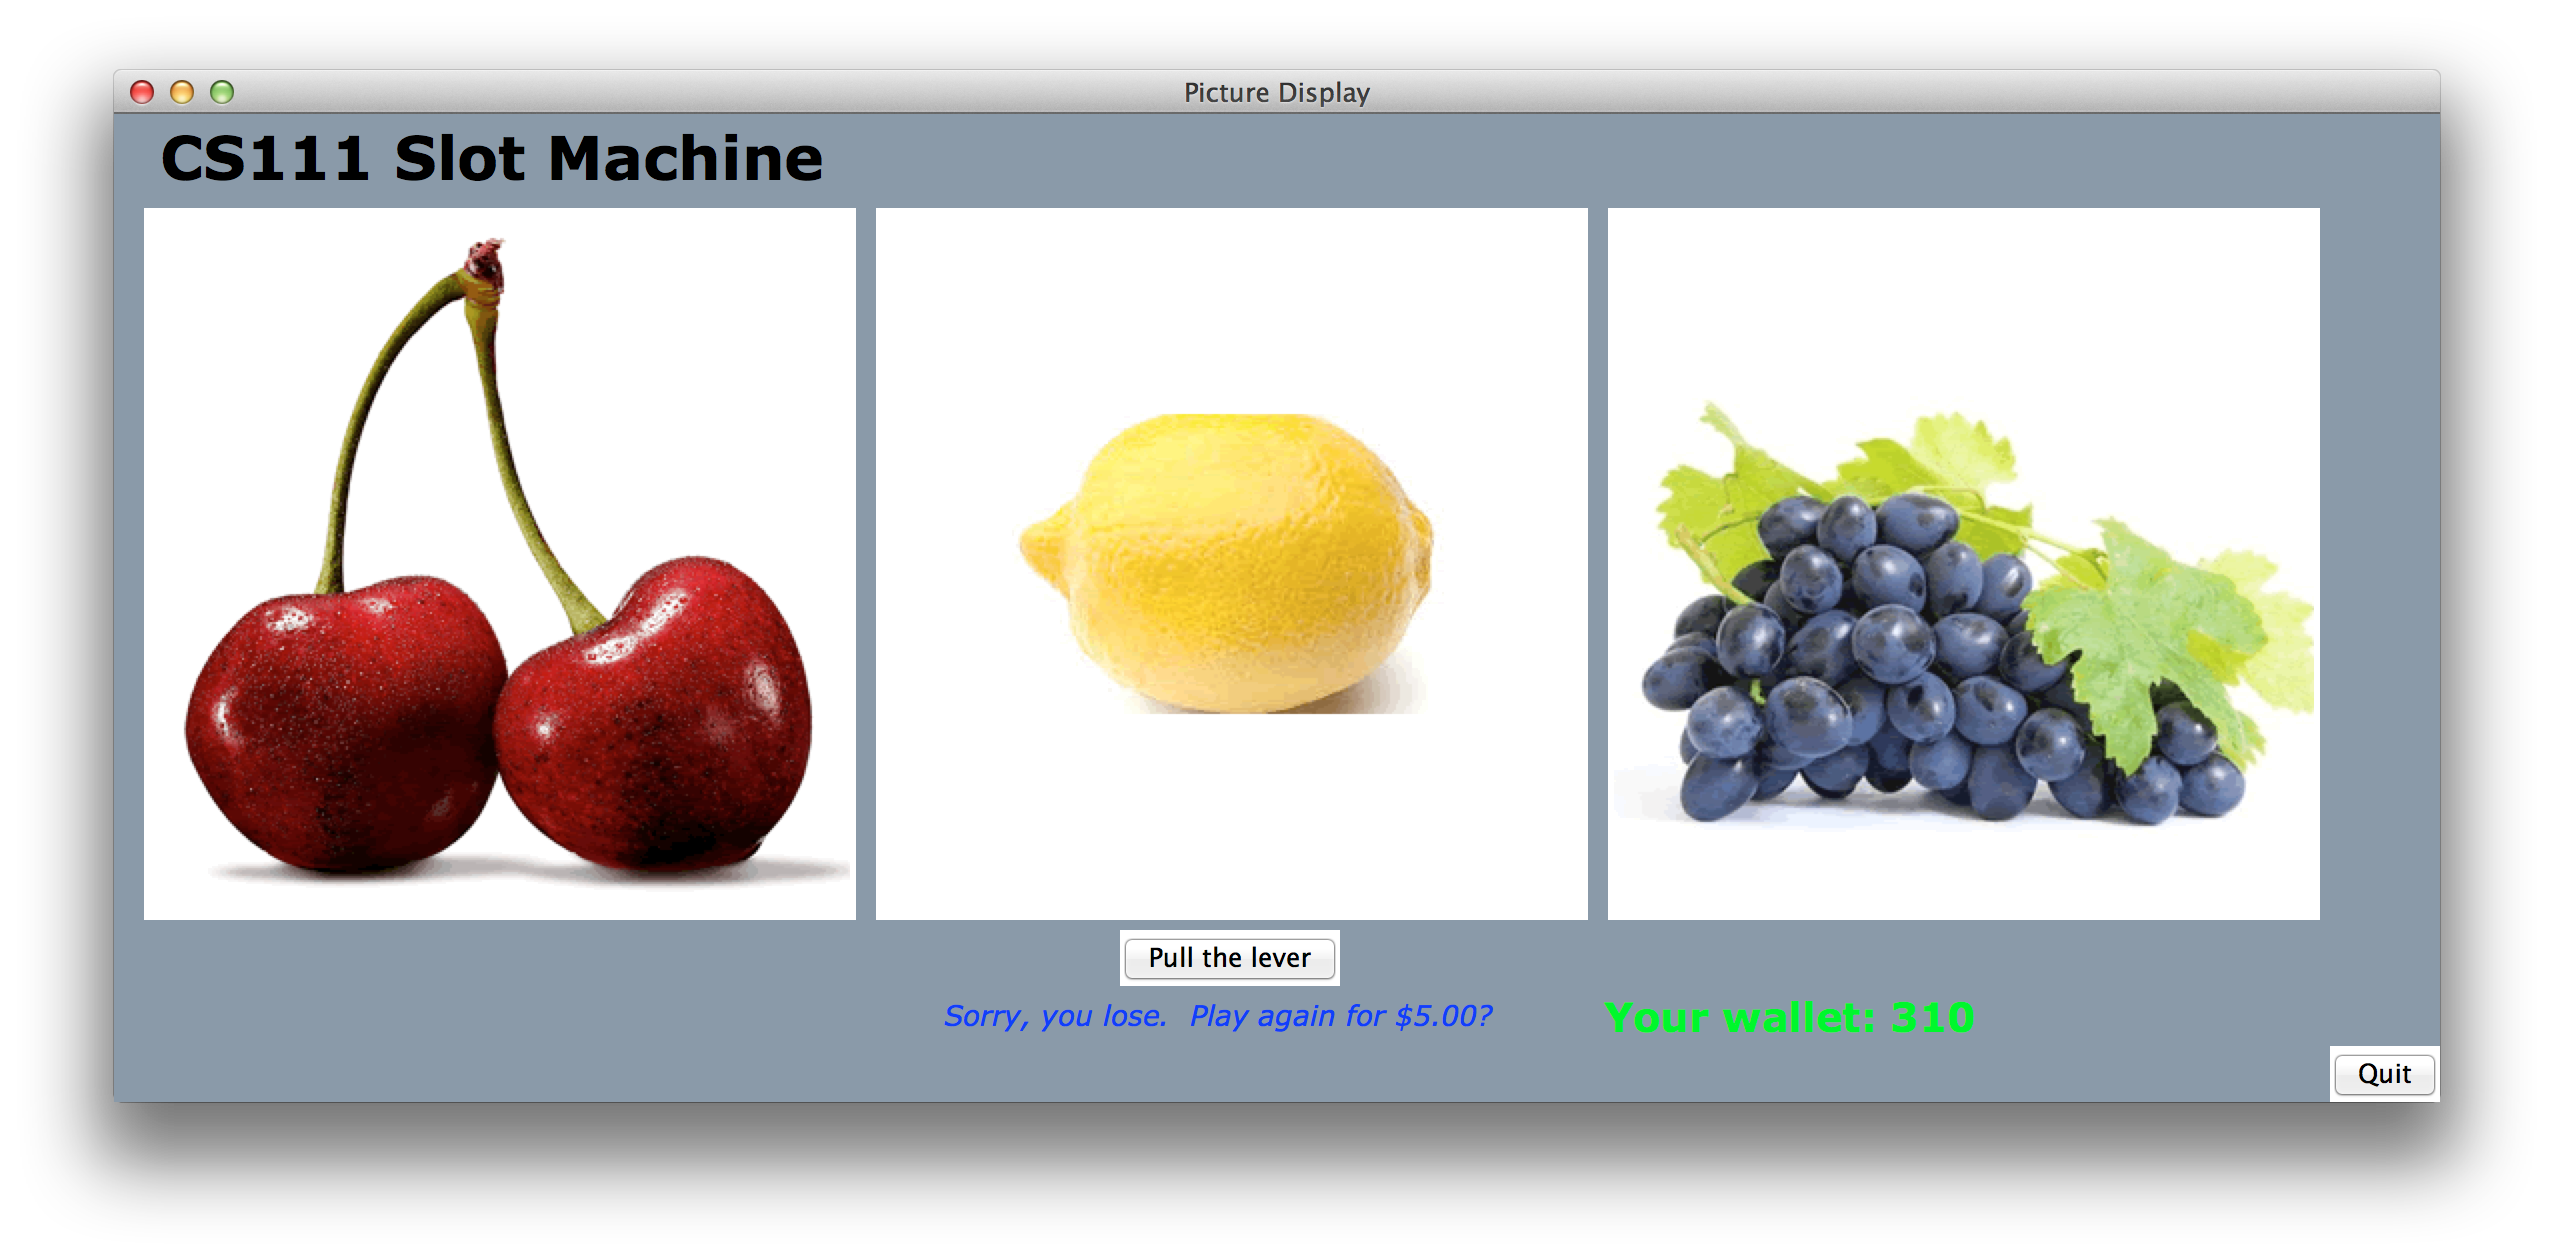
- After winning a bunch
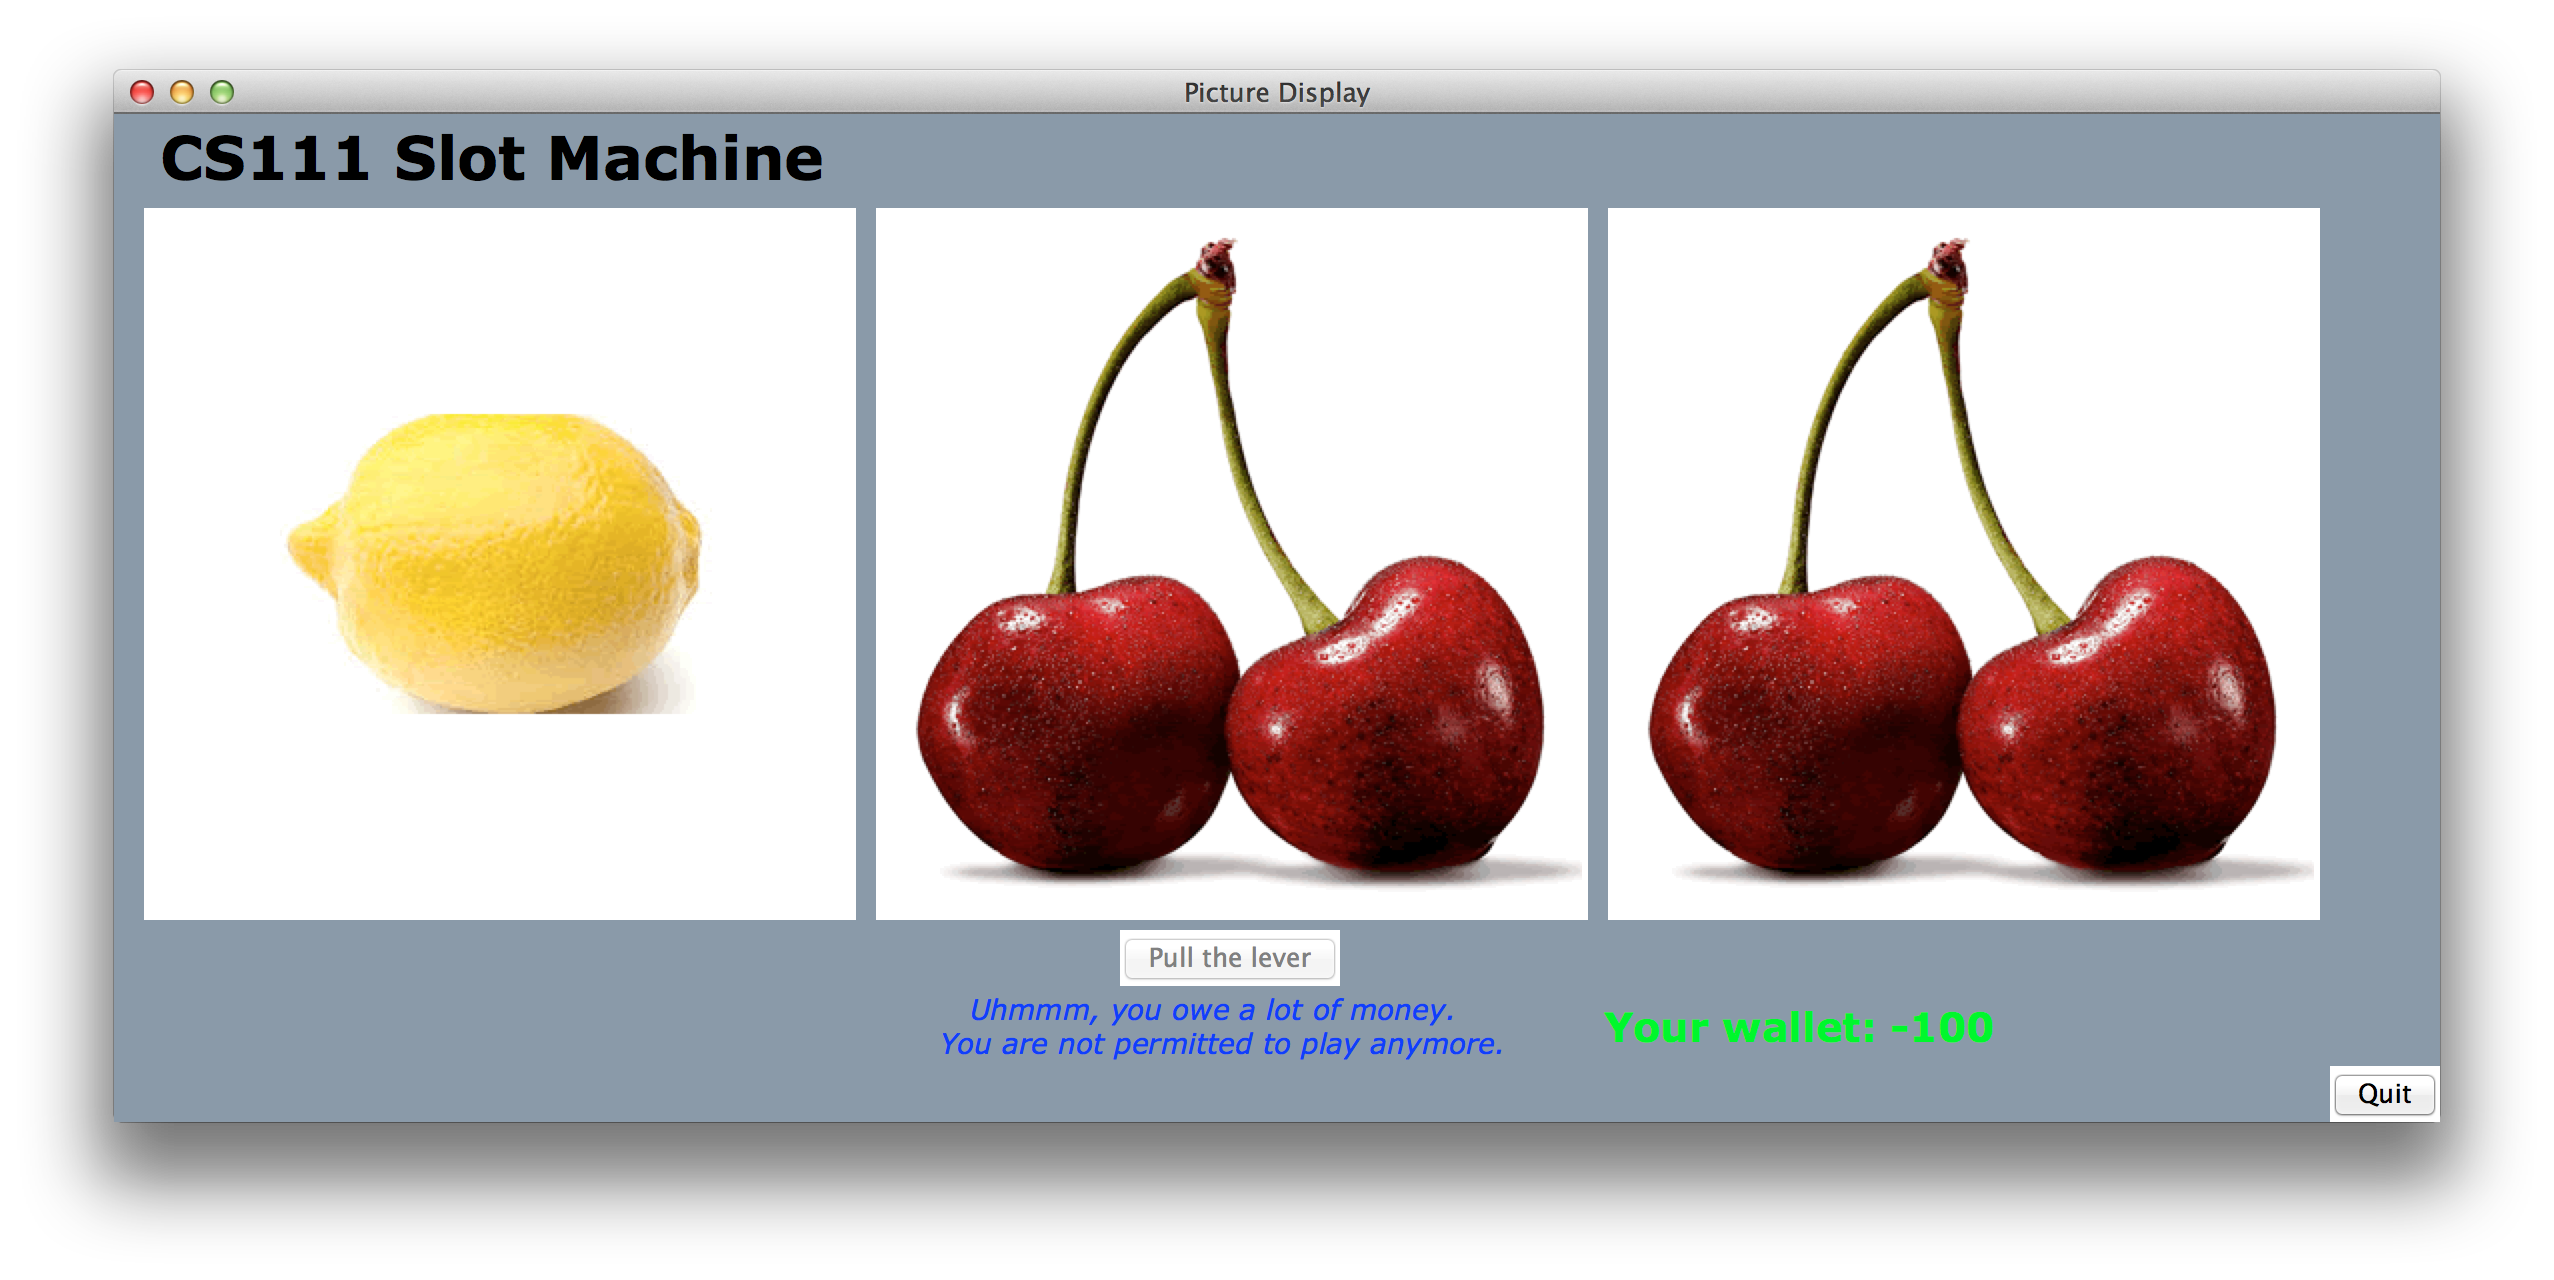
- After losing more than 100
random module,
so make sure you import it into your file.
Right now, your code creates the Labels for the three slot
machine images, but is missing buttons and doesn't yet work.
Here is what you should see if you run the code:
Note that in the __init__(self) function,
a list called self.pictures has been
set up that includes each of the images filenames:
self.pictures = ['lemon.gif','cherries.gif','grapes.gif','seven.gif','watermelon.gif']If you randomly generate a number between 0 and 4 inclusive, then you can use that random number as the index into the list for the picture to be displayed.
Slots App Task 1: Quit button
Add the quit button to the UI and make sure it works.
Look at the code in createWidgets to understand the layout of the grid. Figure out which column and row work best for the Quit button.
Slots App Task 2: Pull lever button
Add the Pull lever button. Write a function
that is called when this button is clicked. Clicking
on this button shows three random pictures, one
for each spot in the slot machine (iLabel1, iLabel2, iLabel3).
Slots App Task 3: Wallet display

Add in a Label to display the amount of money in the user's wallet.
Assume the user starts with nothing (0 dollars) and
that each pull of the lever costs $5.00. As you can see
from the screen shots, it's ok if the user goes negative.
If all three pictures are the same, then the user
wins $100.00.
However, if the user hits negative one hundred dollars (-$100.00),
then the Pull Lever button is disabled and
the user is not permitted to play anymore.
Slots App Task 4: Status label
Add the Label that gives the user feedback after each game (e.g. "Sorry, you lose. Play again for $5.00?"), and a winning message and a stopping message if the user has lost more than $100.00). Here are three examples of messages:


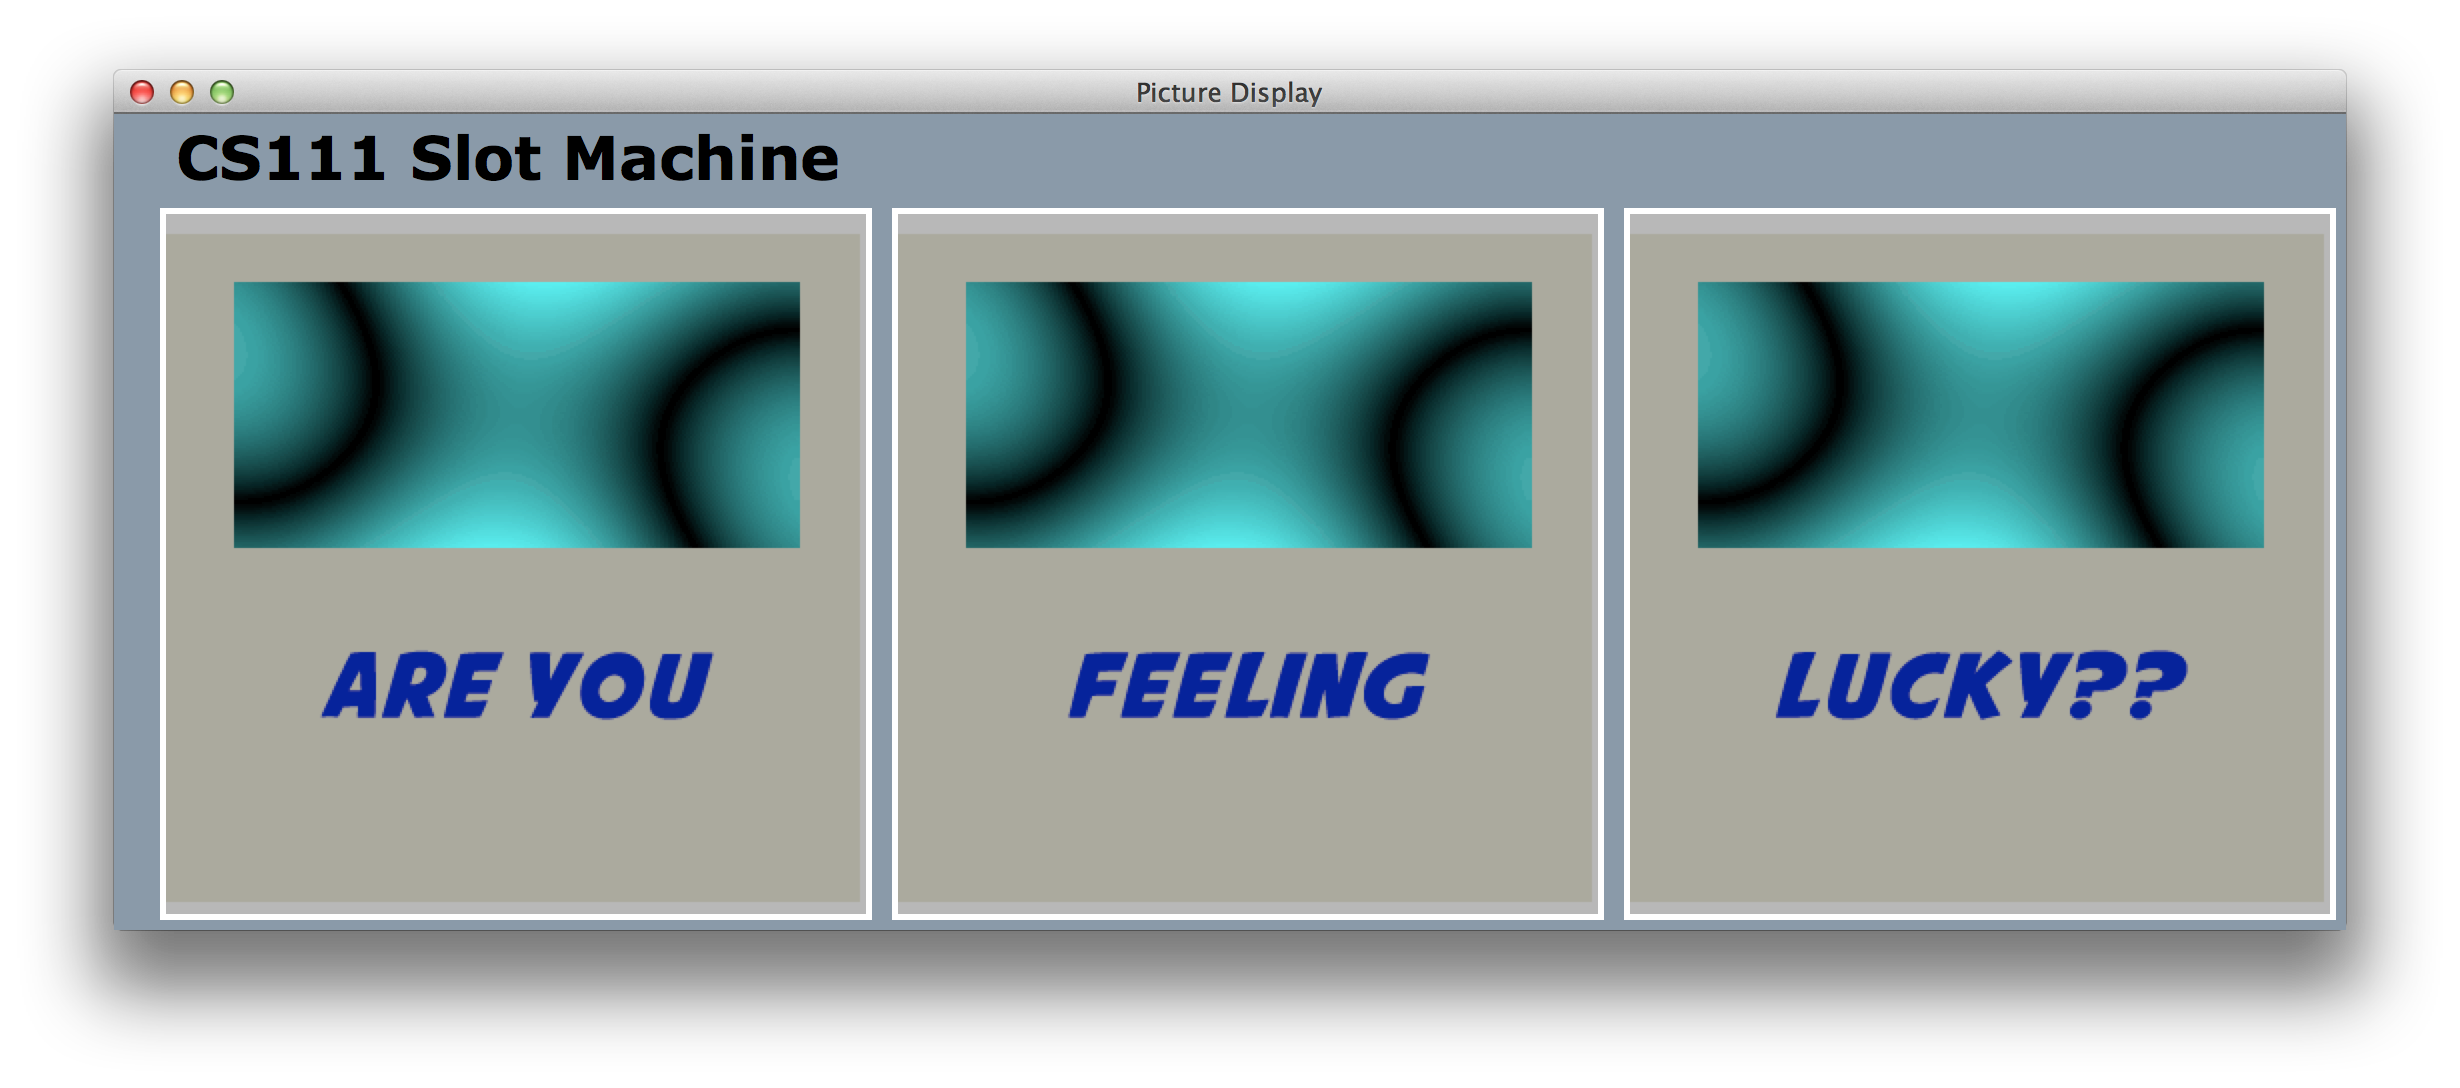
Slots App Task 5: Confetti animation
You know what we need? If you pull the lever and all three pictures matched, then we need a celebratory animation! Something like this screen capture:
To make the confetti animation, you'll need to create an animation
canvas and add it to your GUI. The image below shows the animation
canvas outlined in green. The dimensions of the animation canvas are 750x40.

Follow these steps to create your animation canvas:
- Take a look at the file
Ball.pywhich is in yourlab12_programsfolder. Import this file into yourSlotMachineApp.pyfile. Feel free to edit the color list in the rainbow variable as you like. - Next, add this code to your
__init__in yourAppclass.self.confetti = [] # keep track of the confetti balls # Move animation canvas to upper right top of GUI # setting bd = 0 (border is 0) and highlightthickness to 0, to keep the animation canvas border free self.canvas = animation.AnimationCanvas(self, width=750, height=40, bd=0, highlightthickness=0) self.canvas.config(bg='light slate gray') self.canvas.place(x=400,y=0) # directly places the animation canvas at a particular location in the GUI
- Read the following function definitions below.
-
start_confetti()creates a set of 100 randomly placed balls on the canvas, bouncing off the walls of the animation canvas -
end_confetti()removes all the confetti from the canvas and sets the list of confetti to be empty.
Appclass.# Add a bunch of random bouncing balls to the animation canvas def start_confetti(self): for i in range(100): oneball = Ball.RandomBall(self.canvas) self.confetti.append(oneball) self.canvas.addItem(oneball) self.canvas.start() # Remove all confetti balls from the canvas def end_confetti(self): self.canvas.stop() for b in self.confetti: self.canvas.removeItem(b) self.confetti = [] # reset back to empty -
- Now, take a look at your code, and decide where to invoke
start_confetti()andend_confetti(). - The confetti animation should occur when the user clicks on the lever and all three images are the same. The animation should run until the user clicks the lever again (at which point, the animation should end and all balls should no longer be visible).
Slots App Task 6: Add color and fonts
- Colors
Here is a link to a Tkinter color chart to make your UI more spiffy. - Fonts
To learn what fonts are available, pop this code into a file and then run the file to see a list of fonts printed:import Tkinter import tkFont root = Tkinter.Tk() list_fonts = list( tkFont.families() ) list_fonts.sort() for this_family in list_fonts : print this_family - A useful resource for Tkinter text