
Goals for today's lab
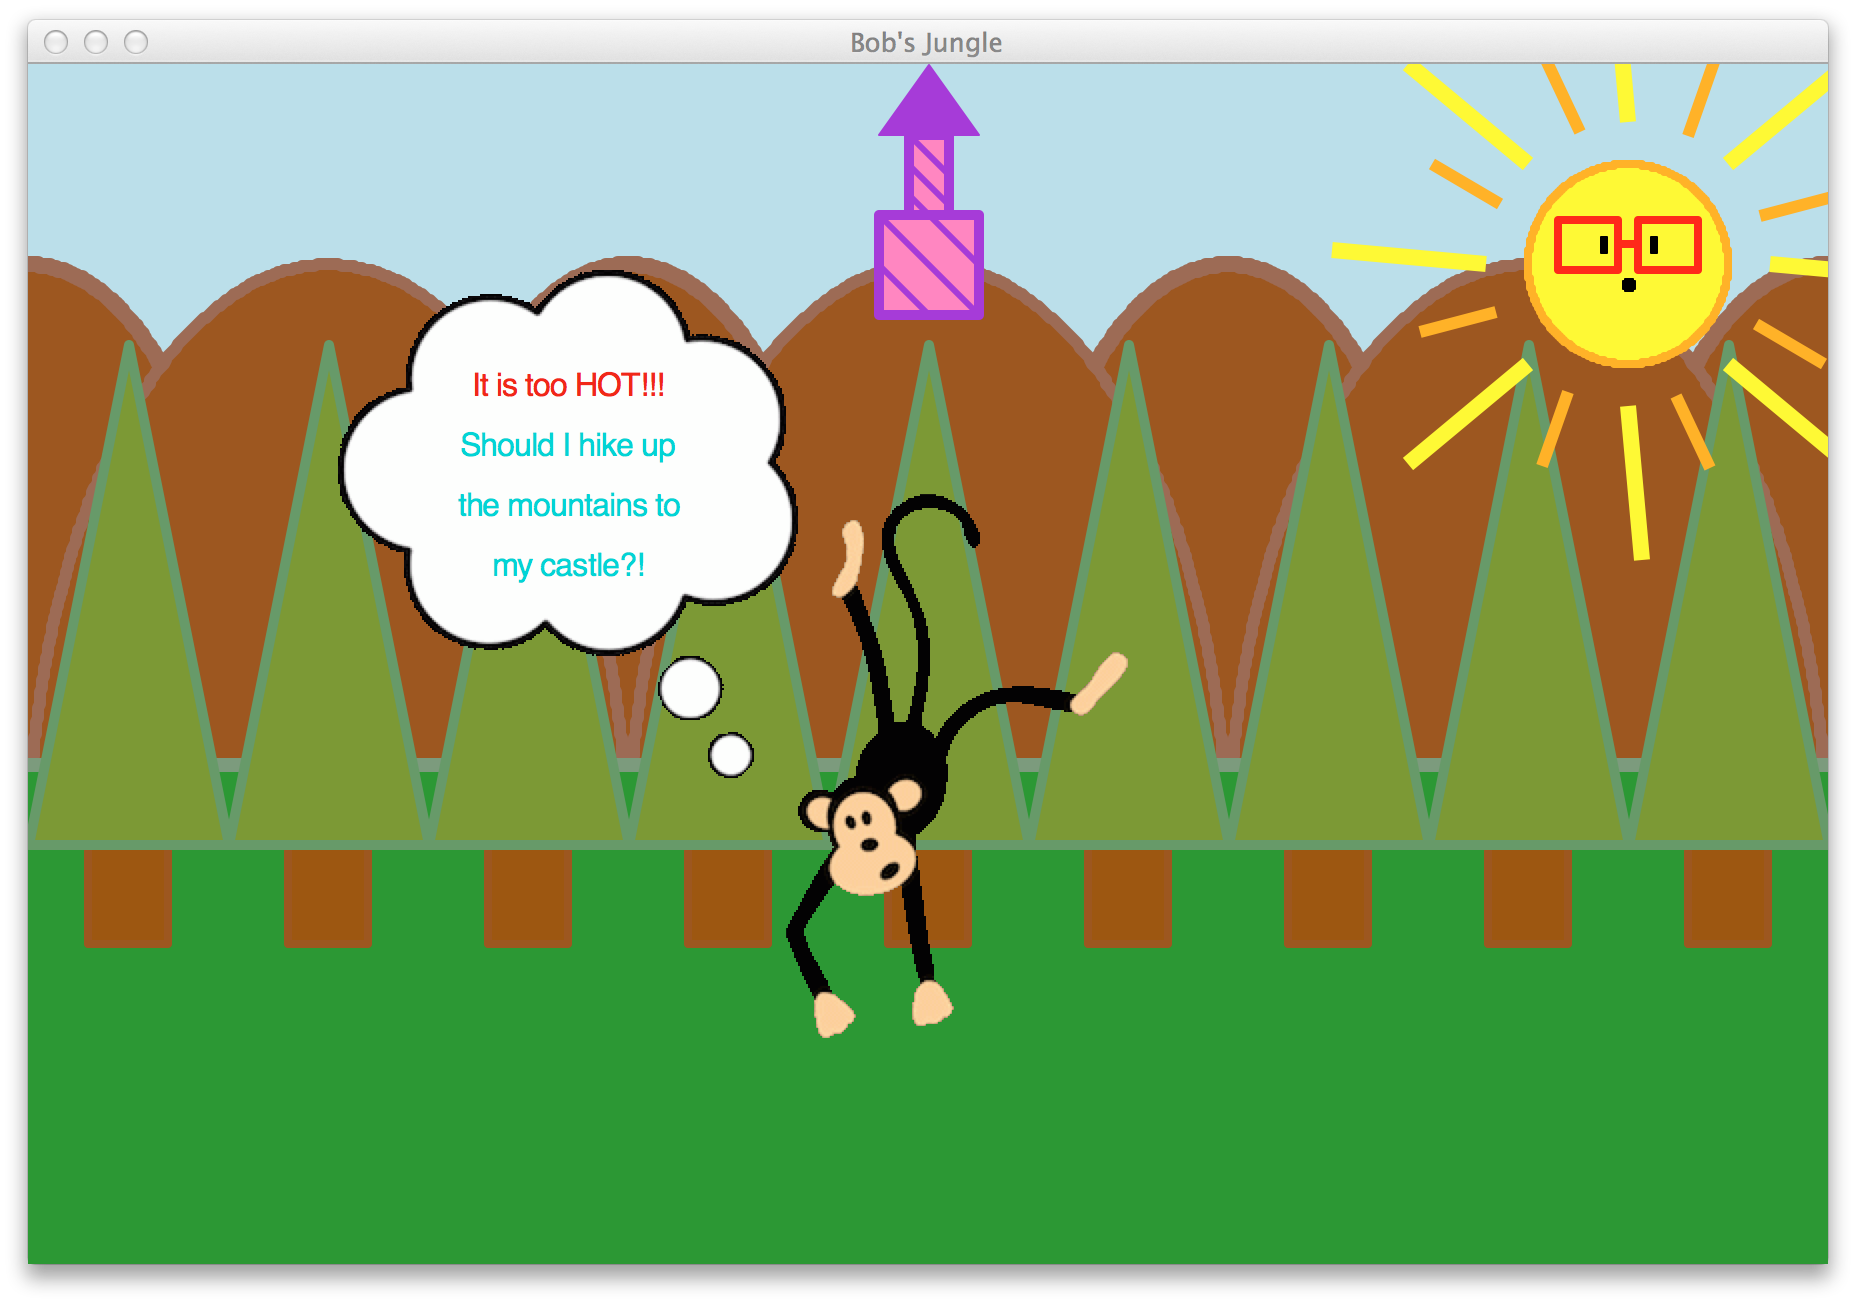
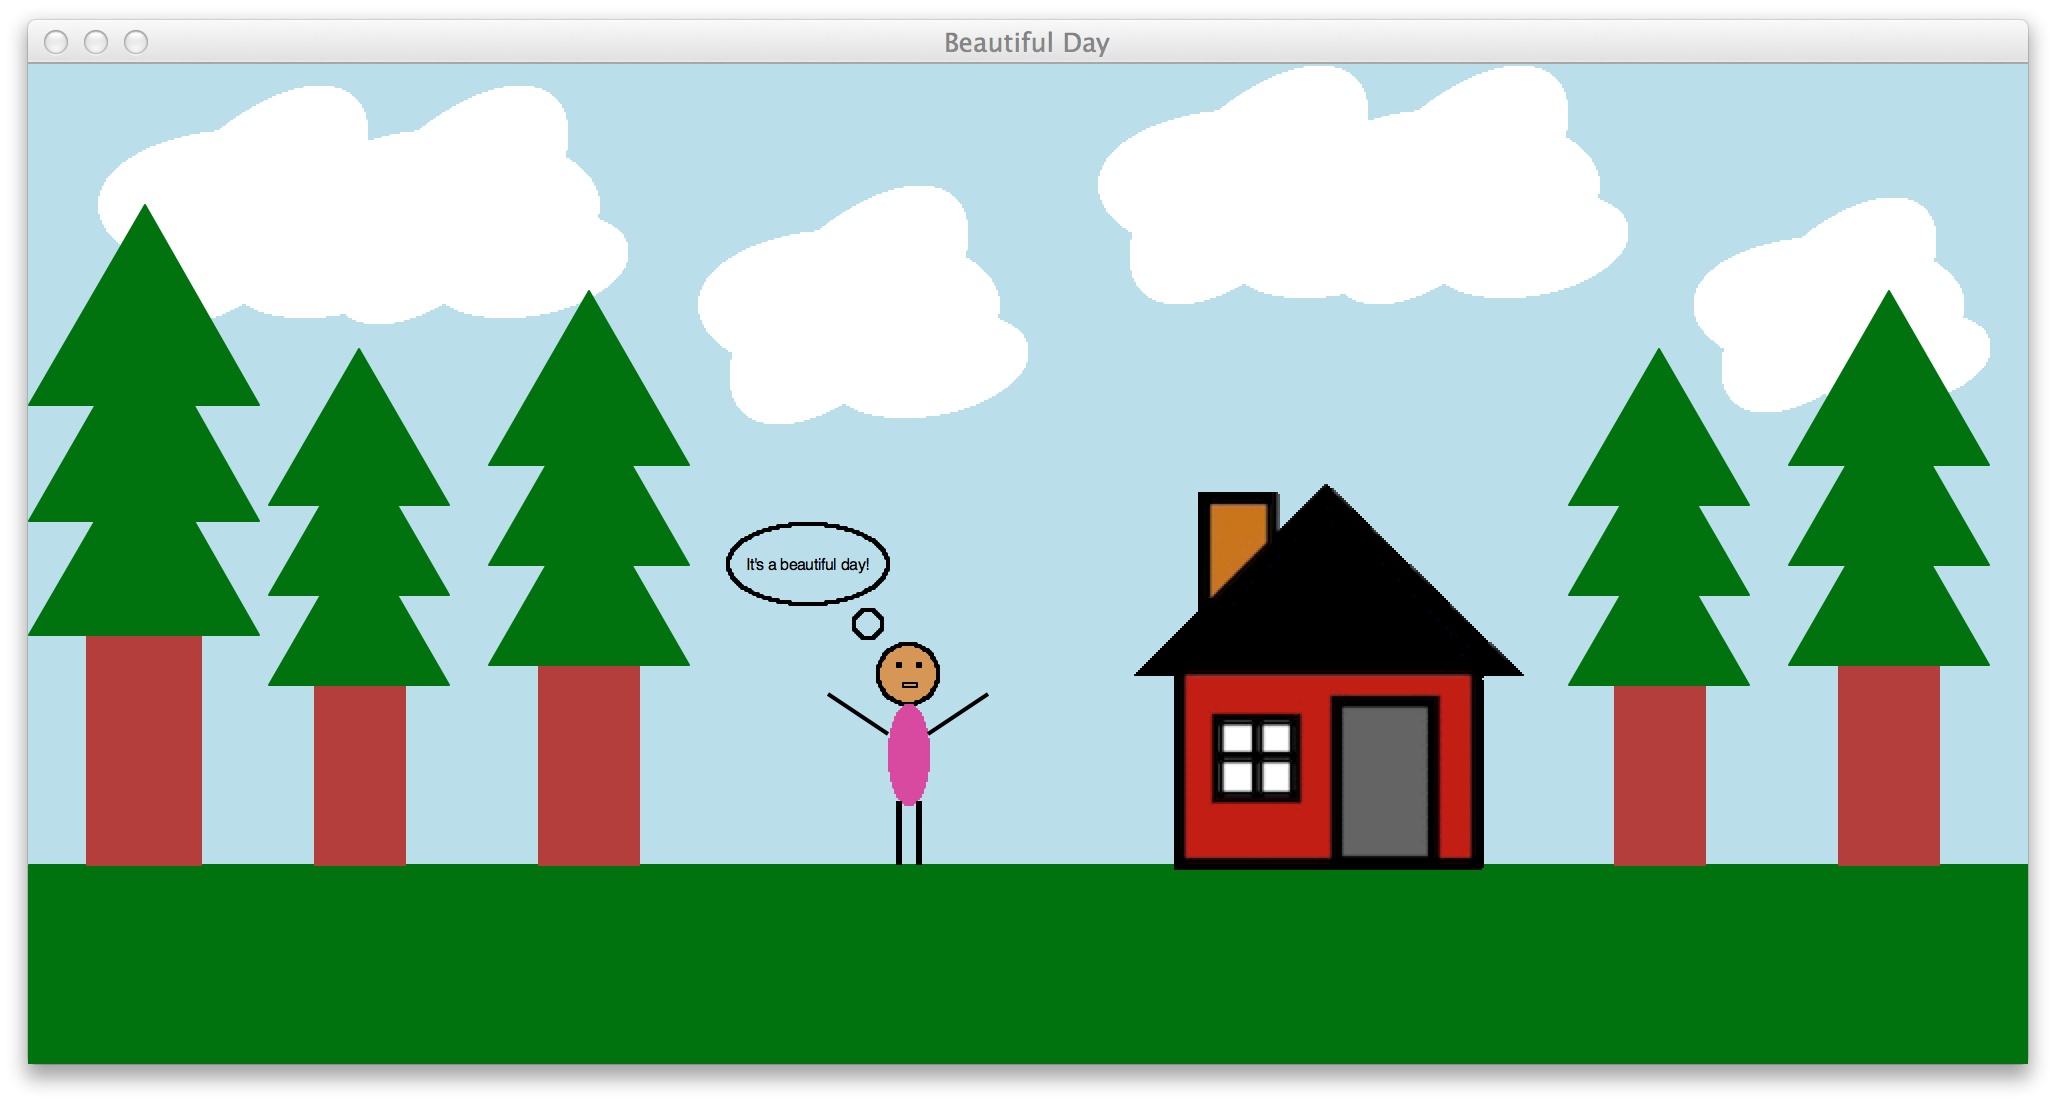
Today, you will learn how to use various shapes, colors, images and depths to build creative scenes like the ones shown below.What we'll cover today:
- Downloading files from the cs server (via Fetch/WinSCP)
- Creating, saving and running Python files (Canopy)
- Experimenting with cs1graphics (Python)
- Uploading your lab work to the cs server (via Fetch/WinSCP)
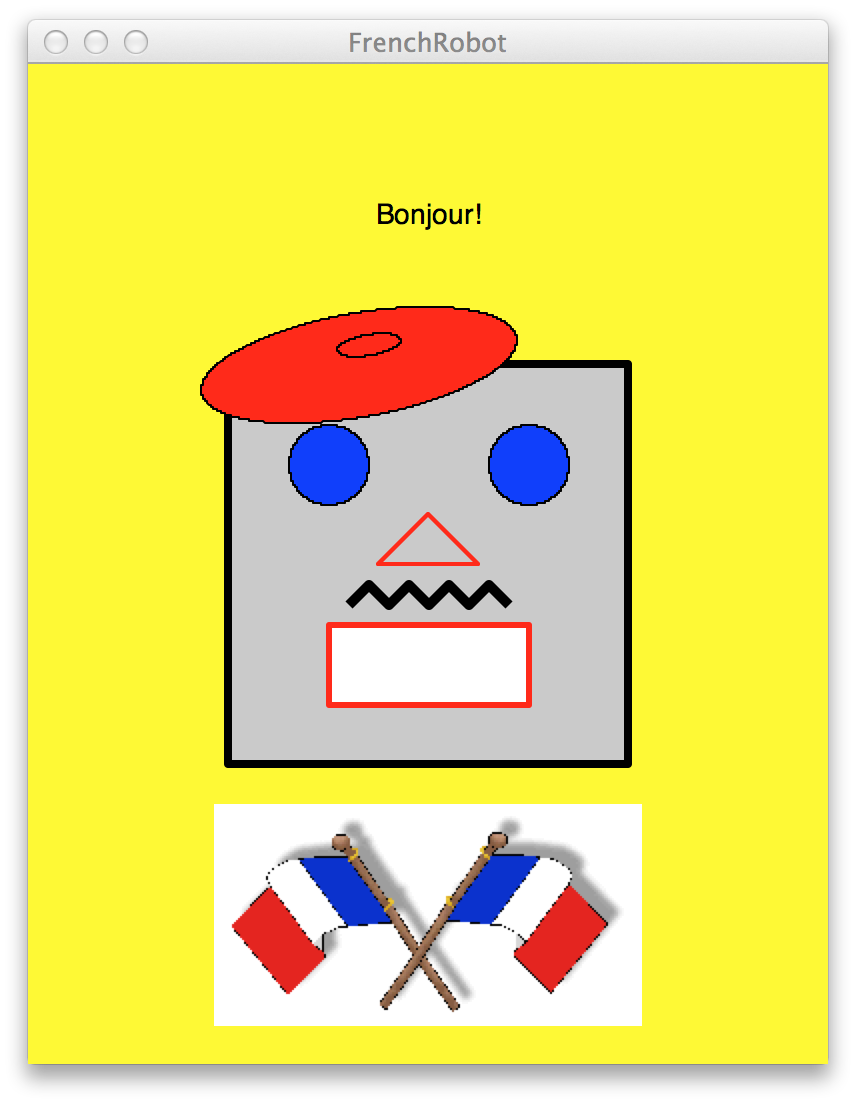
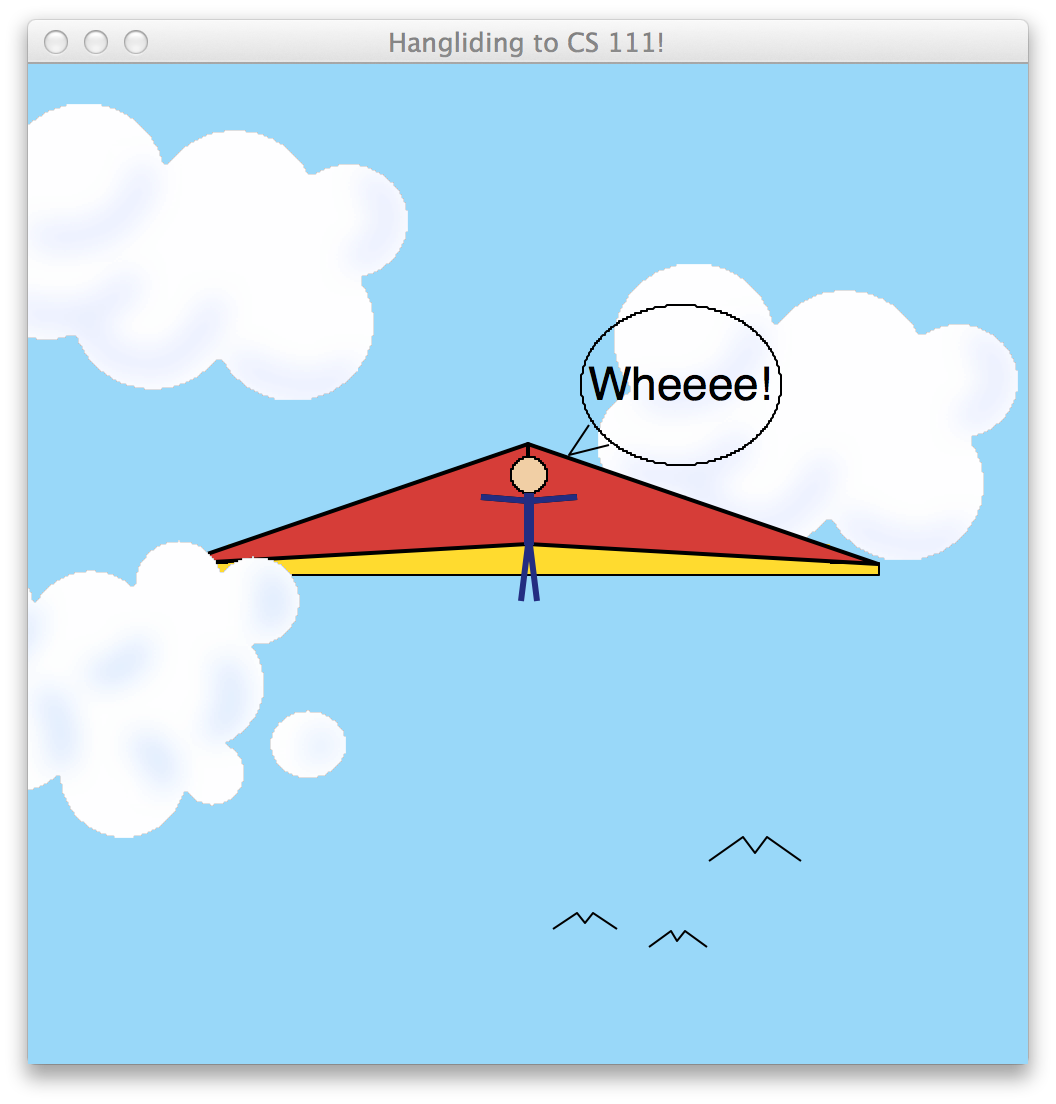
Some sample scenes coded in Python using cs1graphics
 |  by Rachel Seo and Sheree Liu | |
 |
 by Sian Carr & Julia O'Donnell | |
 by Helen Huang & Cece Tsui | ||
 by Evelyn Taylor-McGregor, Some Louis & Nour Azzouz | ||
Task 1: Folders and Files
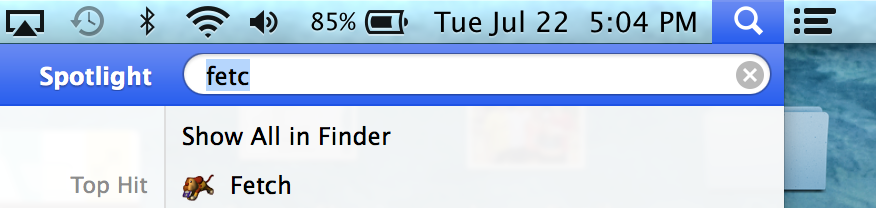
We will connect to the CS server (cs.wellesley.edu) to download the folder that we need for today's lab. In lab, we'll use Fetch on the Macs, but there is an equivalent program called WinSCP for PCs.- Use Mac's spotlight to find Fetch and start it
- Fetch will open this window

Type in the name of the server (you can shorten it tocswhen on campus), and your username (usually first initial and first 7 letters of last name) and your password. Your password will be the one you supplied in the account request form (if you forgot your password, emailcs-sysadminand ask them to reset it for you). Make sure you are connecting using SFTP (indicated by the second red oval above). - If you login successfully, you will see this window:
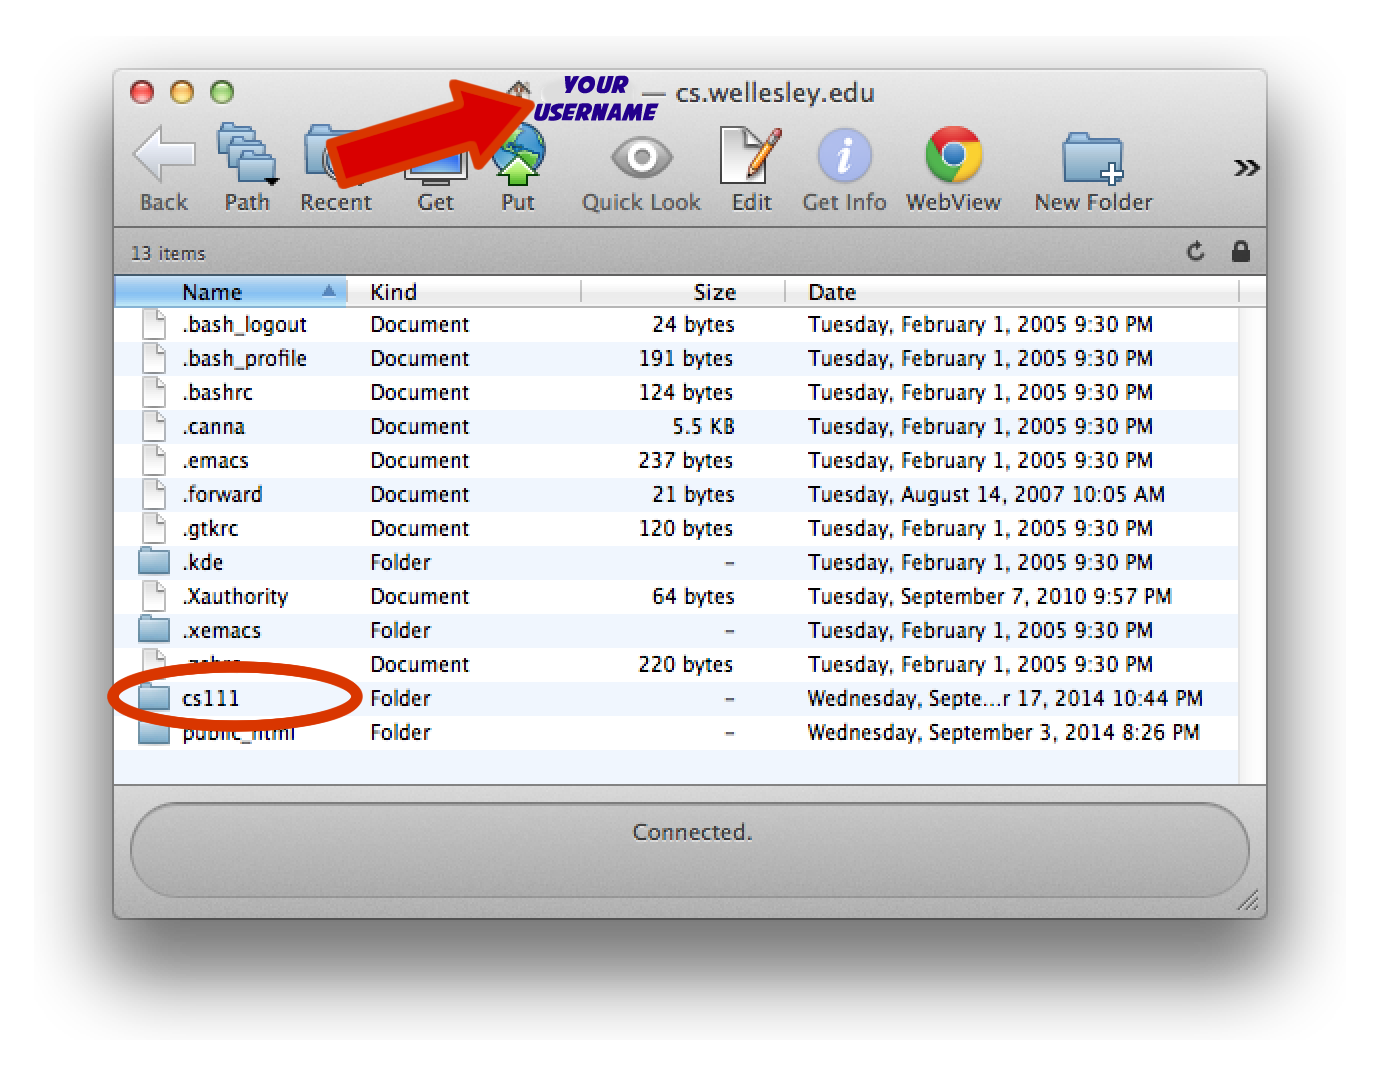
- Double click on the cs111 folder to open it, and then on the download folder. This is where we will place programs for you to access.
- Drag a copy of the lab1_programs folder onto your desktop. Rename the folder from lab1_programs to yourname_lab1_programs. Each time you download a folder, change the name to reflect that it is yours.

OLD NEW - Look inside the folder and inspect the contents.
Task 2: Canvas and cs1graphics
Ok, time to write some python code! Let's get Canopy started (we will always use Canopy to write and run our code this semester). Use the spotlight to find Canopy (installed on all campus machines, and freely downloadable -- see Reference page).
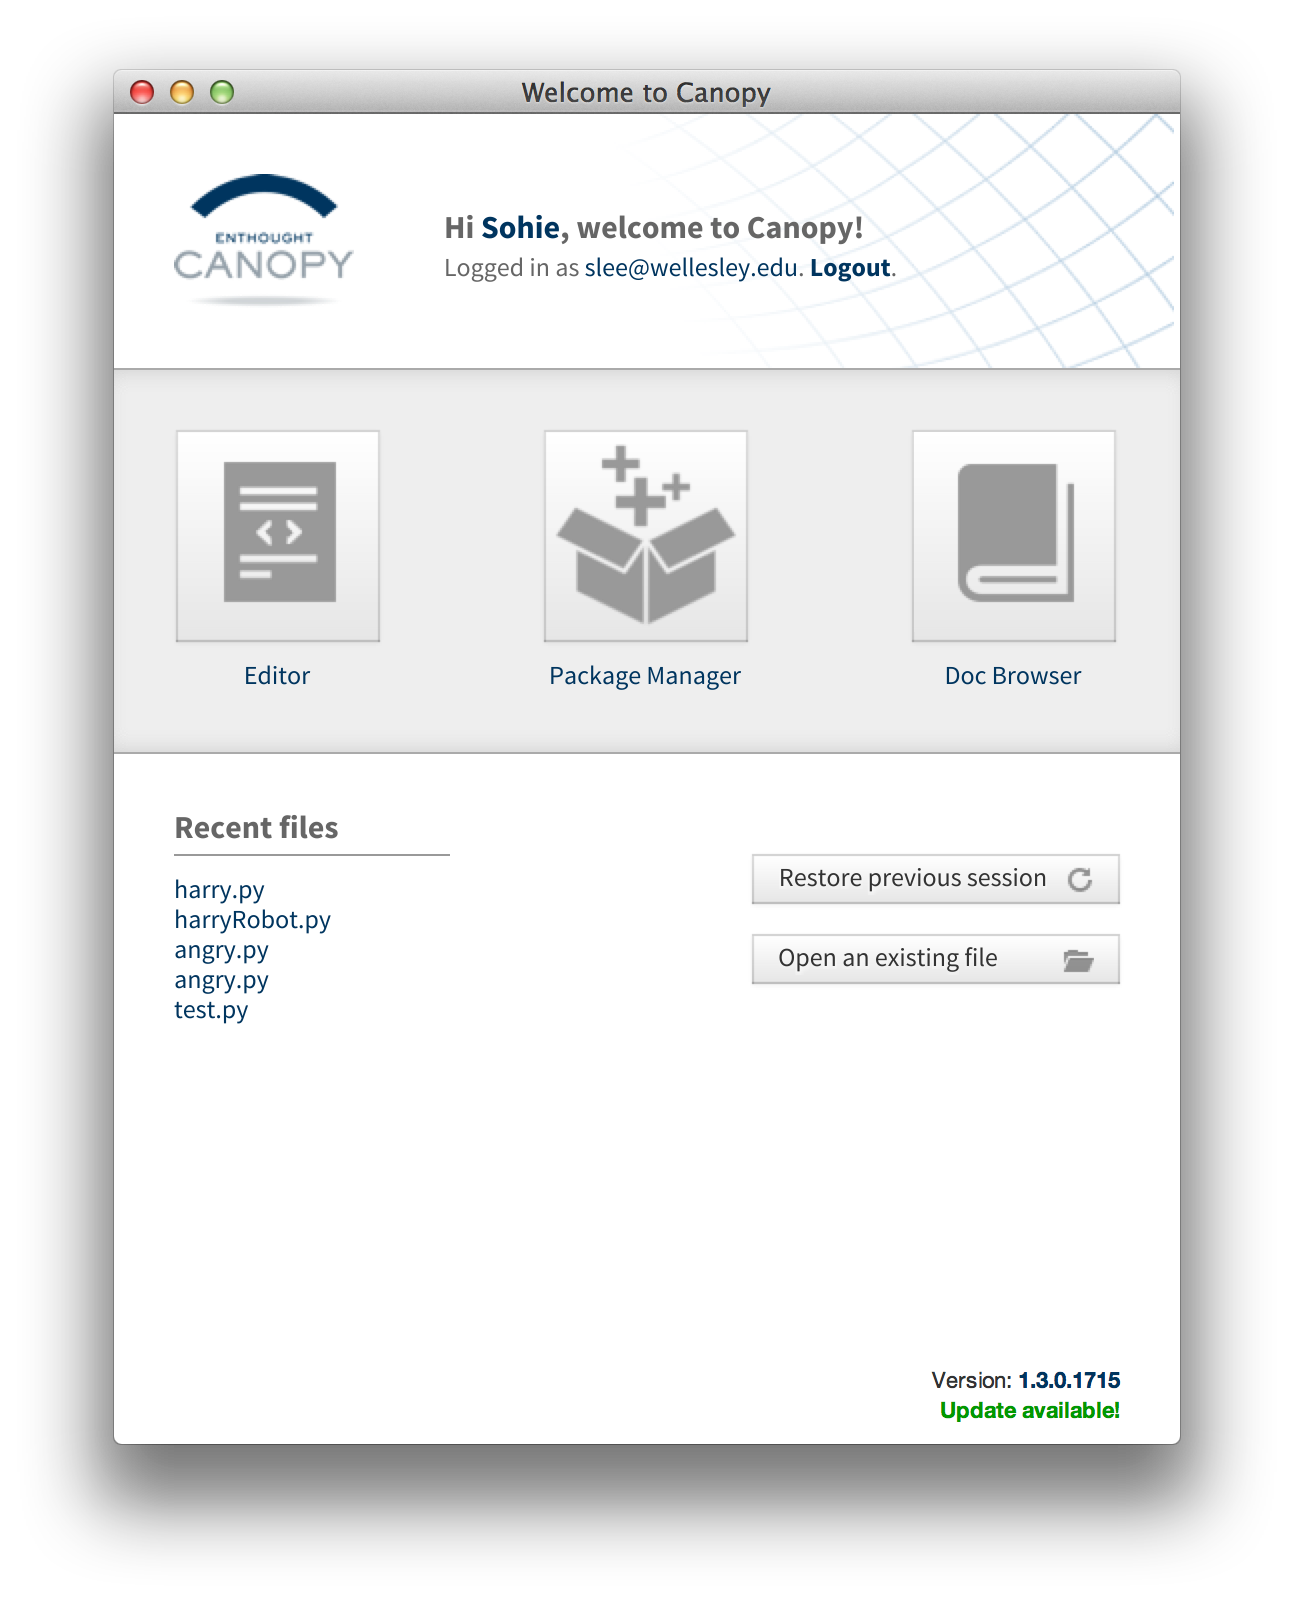
Click on the Editor button, and then in the window that pops open, click on the "Create a new file" button. This will produce the window below. This is where you'll write your code.
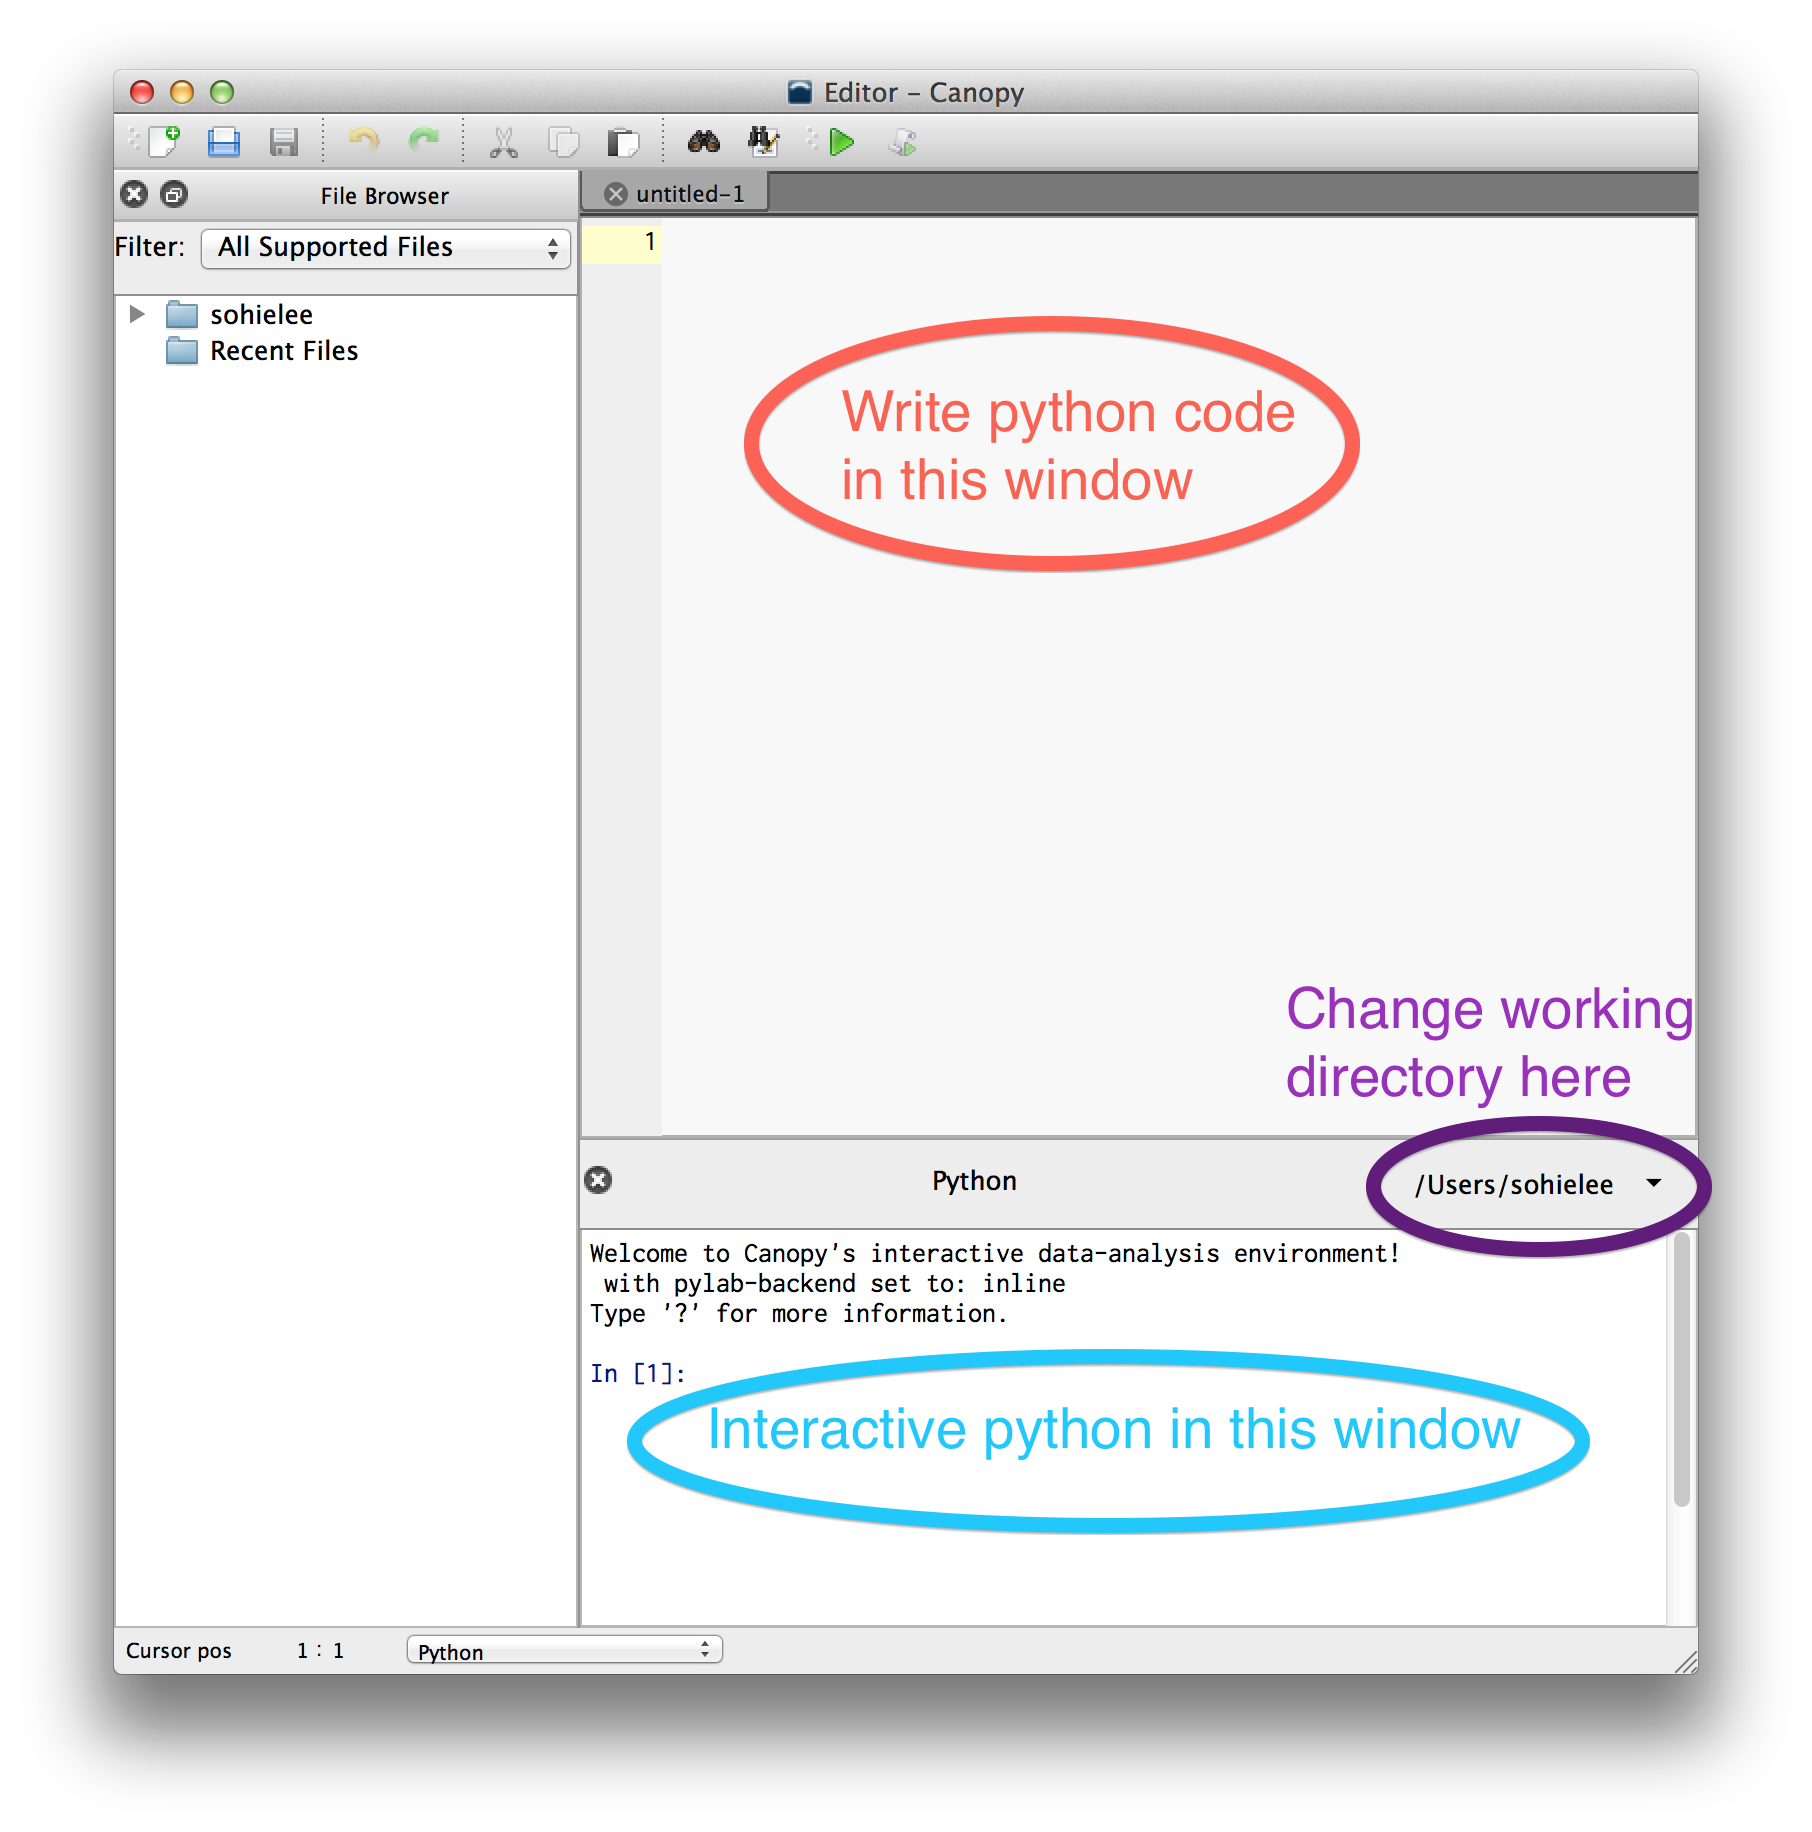
- There is a setting that you need to change (this is a one-time thing).
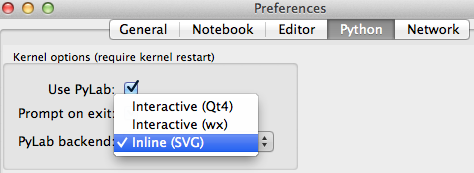
Canopy > Preferences > Python tab. In the drop down menu forPyLab backend, selectInline(SVG)(see image below) - Change your working directory to be, for
today, your newly renamed
lab1_programsfolder. Click on the little arrow circled in purple and navigate to yourlab1_programsfolder. In general, you will have your relevant files in one folder on your Desktop, and you will set your working directory to be that folder. - You can type in the interactive python pane at the bottom to test things out
- You can write your own python programs in the main window. Start out with comments, indicating your name, the date, and the contents of this file.
# Oprah Winfrey
# CS111, Lab 1
# lab1.py
- Save the file as
lab1.pyin yourlab1_programsfolder on your Desktop (either File > Save or click on the little disc icon). - To make fun graphics, we will use the
cs1graphics.pyfile. In order for your program to be able to access that file, you need to include this line in your python program:
from cs1graphics import *
This line basically tells your program that it can use everything (the * stands for everything) in thecs1graphics.pyfile. - You can run your file (nothing will happen just yet, but it's good to know how to run things). To run a python program, click on the green arrow, or Run > Run File or Command-R.
-
 There is an important glitch that you need to know
about when drawing on canvases
using
There is an important glitch that you need to know
about when drawing on canvases
using cs1graphics. After you run your program in Canopy, you will NOT be able to close the generated canvas. Your cursor will turn into the rainbow wheel of death. To close the canvas without quitting out of Canopy, on a Mac you can press Command-. (The command key and the period key at the same time). [You can also use the menus Run > Restart kernel]. This will restart the python kernel -- and will ask for confirmation -- click yes -- and allow the canvas to go away. - Ok, you are now ready to start drawing some pictures!
Task 3: Drawing on the canvas
ACanvas is a place to draw. Here is how we make one in python (using cs1graphics):
Canvas()
Even better, give your canvas a name so you can add things to it later:
paper = Canvas()
[note: Canvas has a capital C, and is followed by parentheses]
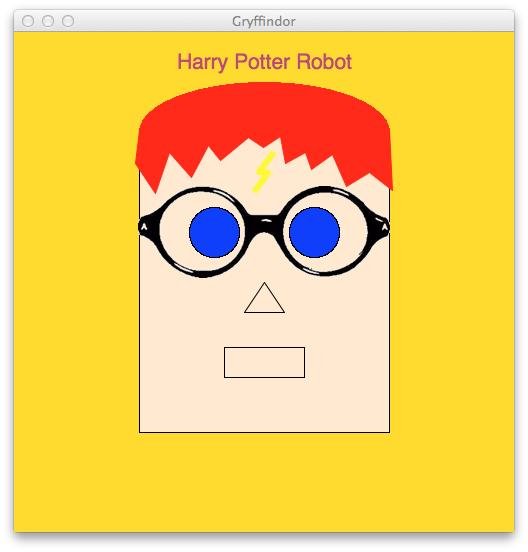
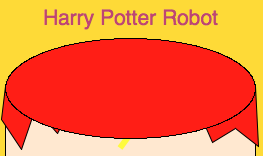
Let's make Harry Potter Robot's rectangular face, using Rectangle from the cs1graphics package. Note that the cs1graphics.py file is in your lab1_programs folder, so your code can access that file via the import statement in your lab1.py program.
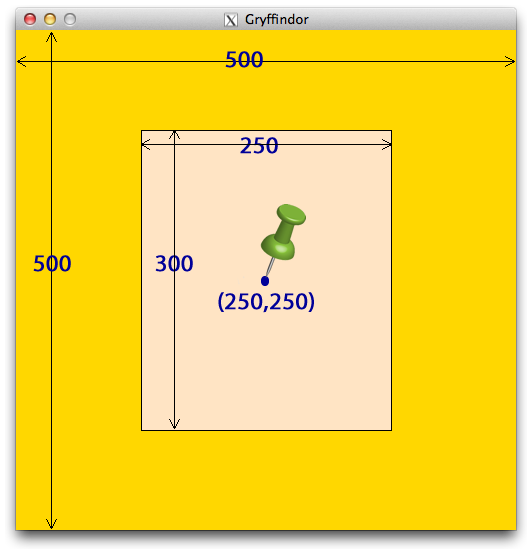
face = Rectangle() # not the face we want
face = Rectangle(250,300,Point(250,250)) # better
Make your face a different color. cs1graphics provides many colors (and later, you'll learn how to make your own colors). For now, you can use this color reference chart (generated in python!).
How to add something to your canvas:
- Create the object (Circle, Rectangle, etc)
- Name it (good idea so can refer to it later) by using the assignment operator (
=) - Add to your canvas
- Manipulate your shape (
moveTo(),move(),setFillColor(),setBorderColor(),, etc)
Below are some details on how to make the Harry Potter Robot face. Note that each shape has a center point (indicated by the green push pin). Think of that center point as a thumb tack, pinning the shape to the canvas. This will come in handy later when we learn how to rotate, scale and flip these shapes.
Some useful shapes:
Circle(radius, centerPoint) Ellipse(width,height,centerPoint) Rectangle(width, height, centerPoint) Polygon(Point(x1,y1),Point(x2,y2), ... Point(xn,yn)) Path(Point(x1,y1),Point(x2,y2), ... Point(xn,yn))Figure 3.4 in the Goldwasser and Letcher reading is useful when looking for how to manipulate shapes in cs1graphics.
| Step 1: Eyeballs Start with the left eyeball:
|
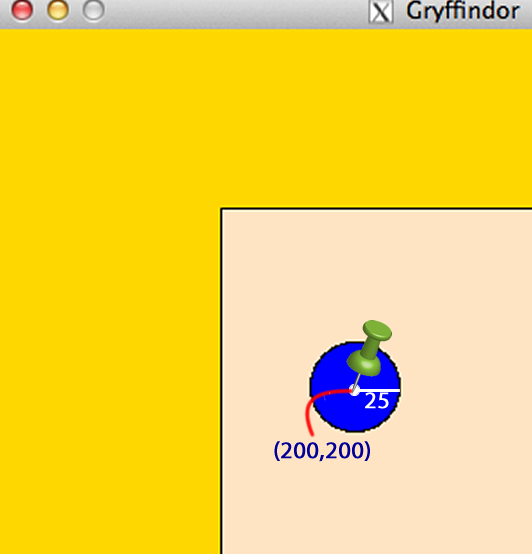 |
| Step 2: Nose The three coordinate points are shown at right. Color Harry's nose any color you like. |
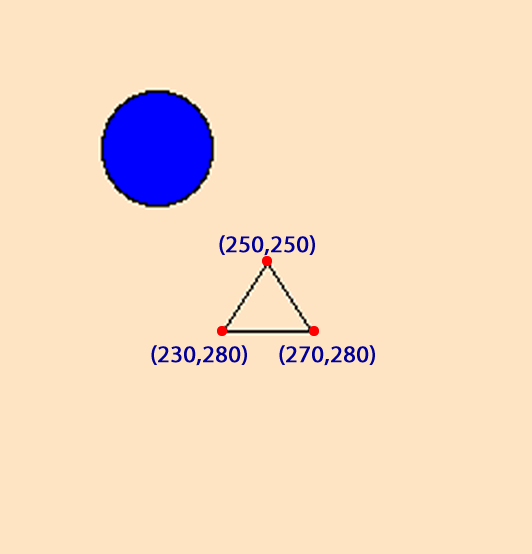
|
| Step 3: Mouth (rectangular) Add an interior color to your mouth, and also change the thickness of the border of the mouth. Optional: add teeth (or fangs). |
 |
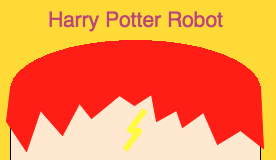
| Step 4: Scar The bolt shown at right has 4 points: you can make your own lightning bolt using these are a rough guideline. |
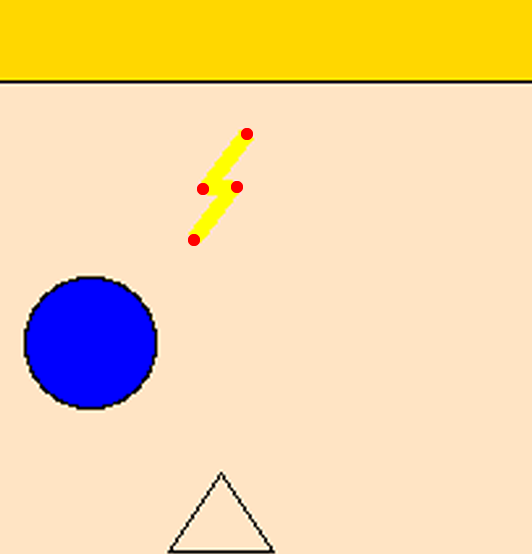 |
| Step 5: Text You may choose your own text and color |
 |
A note about Harry's hair
Harry's hair is aPolygon with lots of points in it (to
get the pointy bangs). Then, an ellipse is stuck on
top of Harry's head to round it out. The ellipse
is behind the face so that only the top
shows (the figure at right shows the ellipse on top
of the bangs for illustration purposes only). Both
the ellipse and Harry's hair have the same color
border as interior.To generate a list of points like those used for the hair, we suggest that you use the only image editor Pixlr (you may also use Photoshop or similar graphics-editing software to glean the coordinates).
Your task: Add some hair to Harry's head. It can be very
simple hair (and any color), but Harry does not
like to be bald.
A little aside about Pixlr
Pixlr makes it easy to figure out coordinates by just opening a new tab in your browser. Open the image from which you would like to read coordinates, and then Pixlr, select the pointer on the toolbar. As you move your mouse, the X and Y coordinates are shown in the navigator window in the upper right-hand corner of Pixlr.| | 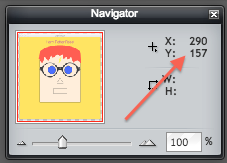 |
Task 4: Experiment a bit, run your code, experiment a bit, run your code...
Images
Thecs1graphics package allows you to
incorporate images into your drawing. You'll need to
place any images that you use in your lab1 folder. The
cs1graphics package handles gif images best. Images are
most smoothly incorporated when they have a transparent
background. You can download images from the web, or can
create your own. We've supplied a couple of transparent
gif images for you to experiment with in your lab1_programs folder.
# the bubble.gif image must be in same folder as your python code
bubble = Image('bubble.gif')
bubble.moveTo(120,150) # move the bubble to a suitable position
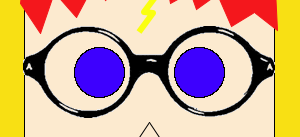
Add glasses to Harry's face
The fileglasses.gif is in your lab1_programs folder.
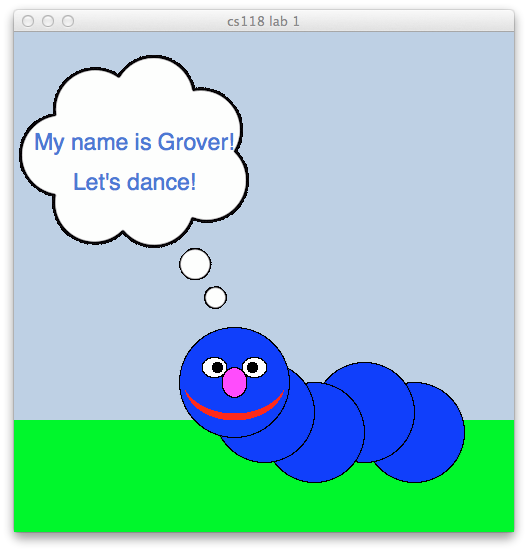
Depth
Experiment more with depth on your canvas. The default depth of objects is 50. Things with shorter depth, e.g. 30 are closer to the viewer, whereas longer depths, e.g. 100 are farther away (or behind other objects). Let's take a look at Grover's thought bubble: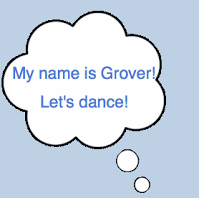
This image clip has three separate parts, controlled by using depth (setDepth()):
- the pale blue background is the background color of the original canvas
- the thought bubble is a gif Image
- the text "My name is Grover!" is on top of the bubble image
lab1_programs folder. We'd recommend the smaller one
for the Harry Potter robot drawing (later, we'll learn how to scale images).
Task 5: Saving your work on the cs server
At the end of lab today (and every subsequent lab), you will save your work to your own personal account on the cs server. You will use Fetch to connect tocs.wellesley.edu, just as we did at the start of today's lab.
Type in your username and password and connect to the
cs server.
You will see this window:
Once you are successfully logged into your account, click on the cs111 folder in your account (circled above in red).
Drop your lab1_programs folder into the Fetch window. Now it will be stored in your account in your cs111 folder.
After you drag and drop your lab1_programs folder into the cs111
folder, it will look like this:

Now a copy of your code is safely stored in your account on the cs server (and you can access it via Fetch from any computer on campus). Note that when you turn in problem sets or exams to be graded, those will be dropped in the drop folder in your account (your_username/cs111/drop/).
For your final step, drag the lab1_programs folder from the Desktop into the Trash, then empty the Trash (Finder > Empty Trash), and then log yourself out.