 |
Lab 11
|
|
|
Lab 11
|
lab11_programs. In the RainyDay folder, open the
file RainyDay.java in DrJava.
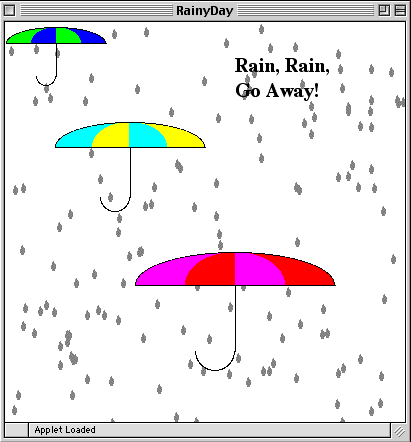
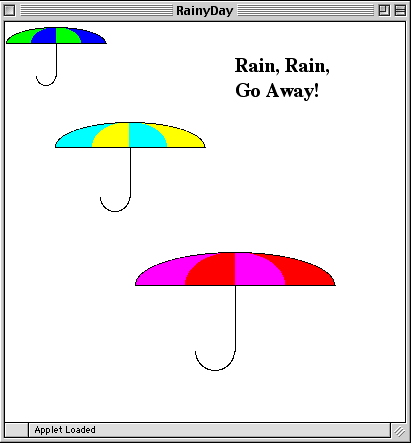
Your task is to create an applet that looks roughly like this:
 Task 1. Writing the text.
writeText. Note that you can use instance variable g to access the graphics of the applet.
Hint: the method drawString of the Graphics package writes text.
Click here for more about drawString.
Changing your font
To liven up your font a bit (otherwise it will appear in the default font),
you can set the font for the graphics object just as
you set color for drawing, only instead of setColor() you
use setFont() (see the Graphics contract). Changing your font
requires creating a new Font object. The Font constructor takes 3 parameters:
Font rainfont = new Font("Serif", Font.BOLD, 20);
Font class in the
Font contract.
Experiment with
different font names, styles, and sizes! You can change the text
color by setting the
color of the Graphics object. Click here for more information about available colors and how to make up your own color!
Invoke your method in paint() to draw the text on the
applet screen.
Task 2: Drawing the umbrellas
Write your code for the method
	public void drawUmbrella(Point p, int length, Color c1, Color c2) {

	}
Point p contains the coordinates of the left upper corner of the rectangle containing the umbrella, the length refers to the length of the base of the umbrella top, and c1 and c2 are the colors of the top of the umbrella.
Invoke the method drawUmbrella() three times to draw the three umbrellas, as in the picture. Test your method frequently as you are writing it. A couple of hints for writing this umbrella method:
drawArc() and
fillArc() from the Java Graphics class.
 Task 3: Adding random raindrops
Fill in the method drawRainDrop(Point p, int height). Here the Point p stores the coordinates of the left upper corner of the
enclosing rectangle of the raindrop, and height is the height of the
entire raindrop.
There are different ways of drawing a raindrop. Here's one way that uses a triangle and an arc (in the applet, the raindrops are grey):
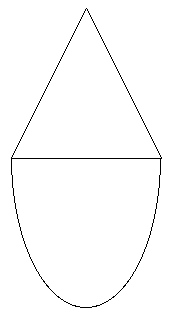
You can draw a raindrop any way you like.
Drawing lots of rain
When you get the correct picture of the raindrop, make it rain on
your applet screen (for instance, there are 150
raindrops in the picture above). Hint: use a loop and a random number generator to position the raindrops
on the screen.
RainyDay has an instance variable ran which is a Randomizer:
Randomizer ran = new Randomizer(); // for random raindrops
A randomizer has many methods for generating various kinds of random numbers. Here are some of them:
public boolean flip
()
returns "true" and "false" with equal probabilities.
public int intBetween (int lo, int hi) returns an
integer at random between the two given integers: lo and
hi (including the bounds). The parameters must be such
that lo is less than hi. Example:
int n = ran.intBetween(1,20); // n is randomly chosen between 1 and 20
assigns to n an integer randomly chosen between 1 and 20 (including 1 and 20). All of the numbers have the same probability.
public int evenBetween (int lo, int hi) returns a
randomly chosen even number between lo and
hi. public int oddBetween (int lo, int
hi) returns a randomly chosen odd number between
lo and hi. ran anywhere within the class RainyDay.
height and width which specify the size of
the applet (they are defined in the method paint()). You
may also randomly choose the size of raindrops, if you'd like.
Where do you add the loop in the method paint() so that the picture looks like
the one above?
If you have time left, add other features to your applet!